Clear Resin Instructions
1
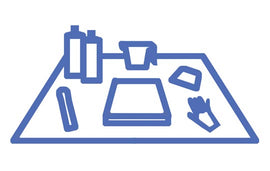
Prepare your workspace:
- You will need: plastic work surface liner, gloves, a plastic measuring container, stir stick and spreader, torch, dust cover.
- For best results, work in a 75F/24C - 85F/30C room. The resin and hardener should be standard room temperature or warmer.
- If using tints, have small plastic mixing cups and stir sticks on hand, one for each color.
- Prop your artwork on stands, tape off the sides or back (optional) and use a level to ensure the piece is perfectly horizontal.
2
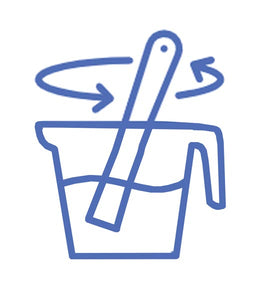
Measure & Mix
- With gloves on, measure equal parts Resin and Hardener (by volume) into a measuring cup.
- Mix slowly for 5 minutes, scraping the sides and bottom of the container thoroughly.
- To add colorants, divide the resin into individual cups add tint and mix well. Start with a small amount and add as needed, no more than 6% of the total resin and hardener in each cup.
3

Pour
- Within 35 minutes of mixing, pour the resin over the surface of your artwork or into a mold.
- Using a spreading tool, guide the resin evenly over the surface. Spread it only over the top of the piece only or allow it to run down the sides.
4

Remove bubbles
- Run a flame torch once or twice over the resin surface to pop bubbles. Do not over torch.
- If working with a silicone mold, use a heat gun instead.
5
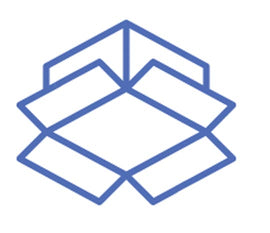
Cover
- Cover your work with an empty box to prevent airborne contaminants from landing in the wet resin. Wait 24 hours before handling and 72 hours before shipping.
- Resin can be removed from molds at approx 18 hours. They may be bendy at first, but will harden up once fully cured. Place them on a flat surface to finish curing.