Clear Resin For Art, Ideal For Professional Artists and Hobbyist Creators
Working with epoxy on artistic projects requires more than just any generic formula. You need a product that stays crystal clear, doesn't yellow over time, and-perhaps most importantly-gives you enough working time to actually finish your piece without rushing.
Clear Resin formulas are specifically designed for artists who refuse to compromise on quality. Whether you're coating a painting, creating resin molds, or pouring deep layers for river tables, the right epoxy makes all the difference between a piece you're proud of and one that ends up in the trash.
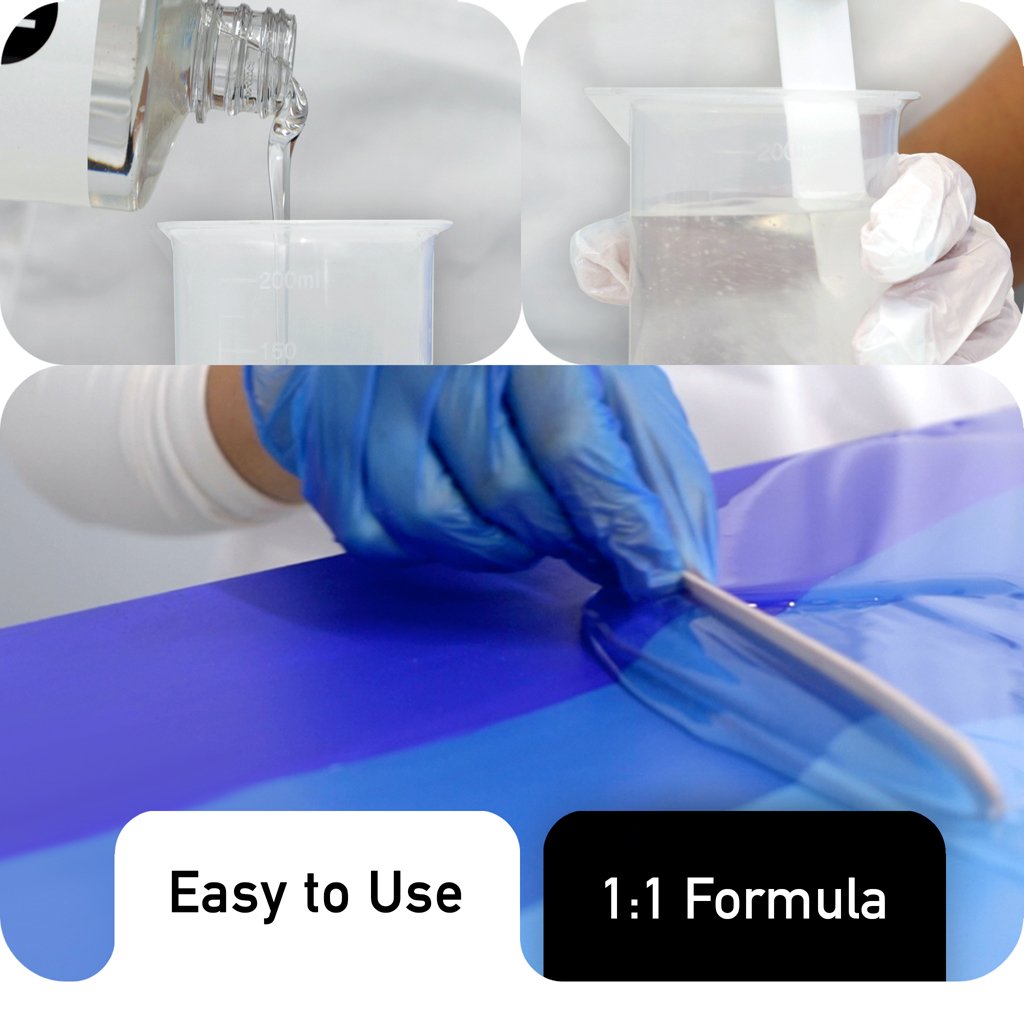
Our formulas offer:
1. Crystal-clear transparency that won't cloud or yellow
2. Extended working times (up to 45 minutes for detailed work)
3. UV stabilizers that protect your artwork for years
4. Self-leveling properties that eliminate brush marks
5. Low-odor formulas are safe for home studios
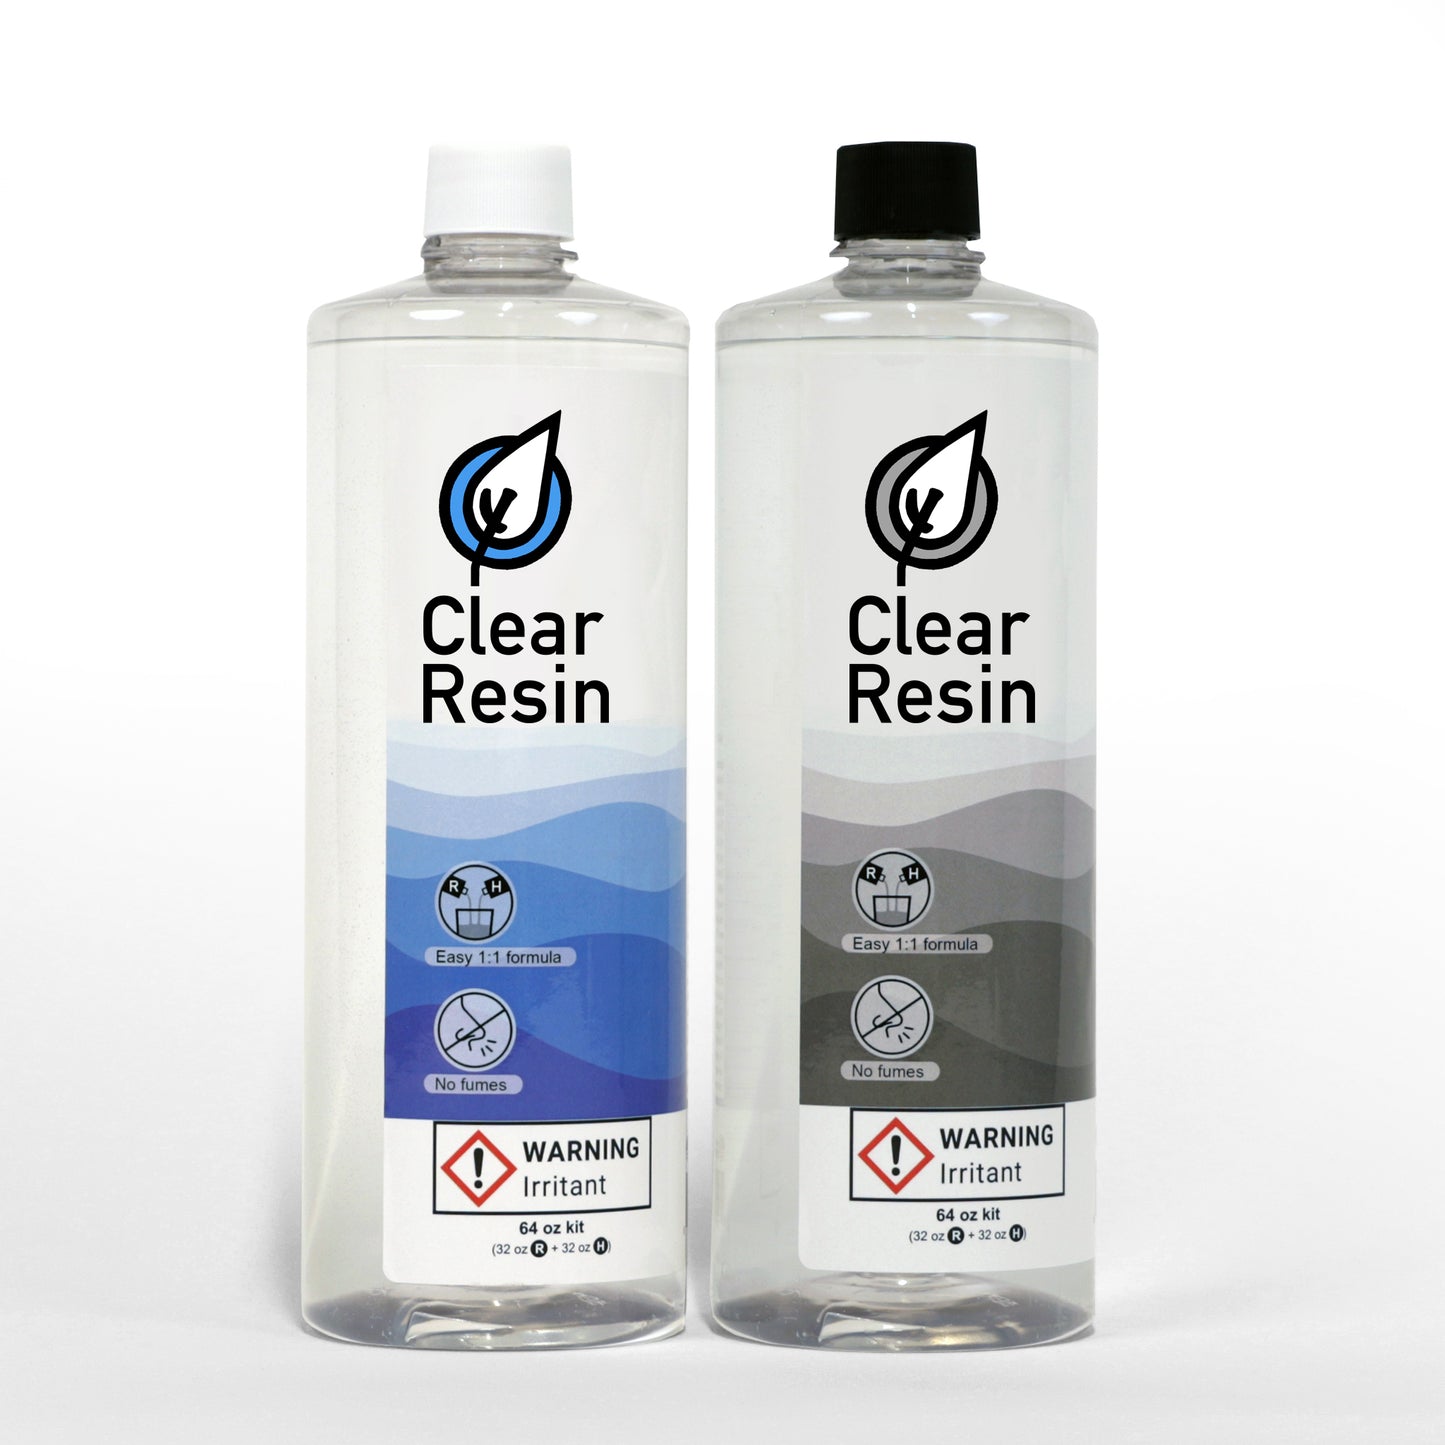
Clear Resin
Clear Epoxy Resin Kit - 64 oz
Share

What Makes Art-Grade Epoxy Different
Not all epoxy resin products are created equal. Art-specific formulas have lower viscosity, which means they flow more smoothly and release air bubbles faster. This matters when you're trying to create a glass-like finish on your artwork without imperfections.
Standard construction-grade epoxies cure too quickly and often have a yellowish tint right out of the bottle. That might work fine for garage floors, but it's terrible for art projects where clarity and color accuracy matter.
Understanding Epoxy Resin Properties for Artistic Applications
Viscosity and Flow Characteristics
The thickness of your epoxy determines how it spreads across surfaces and how well it captures fine details in resin molds. Thinner formulas work better for coating paintings and smaller craft projects, while medium-viscosity options handle dimensional pieces and geode art.
Clear Resin offers multiple viscosity options to match your specific project. A thin coat formula spreads easily over canvas without pooling in corners. Medium-body versions fill molds completely and capture intricate details without leaving voids.
UV Resistance: Why It Actually Matters
Here's something many artists learn the hard way: regular epoxy yellows. Sometimes within months. UV stabilizers aren't just a nice bonus; they're essential for preserving your artwork's appearance over time.
Projects exposed to natural light need maximum UV protection. Even pieces displayed indoors benefit from UV-resistant formulas because fluorescent lighting also degrades standard epoxy resin over the years of exposure.
Clear Resin incorporates advanced UV inhibitors that keep your art looking exactly as intended, whether it's hanging in a sunny gallery or sitting on a windowsill.
Cure Times and Working Periods
Most artists need at least 30-40 minutes to work. That gives you enough breathing room to:
- Pour your epoxy evenly
- Pop surface bubbles with a heat gun
- Add pigments, glitter, or other inclusions
- Adjust positioning before it starts to gel
Faster isn't always better. Quick-cure formulas might seem convenient, but they often trap bubbles and don't self-level properly. Clear Resin balances cure speed with workability, giving you control without unnecessary waiting.
Common Applications and Techniques
Coating Paintings and Canvas Art
Applying a resin coat over acrylic or oil paintings creates a professional, gallery-quality finish. The glossy surface intensifies colors and provides a protective barrier against dust, moisture, and minor scratches.
Application tips for Canvas:
- Seal porous surfaces first with a thin coat
- Tape the back edges to catch drips
- Pour from the center and spread outward
- Keep your workspace level (use a spirit level to check)
The self-leveling properties of art epoxy mean you don't need to spread it like paint. Just guide it to the edges and let physics do the work.
Resin Molds and Casting Projects
Craft epoxy works beautifully for casting jewelry, keychains, coasters, and decorative objects. Using quality resin molds designed for epoxy ensures clean releases and sharp details.
Silicone molds work best because epoxy doesn't bond to them. You can pop out cured pieces without mold release spray, though a light coating never hurts for complex shapes.
Popular casting applications:
- Jewelry pendants and earrings
- Decorative bookmarks
- Paperweights with embedded objects
- Custom coasters with dried flowers
- Small sculptures and figurines
Deep Pour and River Table Projects
Standard art resin isn't ideal for thick pours. The exothermic reaction (heat generation during curing) can crack regular formulas when poured deeper than half an inch.
Deep-pour epoxy formulas allow for layers up to 2-4 inches thick in a single pour. This works perfectly for river tables, ocean wave art, and dimensional geode pieces that need substantial depth.
Clear Resin's deep pour formula maintains clarity even in thick sections and cures with minimal heat buildup, reducing the risk of cracks or warping in your project.
Choosing the Right Formula for Your Project
Different epoxy projects call for different formulas depending on the pour depth involved. For canvas coating, a thin coat art resin works best, with a maximum pour depth of 1/8 inch and a 24-hour cure time. Jewelry and small mold projects suit a standard craft epoxy, which handles up to 1/4 inch and also cures in 24 hours.
Coasters and trivets require a medium-body casting formula that can be poured up to 1/2 inch deep and takes 24 to 36 hours to fully cure. River tables need a deep pour formula capable of handling 2 to 4 inches in a single pour, with a longer cure time of 48 to 72 hours.
Geode art sits somewhere in the middle, working well with either a medium-body or deep pour formula at depths of 1 to 2 inches and cure times of 36 to 48 hours.
Factors To Consider
-
Project Size
It influences which formula you choose. Small jewelry pieces need precision and bubble-free clarity. Large tabletops require formulas that won't generate excessive heat during curing.
-
Detail level
It matters too. Intricate resin molds with fine textures need lower-viscosity formulas that flow into every crevice. Simple geometric shapes work fine with thicker options.
-
Color and additives
They affect how you work with epoxy. Transparent pieces need the clearest possible base. Heavily pigmented projects have a bit more forgiveness for minor imperfections since they won't show through opaque colors.
Think about your experience level honestly. Beginners benefit from longer working times and more forgiving formulas. Advanced artists might prefer faster-curing options for production work.
Essential Supplies and Tools
-
Heat source
A propane torch or heat gun pops surface bubbles. Don't skip this step-those tiny bubbles become permanent if left alone.
-
Measuring tools
Accurate mixing ratios prevent tacky, under-cured disasters. Digital scales provide more consistent results than volume measurements.
-
Mixing containers
Use dedicated containers that won't be used for food. Clear plastic cups let you see when the components are fully blended.
-
Stir sticks
Wooden craft sticks or silicone spatulas work well. Mix thoroughly but gently to minimize bubble incorporation.
Resin Tools That Improve Results
-
Spreaders
Silicone or plastic spreaders help distribute epoxy evenly, especially on larger surfaces.
-
Level
Even slightly unlevel surfaces create uneven epoxy coats. A small bubble level prevents frustration.
-
Gloves
Nitrile gloves protect your skin. Some people develop sensitivity to uncured epoxy over time.
-
Drop cloths
Epoxy drips are permanent. Protect your work surface with plastic sheeting or silicone mats.
-
Respirator (for enclosed spaces)
Low-odor doesn't mean no fumes. If you're working in a small room without ventilation, wear appropriate respiratory protection.
Tips for Professional-Looking Results
Surface Preparation Makes or Breaks Your Project
Starting with a clean, dry, dust-free surface isn't optional. Any contamination-fingerprints, dust particles, or moisture will be permanently sealed under your epoxy coat and highly visible.
For wood projects, sand to at least 220 grit. Coarser surfaces create visible texture through the epoxy. Some artists prefer 320 grit for ultra-smooth finishes.
Seal porous materials before the final coat. Wood, canvas, and plaster absorb epoxy unevenly without a sealer coat, creating dark patches and depleted areas.
Temperature and Humidity Control
Epoxy cures best at room temperature, specifically between 70-75°F. Too cold, and it takes forever to cure (and might not cure completely). Too hot and it cures too fast, trapping bubbles.
High humidity can cause a cloudy finish called "blushing." Work on dry days when possible, or use a dehumidifier in your workspace.
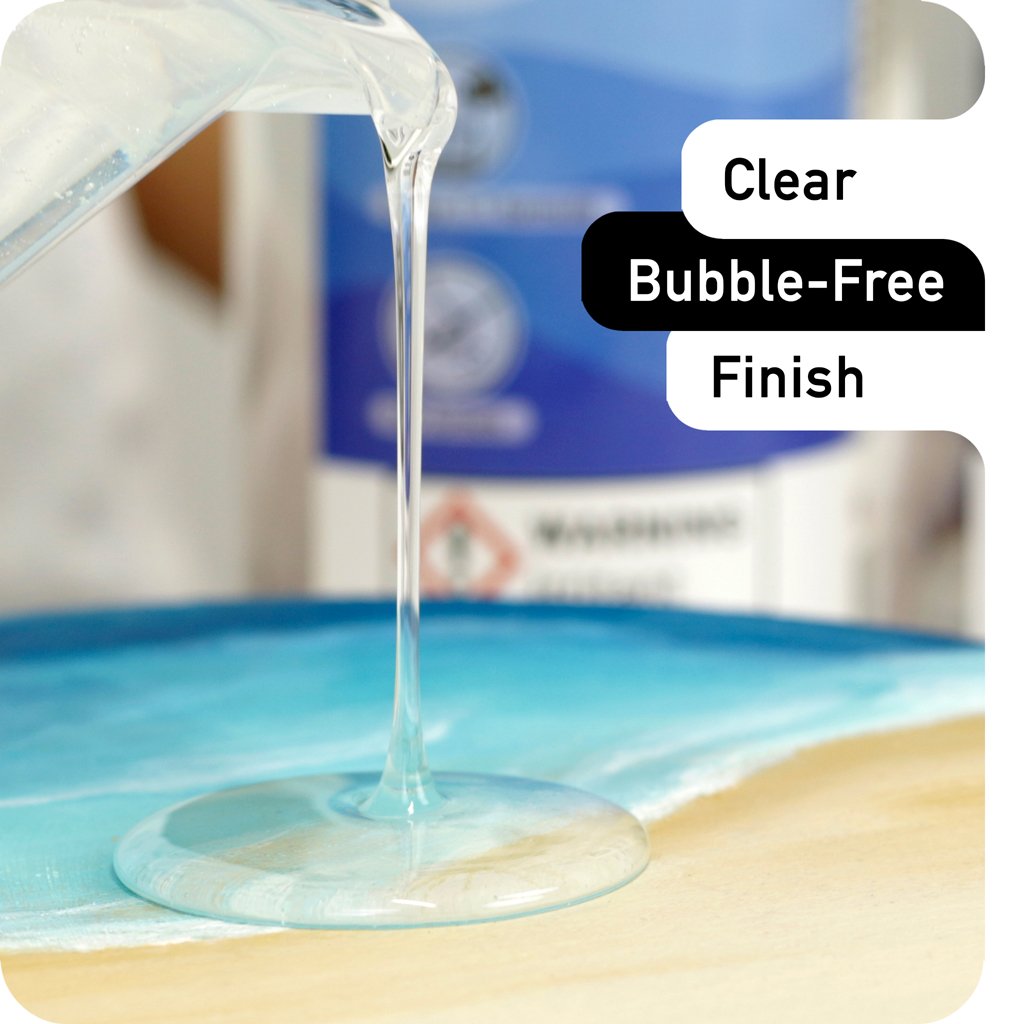
The Bubble Dilemma
Some bubbles are inevitable. Here's how to handle them:
1. Mix slowly and deliberately to minimize air incorporation
2. Let the mixed epoxy sit for 3-5 minutes before pouring (some bubbles rise naturally)
3. Pour in a thin stream from a moderate height to release trapped air
4. Pass a heat source across the surface 10-15 minutes after pouring
5. Re-check after 20-30 minutes and pop any stragglers
Don't overheat. Brief passes with your torch work better than sustained heating, which can scorch or create new problems.
Dust Protection During Curing
Epoxy stays tacky for hours before hardening. Any dust, pet hair, or insects that land on the surface become permanent inclusions.
Cover curing projects with a box or dust cover. Leave some air circulation-you don't want to seal in fumes-but block drifting particles.
Frequently Asked Questions
How do I prevent yellowing in my art epoxy over time?
Yellowing happens when UV light breaks down the epoxy molecules. Choose formulas with built-in UV stabilizers specifically designed for artistic applications. Even with UV protection, keep finished pieces out of direct sunlight when possible. Display art in areas with indirect lighting or use UV-filtering glass for framing. Clear Resin's UV-resistant formulas maintain their crystal clarity for years, even in well-lit gallery spaces or bright home environments.
What's the difference between deep pour and regular art resin?
Regular art resin generates significant heat when curing, which limits safe pour depth to about 1/8-1/4 inch per layer. Deep pour formulas are engineered to cure more slowly with reduced exothermic reaction, allowing single pours of 2-4 inches without cracking or overheating. The chemistry is fundamentally different-deep pour resin has modified hardeners that extend cure time and distribute heat more evenly. Use deep pour for river tables and thick dimensional pieces, standard art resin for coatings and thin applications.
Can I mix different pigments and additives into epoxy resin?
Yes, but use products specifically designed for epoxy systems. Alcohol inks, resin-compatible pigments, mica powders, and glitter all work well. Avoid water-based colorants-they don't mix properly and can prevent curing. Start with small amounts (2-5% by volume) and test before committing to large batches. Too much colorant can interfere with the chemical cure process. Metallic powders create stunning effects but may settle if you don't work quickly or choose a formula with appropriate viscosity.
How long should I wait before sanding or handling cured epoxy?
Most art epoxy formulas reach handling hardness in 24 hours, but full cure takes 72 hours or longer. You can remove pieces from molds or carefully move coated items after 24 hours, but wait at least 48-72 hours before sanding, drilling, or applying mechanical stress. The surface might feel hard, but the chemical cure continues internally for several days. Rushing this process can lead to surface damage or incomplete bonding between layers if you're doing multiple pours.
What should I do if my epoxy doesn't cure properly?
Incomplete curing usually results from incorrect mixing ratios, low temperature, or expired materials. If your epoxy remains tacky after 48 hours, try increasing the ambient temperature to 75-80°F using a space heater. Sometimes this kicks the cure process back into gear. If it's still tacky after another 48 hours at the proper temperature, you'll likely need to scrape it off and start over. Always measure precisely using a scale, mix for at least 3-4 minutes, and check expiration dates on both resin and hardener components.
Do I need different formulas for jewelry versus larger art pieces?
Not necessarily, but specific formulas optimize certain applications. Jewelry casting benefits from crystal-clear, bubble-free formulas with longer working times for detailed molds. Larger pieces like geode art or table coatings can use the same formula, though deep sections require deep pour varieties. Many artists keep multiple formulas on hand-a standard art resin for most projects and a deep pour option for dimensional work. Clear Resin offers complete compatibility across product lines, so you can use different formulas in the same project without adhesion issues.
Start Creating with Confidence
Quality materials make quality art. You've spent hours perfecting your technique, selecting colors, and planning your composition. Don't compromise that work with inferior epoxy that yellows, clouds, or fails to cure properly.
Clear Resin formulas give you the clarity, workability, and durability your artwork deserves. Our UV-resistant formulas protect your creative investment. Our extended working times let you perfect every detail. Our crystal-clear finish showcases your talent without distortion or discoloration.
Shop Clear Resin today and experience the difference that professional-grade art epoxy makes in your creative projects.