
Create Custom Coasters Using Clear Resin
Making your own drink coasters with epoxy resin is one of those projects that looks way more complicated than it actually is. With the right resin kit, a silicone mold, and maybe 20 minutes of hands-on work, you can produce coasters that genuinely look like something you would find in a boutique shop. Whether you are drawn to resin art for creative reasons or just want functional pieces for your home, epoxy resin for coasters is a great starting point.
The appeal is obvious. Epoxy cures into a hard, glossy surface that resists water rings and heat marks; exactly what a coaster needs to do. You can embed flowers, gold leaf, photographs, or colored pigment to make each piece completely custom. And honestly, once you pour your first set, you will probably want to keep going.

Clear Resin
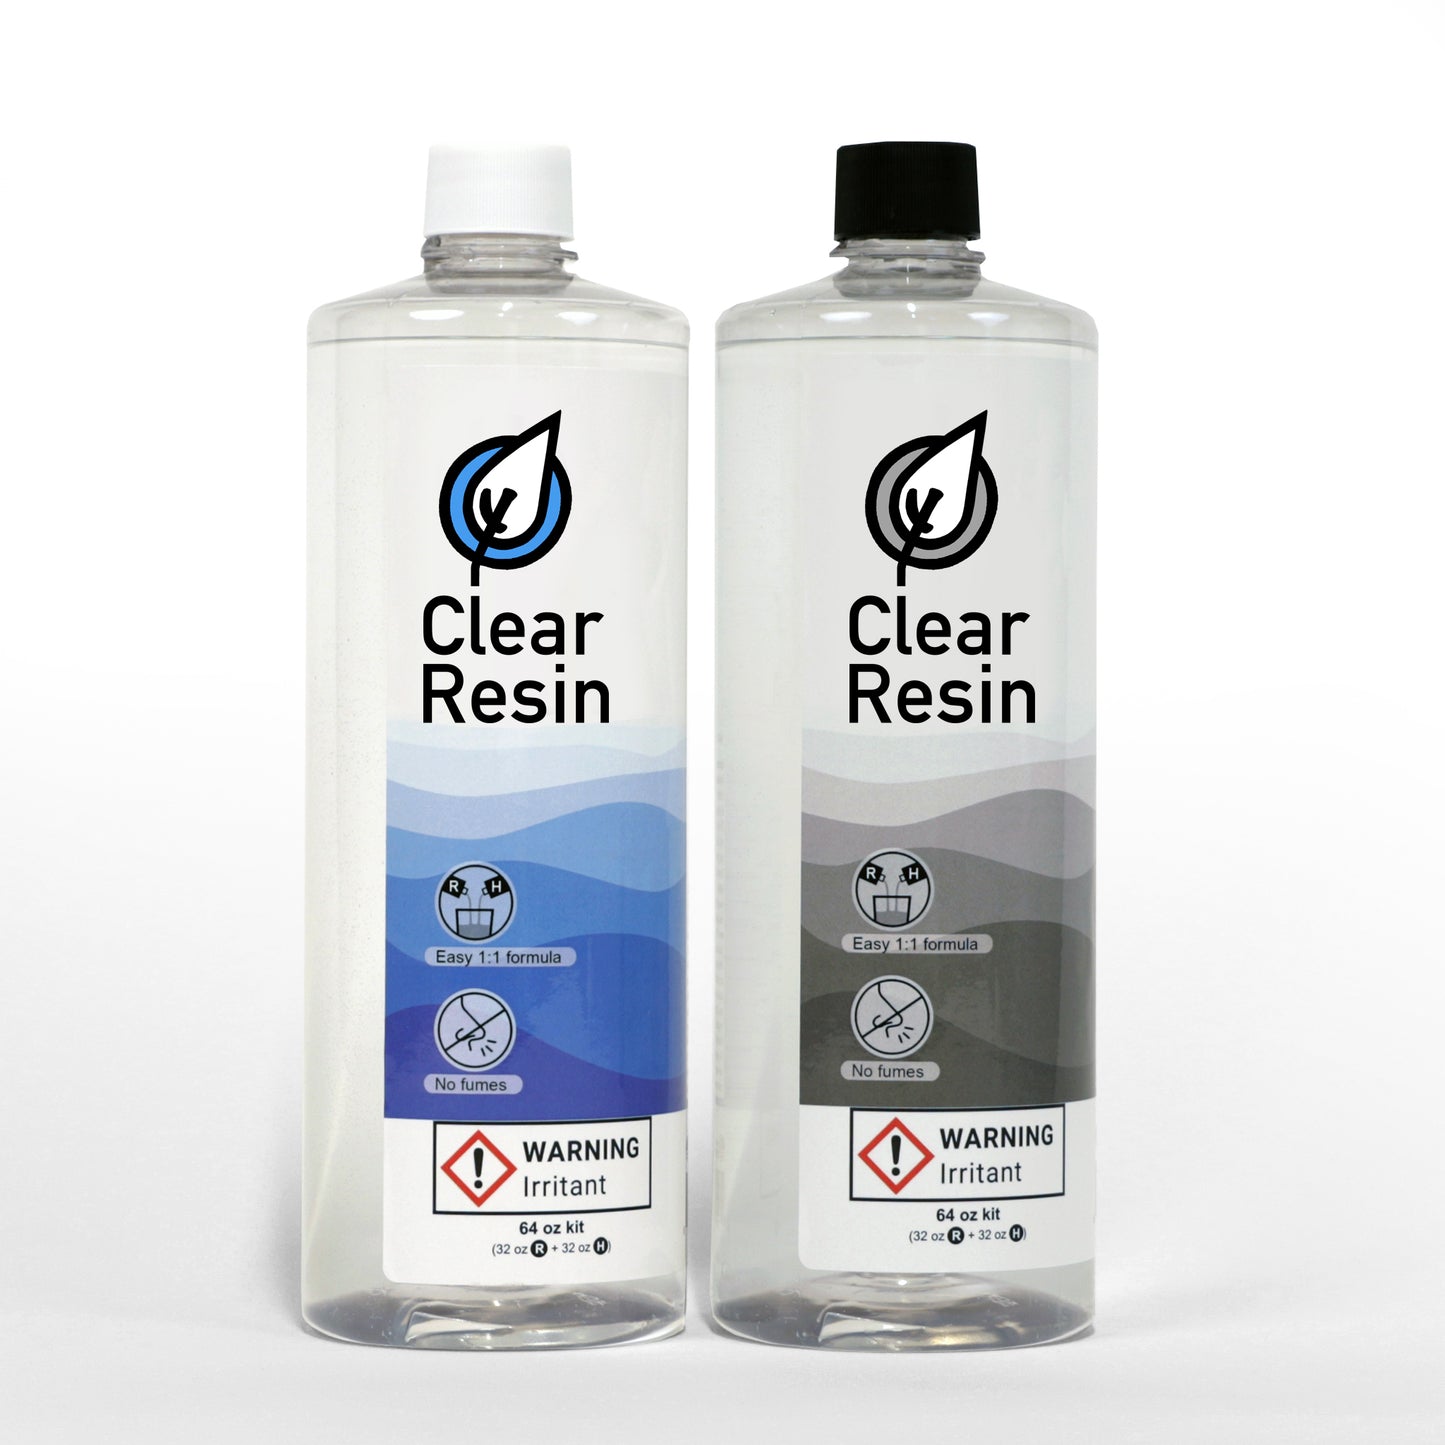
Clear Epoxy Resin Kit - 64 oz
Share
Why Epoxy Resin Is Ideal for Drink Coasters
Not every craft resin is suited for coasters. You need something that cures crystal clear, resists yellowing over time, and holds up against hot mugs and cold glasses without warping. Epoxy checks all of those boxes, which is why it has become the go-to material for this particular project.
A few specific qualities make epoxy stand out for coaster making:
1. Self-leveling properties: Most epoxy formulas spread evenly inside a mold with minimal effort, so you get a smooth, flat surface without needing to fuss over it.
2. High gloss finish: Once cured, the surface has a natural shine that does not require additional polishing, though you can sand and buff if you want a specific texture.
3. Durability: Cured epoxy is resistant to scratches, moisture, and moderate heat. It will not degrade the way softer resins might.
4. Compatibility with pigments and embeds: You can mix in mica powders, alcohol inks, glitter, or even embed solid objects like shells and dried flowers without weakening the final piece.
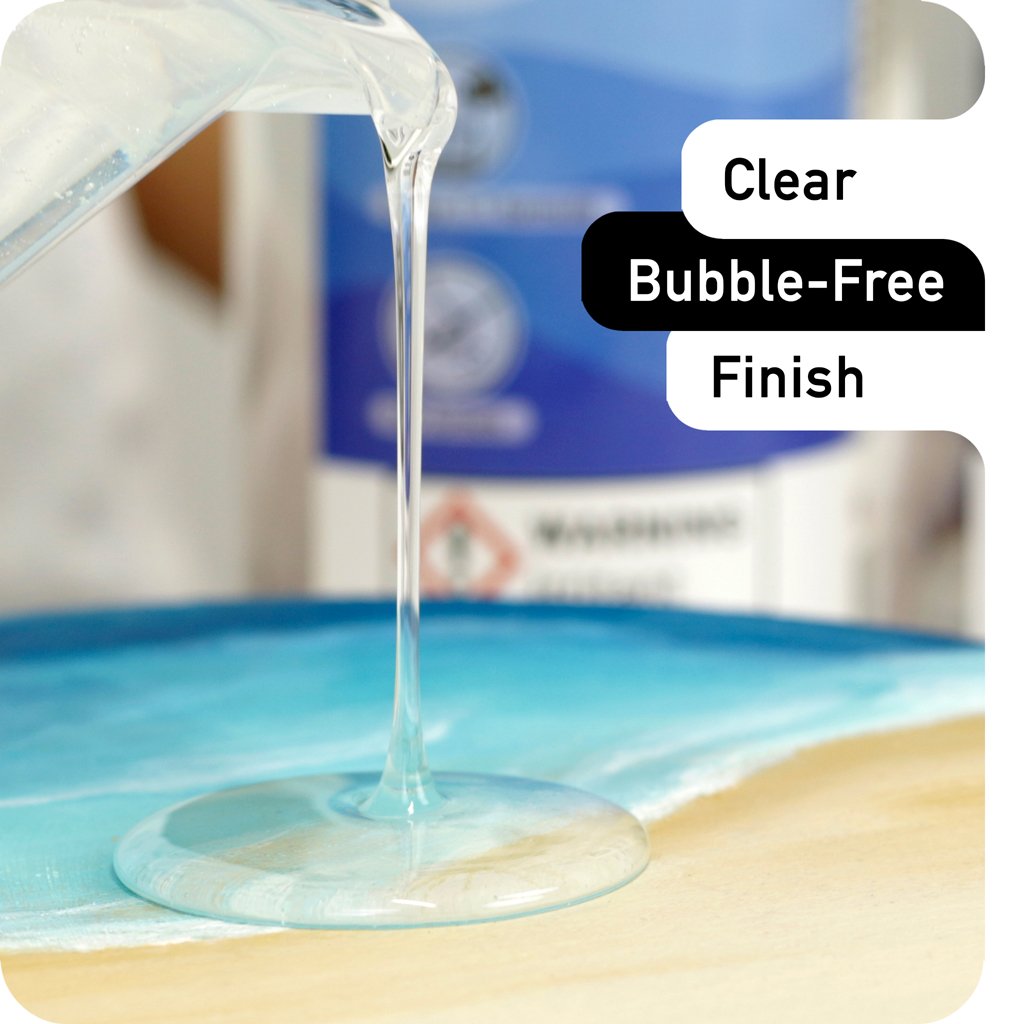
One thing worth noting: there are different types of epoxy on the market, and not all perform the same way. Some are formulated for thin coatings (like tabletop finishes), while others are designed for casting into molds. For coasters, a casting resin with a moderate cure time tends to give the best results because it allows bubbles to rise and escape before the material hardens.
What You Need to Get Started
Essential Tools and Materials
You do not need a studio full of supplies to make resin coasters. The list is surprisingly short, which is part of what makes this such an accessible craft.
At a minimum, you will need an epoxy resin kit that includes both resin and hardener, a set of coaster-sized silicone molds, graduated mixing cups for accurate measuring, and stir sticks for blending everything together. From there, pigment (mica powder or alcohol ink) gives you color options, and a heat gun or small butane torch helps pop surface bubbles after you pour.
Do not skip the basics, either. Nitrile gloves protect your skin, a drop cloth saves your workspace from drips, and fine-grit sandpaper (somewhere between 320 and 1000 grit) is useful for smoothing edges once the coasters are demolded.
Most of these tools are inexpensive or items you may already own. A quality resin kit is the biggest investment, and it is worth choosing one from a reputable brand rather than going with the cheapest option on Amazon. Cheap resins tend to yellow faster and produce more bubbles, which defeats the purpose of making something beautiful.
Picking the Right Silicone Mold
Molds come in all shapes: round, square, hexagonal, and even geode-style. Silicone is the preferred material because cured epoxy releases from it easily without the need for a separate mold release agent. Rigid plastic molds can work, but demolding is often more frustrating.
A few things to consider when choosing molds:
- Depth matters. Standard coasters are about 8 to 10mm thick. Your mold should match that depth, or you will end up with pieces that are either too thin to be practical or too thick to feel right in the hand.
- Smooth interior finish. The inside surface of the mold becomes the top of your coaster, so any imperfections in the mold transfer directly onto the final piece.
- Quantity per set. Some mold sets include four or six cavities, which lets you pour an entire matching set at once. That is a nice time saver if you are making gifts or want a cohesive look.
Perhaps the most common mistake beginners make is buying molds that are too shallow. Thin coasters crack easily and do not feel substantial enough to actually protect a surface.
How to Mix and Pour Epoxy for Coasters
This step is where most problems either start or are avoided entirely. Every epoxy formula has a specific ratio of resin to hardener, and getting it wrong will leave you with a sticky, uncured mess.
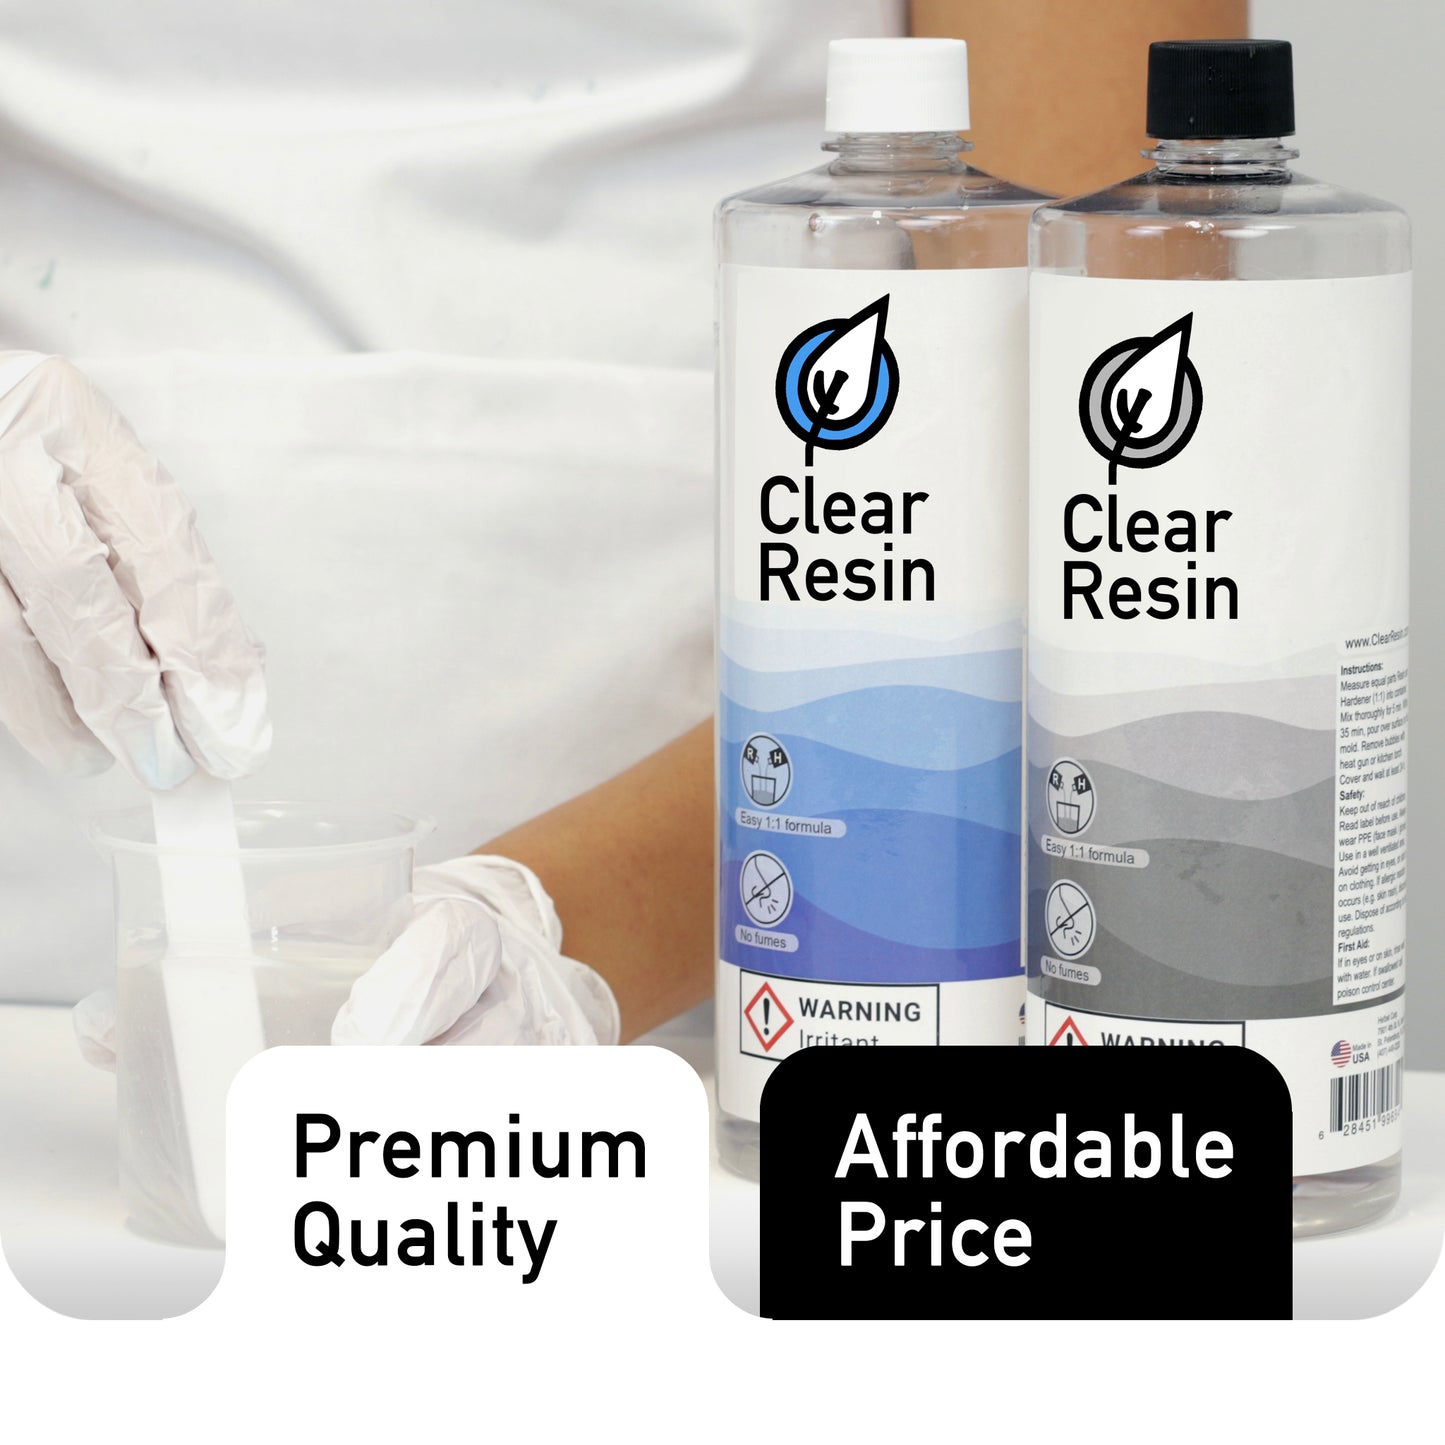
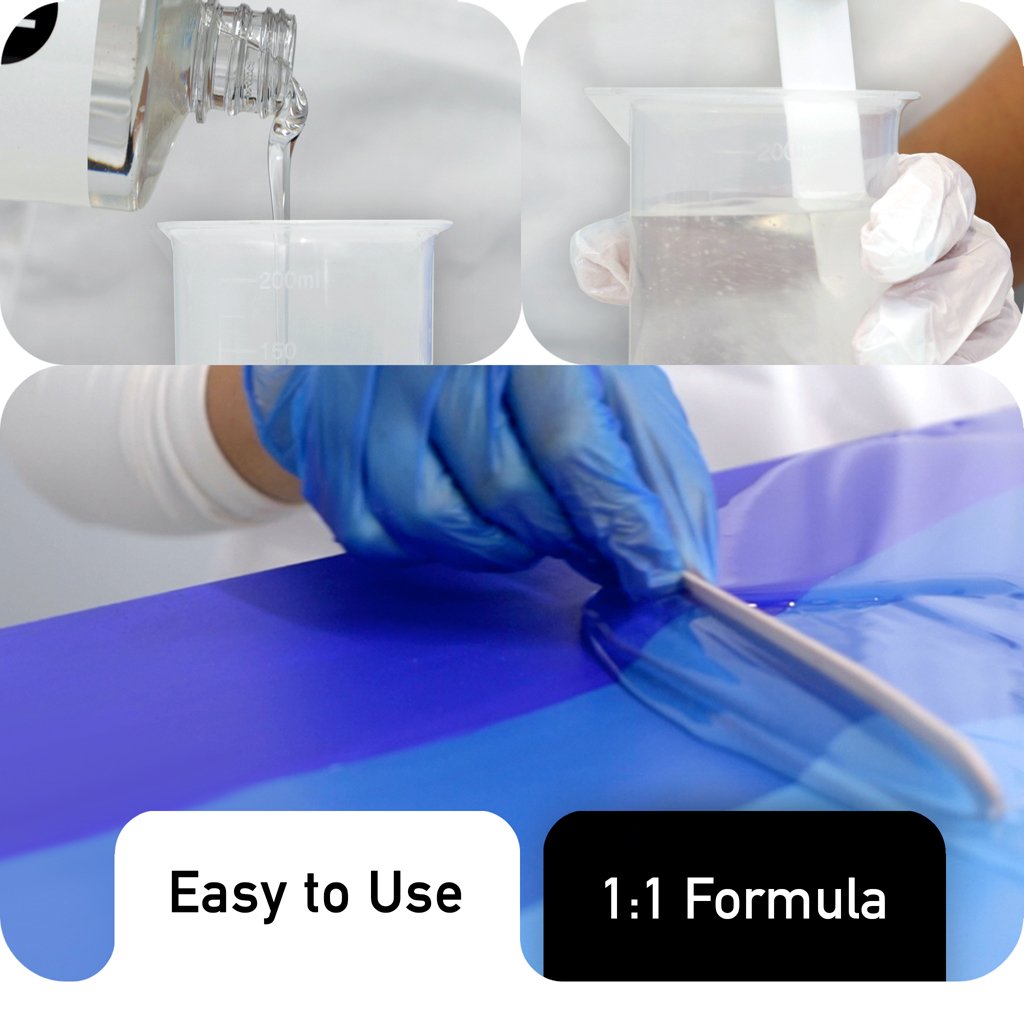
Follow the manufacturer's directions carefully. Most kits call for a 1:1 ratio by volume, but some use different proportions, so always double-check before you start measuring. Pour the resin into a graduated cup first, then add the hardener according to the specified amount.
Once both components are in the cup, stir slowly and thoroughly for at least three to five minutes. Scrape the sides and bottom of the cup as you go. Rushing this step is tempting, but undermixing is one of the top reasons epoxy fails to cure properly. You will notice the mixture looks cloudy at first and gradually becomes clear; that is your signal that the blend is coming together.
A small tip that honestly makes a difference: after mixing in your first cup, pour the blend into a second clean cup and stir again briefly. This catches any unmixed material clinging to the walls of the original container.
Pouring Techniques and Adding Pigment
With your epoxy mixed, it is time to pour. If you want a solid color, add pigment powder or alcohol ink to the resin before pouring and stir it in gently. A little pigment goes a long way; start with a small amount and build up. You can always add more color, but you cannot take it away.
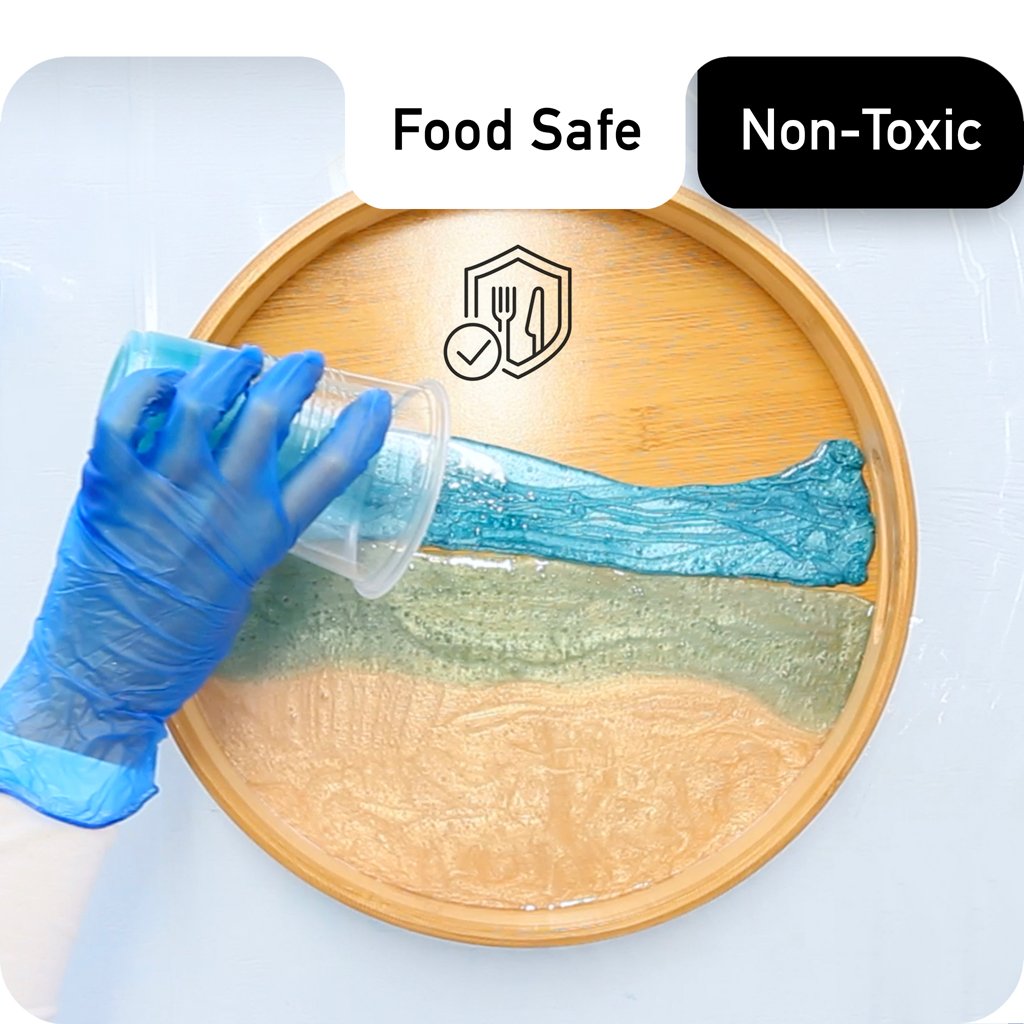
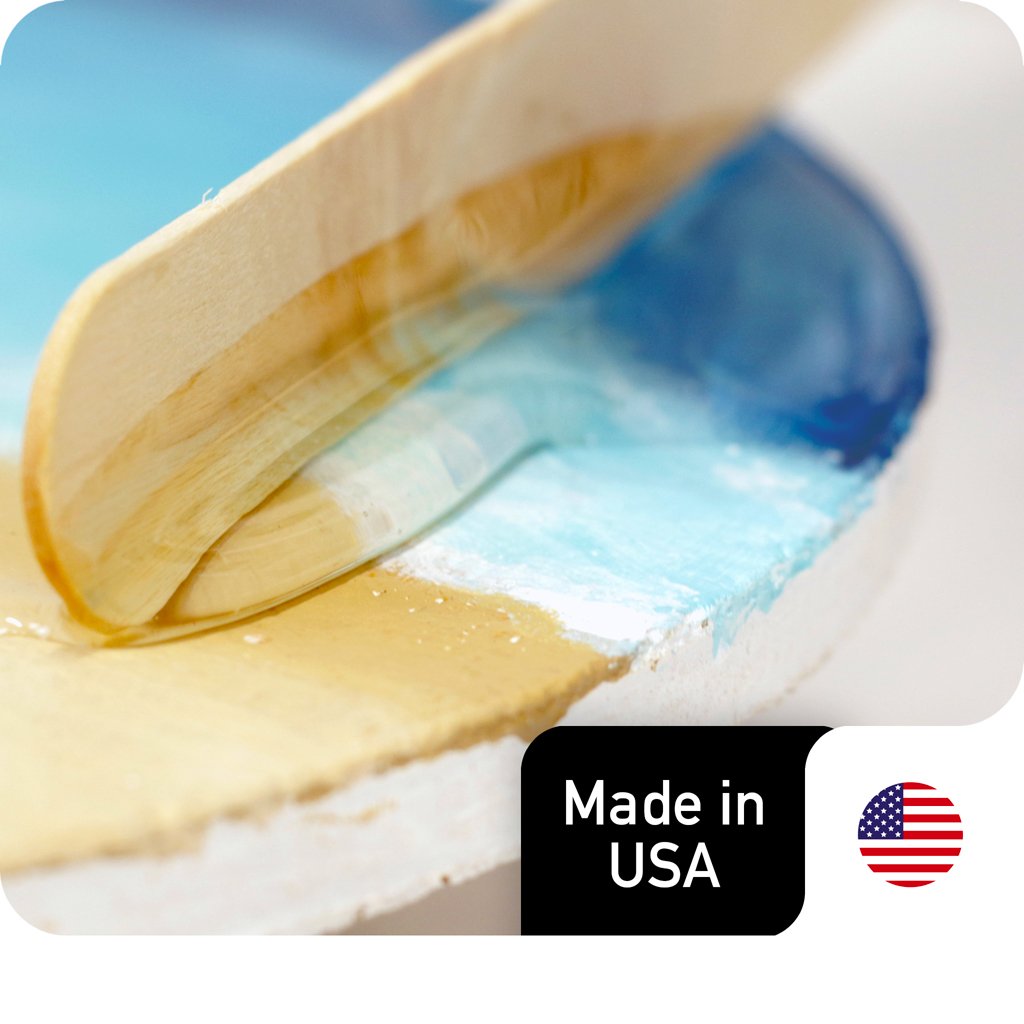
For layered or swirled designs, try dividing your mixed resin into separate cups and tinting each one differently. Pour them into the mold one at a time, or pour simultaneously from opposite sides and let the colors meet in the middle. A toothpick or thin stir stick dragged through the wet resin creates marbled effects that look incredible once cured.
After the pour, pass a heat gun or torch lightly over the surface to pop any trapped air bubbles. Keep the flame moving and hold it a few inches above the resin. Staying in one spot too long can scorch the material or warp the mold, so brief passes work best.
Curing, Demolding, and Finishing Your Coasters
Most epoxy formulas need somewhere between 24 and 72 hours for a full cure, depending on the product and room temperature. Warmer environments speed things up slightly, while cooler spaces slow the process down. Cover your molds loosely with a box or container to keep dust from settling on the tacky surface during the curing period.
Resist the urge to demold too early. Pulling a coaster out before the resin has fully hardened can leave fingerprint impressions or cause the piece to flex and lose its shape. When in doubt, give it extra time. Patience really does pay off here.
Sanding and Final Touches
Once your coasters are out of the mold, inspect the edges. You will often find a slight lip or rough ridge along the top edge where the resin met the rim of the mold. Fine-grit sandpaper takes care of this quickly.
Start with 320-grit to knock down any obvious rough spots, then work up to 600 or even 1000-grit for a polished feel. If you sand the flat surfaces at all, they may turn slightly hazy; a thin coat of resin or a spray of clear gloss restores the shine. Some crafters skip sanding altogether if the mold produces a clean enough edge, so it really depends on the quality of your mold and how precise you want the finished product to be.
Adding adhesive cork or felt pads to the bottom is a nice finishing touch. It protects furniture from scratches and gives the coasters a more professional, finished feel.
Design Ideas for Custom Resin Coasters
-
Ocean and beach themes
Layers of blue and white resin manipulated with a heat gun to mimic waves. Some makers add real sand or tiny shells along the "shore" for added realism.
-
Geode-inspired designs
Metallic pigments, crushed glass, and gold leaf arranged to resemble the cross-section of a crystal. These tend to look best in deep jewel tones.
-
Botanical embeds
Pressed flowers, leaves, or herbs encased in clear resin. Simple, elegant, and every single one turns out unique.
-
Minimalist solid colors
Sometimes a clean, single-tone coaster in matte black or white is all you need. Not every project has to be elaborate.
Using Pigment and Embeds for a Personal Touch
What sets DIY projects like this apart from store-bought options is the ability to make something truly personal. You could embed a small photo, a meaningful quote printed on vellum, or even a piece of fabric from a special occasion.
Pigment choices shape the entire mood of the piece. Metallic mica powders give a shimmery, almost liquid-metal look. Alcohol inks produce translucent, watercolor-like effects. Opaque paste pigments create bold, saturated tones. Mixing different types of colorants within the same pour can produce surprising results, though it takes some experimenting to figure out which combinations work best for your taste.
Common Mistakes to Avoid
Inaccurate measuring
Eyeballing the resin-to-hardener ratio almost always leads to problems. Use graduated cups and follow instructions precisely.
Not mixing long enough
Three minutes feels like a long time when you are stirring, but cutting it short leaves uncured patches throughout the coaster.
Working in a cold or humid room
Epoxy is sensitive to environmental conditions. Ideally, you want a room temperature of around 70 to 80°F and low humidity.
Overfilling the mold
Pouring too much resin causes overflow and creates uneven edges. Fill to about 90% capacity and let the self-leveling do its job.
Skipping the bubble removal step
- Those tiny air pockets are almost invisible in liquid resin but become very noticeable once the piece cures. A quick torch pass solves this.
Quick Fixes for Sticky or Cloudy Resin
If your coaster comes out of the mold feeling tacky, it usually means the resin and hardener were not mixed in the correct ratio, or the mixing was not thorough enough. In some cases, placing the piece in a warm spot (around 80°F) for an additional 24 hours helps it finish curing. If it remains soft after that, the batch was likely too far off ratio and the coaster may need to be recoated with a fresh, properly mixed layer of epoxy.
Cloudiness, on the other hand, often results from moisture contamination or working in high humidity. A light sand followed by a thin clear resin topcoat can rescue a cloudy coaster, though prevention is always easier than correction.
Frequently Asked Questions
How long does it take for epoxy resin coasters to fully cure?
Most epoxy resin products reach a solid demold state within 24 hours, but a full cure typically takes between 48 and 72 hours. Temperature plays a significant role in the timeline. Warmer rooms accelerate curing, while cooler conditions slow it down. It is best to leave coasters undisturbed and covered during this period to prevent dust from settling on the surface.
Checking the manufacturer's directions for your specific product is always a good idea, since formulas can vary quite a bit between brands.
Can I use any type of resin to make coasters?
Not all resins perform equally well for this type of project. Epoxy resin is the preferred choice because it cures hard, produces a clear and glossy finish, and resists moisture. Polyester resin, while cheaper, tends to have a stronger odor, yellows more quickly, and is generally less forgiving during the mixing process. UV resin works for very thin layers but is not practical for filling an entire coaster mold. For the best outcome with drink coasters, stick with a two-part epoxy casting resin that is specifically designed for mold work.
Are epoxy resin coasters heat-resistant?
Cured epoxy offers moderate heat resistance, generally tolerating temperatures up to about 120 to 150°F depending on the formula. A warm coffee mug or tea cup is typically fine. However, placing something extremely hot, like a pot straight from the stove, directly onto a resin coaster could soften or mark the surface.
For everyday use with standard beverages, epoxy resin coasters hold up well. If heat resistance is a primary concern for your project, look for epoxy products that specifically advertise higher temperature tolerances on the label.
Do I need to seal epoxy resin coasters after curing?
Technically, no. Fully cured epoxy is already waterproof and durable enough for regular use as a coaster. That said, some makers apply a thin clear topcoat or a spray sealant to add an extra layer of UV protection, which helps prevent yellowing over time if the coasters will sit near windows or in direct sunlight. It is an optional step that depends on personal preference and where the finished pieces will be used. For most indoor settings, the cured resin surface on its own is more than sufficient.
Ready to Pour Your First Set?
If this project has caught your attention, Clear Resin offers kits that include everything you need to get started, from the resin and hardener to detailed instructions that walk you through the entire process. Their formulas are designed specifically for craft and casting work, so you get a crystal-clear finish with minimal bubbles and consistent results. Whether you are a first-timer or someone who has been working with resin art for a while, picking up a Clear Resin kit is the simplest way to start your next coaster project. Head over to clearresin.com and find the right kit for what you have in mind.