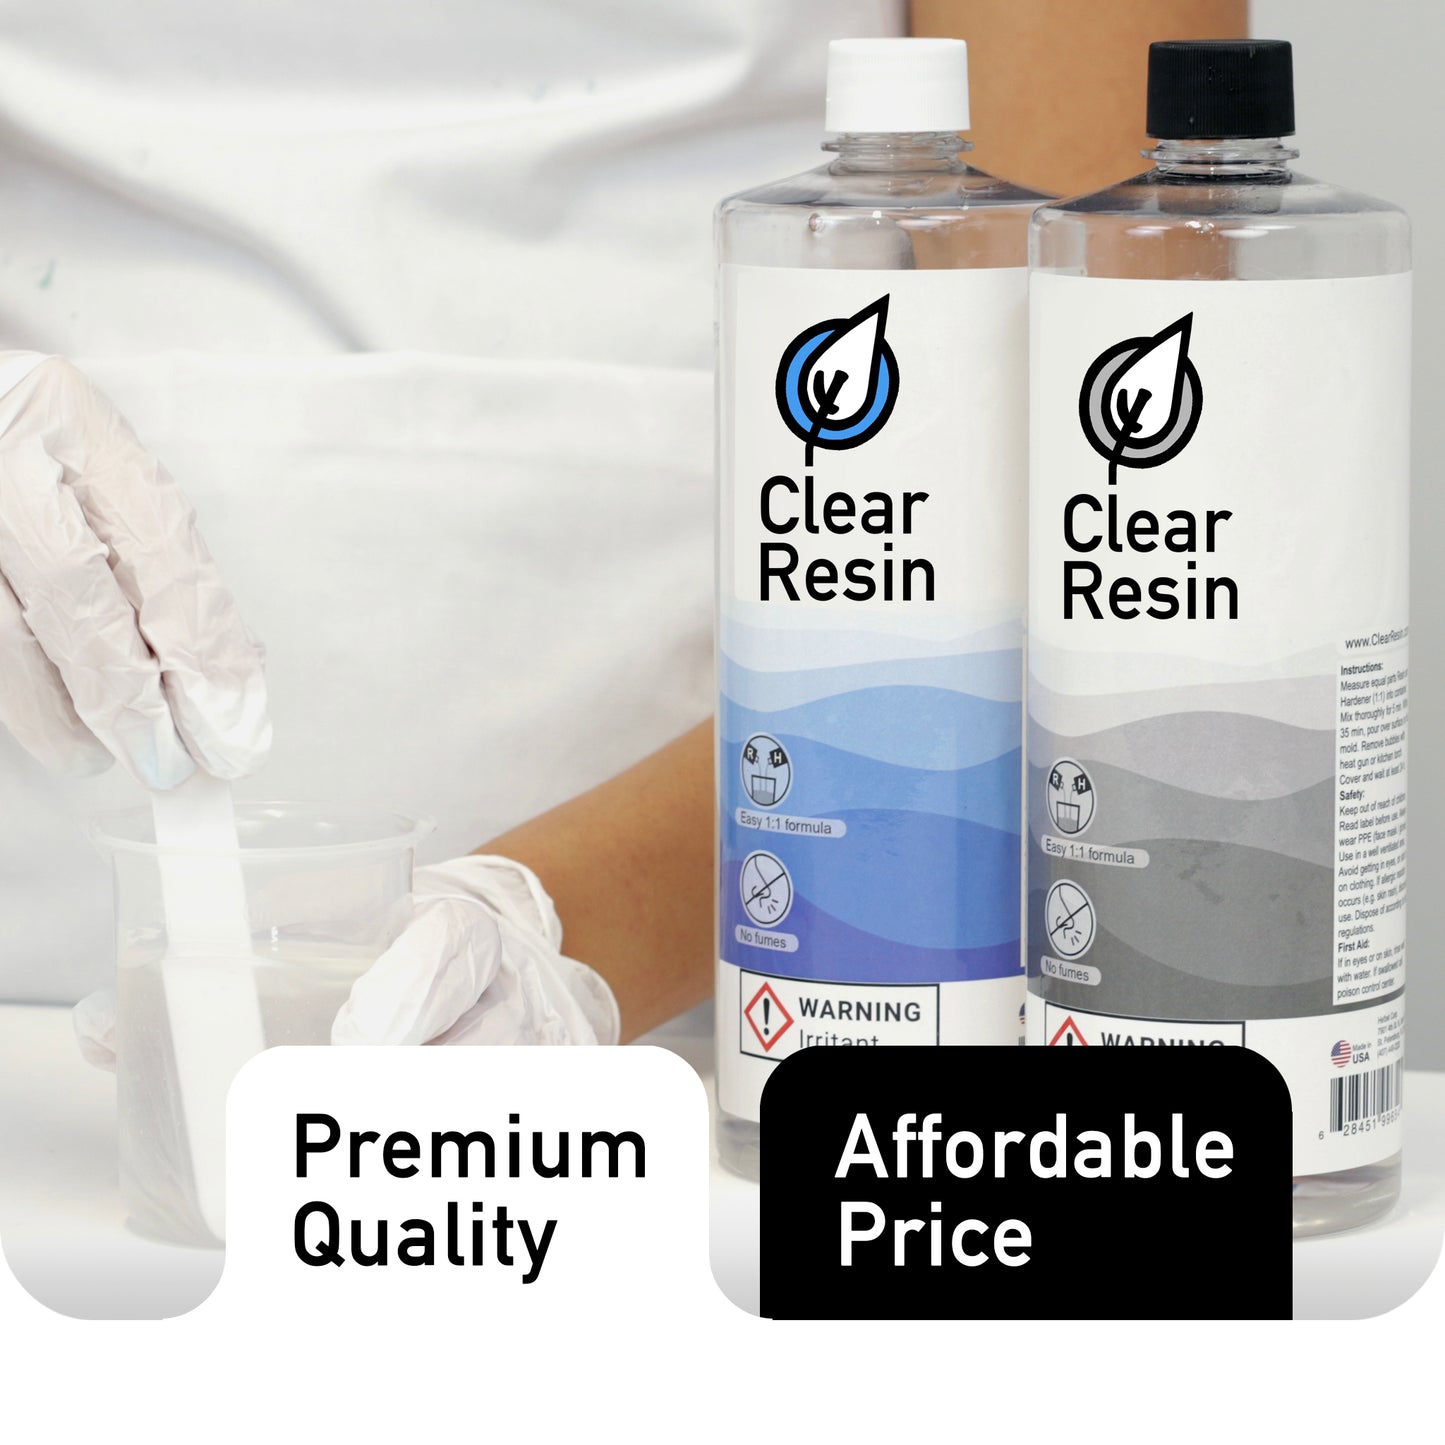
Premium Craft Epoxy Resin for Every DIY Creator

Crafting with epoxy opens up possibilities most people don't even know exist. You can turn simple molds into jewelry, create custom coasters that look store-bought, or make keychains your friends will actually want to keep.

Clear Resin formulas are designed specifically for crafters who want professional results without professional experience. Whether you're working on your first project or your hundredth, the right epoxy makes everything easier-from mixing to pouring to achieving that glass-like finish everyone wants.

What makes crafting epoxy different from other types? It's formulated for smaller projects with attention to detail. You get:

1. Crystal-clear transparency that shows off embedded objects beautifully

2. Longer working times, so you don't feel rushed

3. Self-leveling properties that fix minor mistakes automatically

4. Low odor for comfortable indoor crafting

5. Easy 1:1 mixing ratios (no complicated math required)

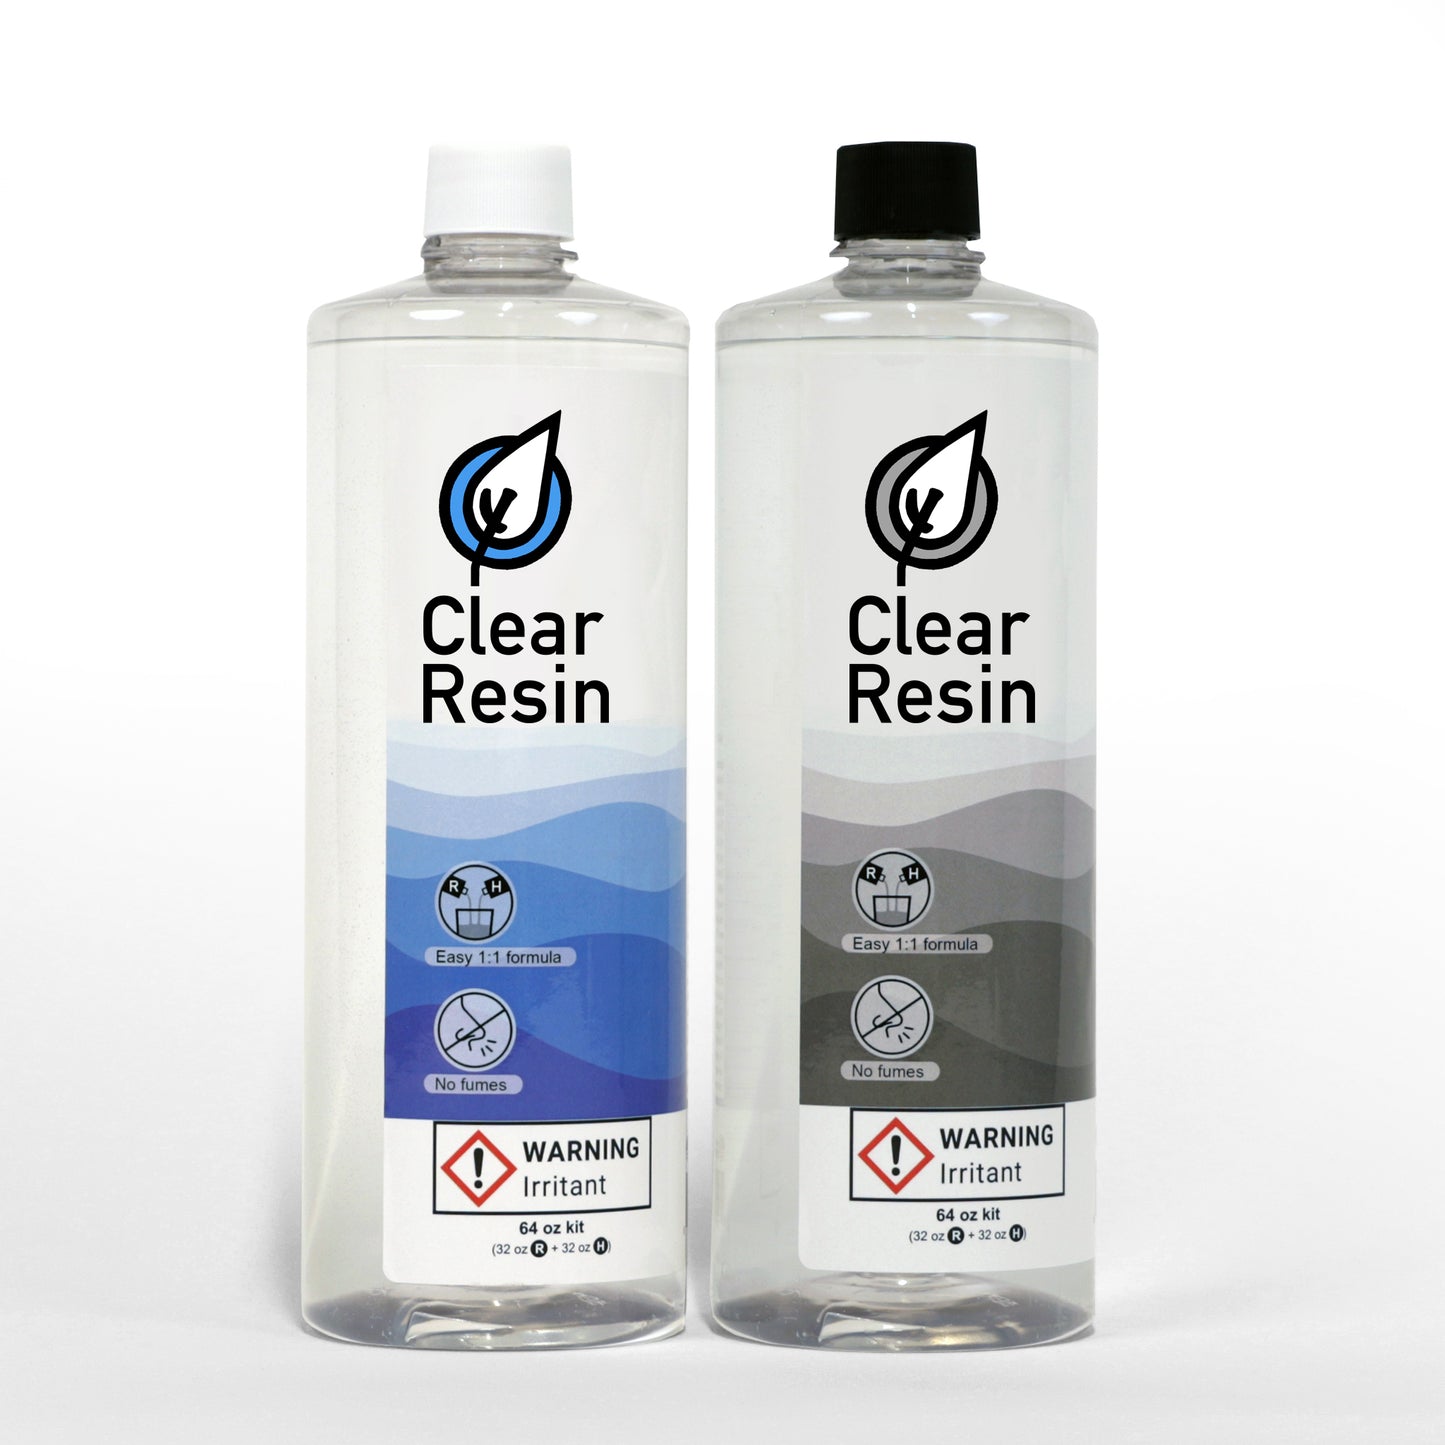
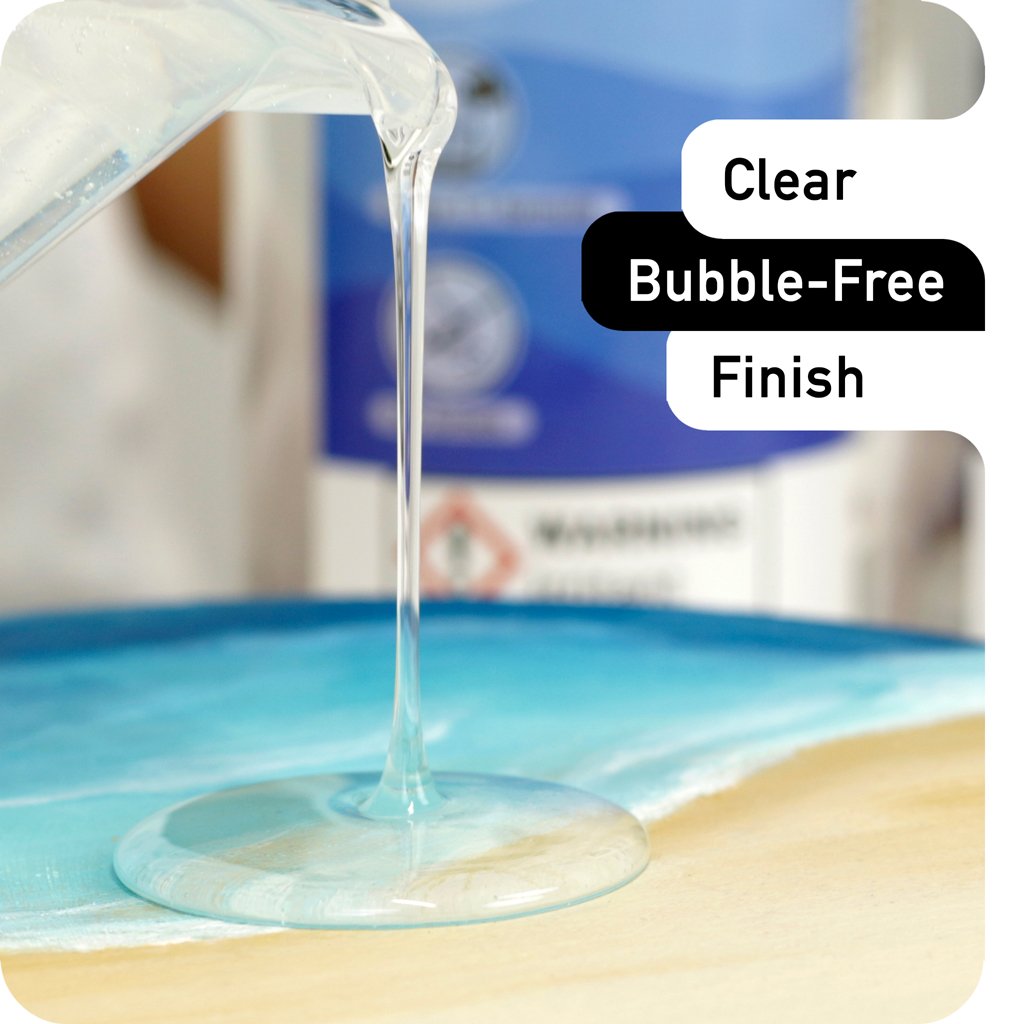
Why Clear Matters More Than You'd Think

Any bubbles, cloudiness, or yellowing ruins the whole point of transparent epoxy projects. You want people to see what you've embedded: flowers, glitter, photos, small trinkets-not a murky haze covering everything.

Clear Resin stays crystal clear from the moment you mix it through years of display. No yellowing. No clouding. Just permanent clarity that showcases your creative work exactly as intended.

Popular Craft Projects and Applications

Jewelry Making with Silicone Molds

Epoxy jewelry has exploded in popularity because it's genuinely easier than most people expect. Silicone molds come in hundreds of shapes-pendants, earrings, rings, bracelets-and epoxy releases from them perfectly once cured.

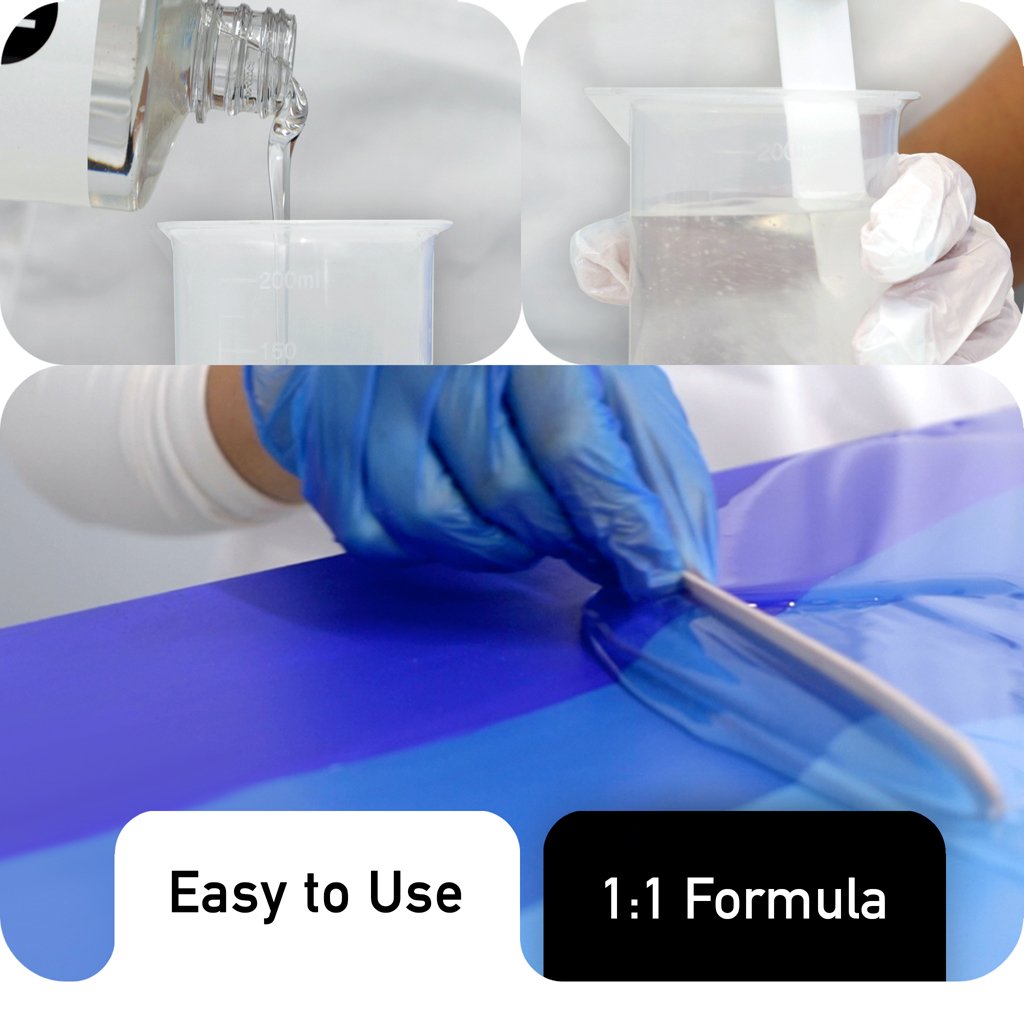
The process is straightforward:

  1. Choose your mold design
  2. Add any inclusions (dried flowers, glitter, small charms)
  3. Mix and pour your epoxy
  4. Pop out the cured piece after 24 hours
  5. Add findings (jump rings, earring posts, etc.)

Small jewelry molds need clear epoxy that captures fine details without air pockets. Thinner viscosity helps the resin flow into every corner of intricate designs.

Coasters and Home Décor Items

Custom coasters make great gifts and are ideal starter projects for beginners. They're large enough to work with comfortably but small enough that mistakes don't waste much material.

Popular coaster techniques include:

  • Geode style with alcohol inks and metallic pigments
  • Pressed flower preservation between clear layers
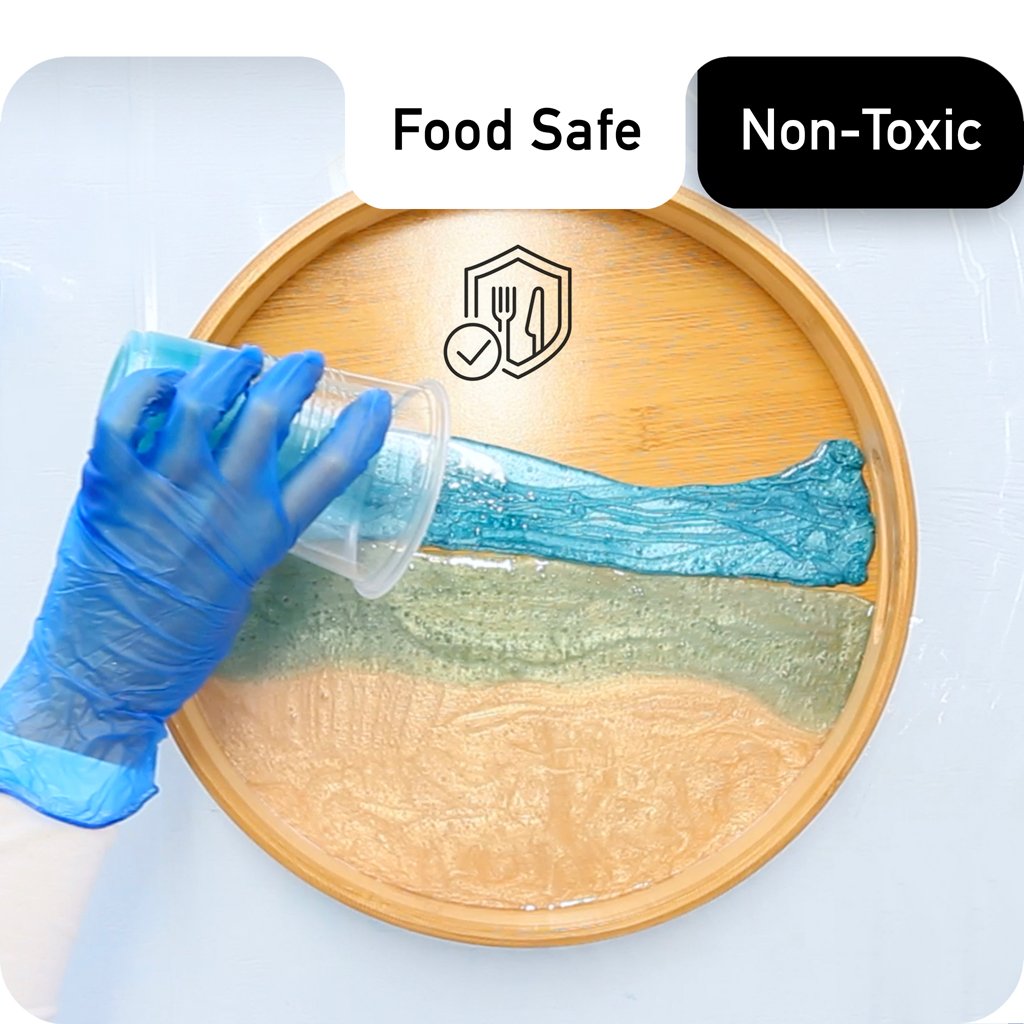
  • Beach theme with sand, shells, and ocean colors
  • Marble effect using white and gray swirls
  • Glitter patterns that catch light beautifully

Silicone coaster molds produce consistent shapes with smooth edges. Round molds are most common, but square and hexagon options create modern looks.

Keychains and Small Accessories

Keychain molds let you create personalized accessories people actually use daily. Think about it-how many handmade items do people carry with them every single day? Not many. But everyone needs keychains.

You can embed:

  • Dried flowers or plants
  • Small photos (laminate them first)
  • Glitter and metallic flakes
  • Tiny charms or beads
  • Colored resin layers

The small size means each keychain uses minimal epoxy, making them cost-effective for testing new techniques or creating multiple pieces.

Bookmarks and Stationery

Resin bookmarks combine functionality with art. Thin rectangular molds work best, and you can add decorative elements that reflect someone's interests-flowers for gardeners, stars for astronomy lovers, or simple, elegant designs for minimalists.

Think beyond basic bookmarks, though. Epoxy works beautifully for:

  • Decorative pen holders
  • Custom paperweights
  • Unique magnets
  • Picture frame embellishments
  • Letter organizers with embedded designs

Choosing Your Craft Kit and Essential Tools

What's Actually in a Starter Kit

Good starter kits include everything you need except the creative additions. Clear Resin craft kits typically contain:

  • Epoxy resin and hardener in beginner-friendly quantities
  • Mixing cups with measurement markings
  • Stir sticks (usually wooden or silicone)
  • Gloves to protect your hands
  • Instructions with mixing ratios and timing

Some expanded kits add basic silicone molds, pigments, or glitter to get you started immediately. That's helpful if you're completely new and don't want to source supplies separately.

Essential Tools Beyond the Basic Kit

Once you're past your first few projects, certain tools make crafting significantly easier:

  • Heat gun or torch: Absolutely necessary for removing surface bubbles. A small kitchen torch works fine and costs less than specialized resin torches.
  • Digital scale: More accurate than measuring by volume, especially for larger batches. Precision matters for proper resin curing.
  • Resin mixer: Electric mixers designed for epoxy reduce arm fatigue and create more thorough blending than hand stirring. Not essential for small batches, but helpful for production work.
  • Silicone mat: Protects your work surface and makes cleanup much easier. Cured epoxy peels right off silicone.
  • Level: Even slightly tilted surfaces create uneven pours. A small bubble level prevents frustration.

Mold Selection Guide

Silicone molds come in a bewildering variety, but a few practical categories cover most projects. Jewelry molds are designed for pendants, earrings, and rings, typically measuring 0.5 to 2 inches with high detail capability. Coaster molds handle drink coasters and trivets in the 3 to 4 inch range with medium detail. Keychain molds, used for bag charms and zipper pulls, fall between 1 and 2 inches and offer medium-high detail. Tray molds are larger at 4 to 8 inches, suited to catch-all dishes and soap dishes where low to medium detail is acceptable. Sphere molds, at 2 to 4 inches, produce decorative balls and paperweights with a smooth finish. Quality matters across all of these: higher-quality molds last longer and release finished pieces more easily, while cheap molds sometimes tear or develop rough edges after just a few uses.

Mixing, Pouring, and Curing Techniques

Getting the Ratio Right Every Time

Most craft epoxy uses 1:1 mixing ratios-equal parts resin and hardener. That's easier than formulas requiring 2:1 or 3:1 ratios, where mistakes are more likely.

Measure by weight, not volume, whenever possible. Resin and hardener have different densities, so volume measurements can be slightly off even when they look equal.

Mixing process:

  1. Pour resin into the mixing cup first
  2. Add an equal amount of hardener
  3. Stir slowly but thoroughly for 3-4 minutes
  4. Scrape the sides and bottom of the cup while mixing
  5. Let the mixture sit for 2-3 minutes (some bubbles rise naturally)

Don't whip or stir too vigorously. You're not making a milkshake. Slow, deliberate mixing incorporates the components without adding excessive air bubbles.

Color and Additive Techniques

Clear epoxy takes pigments, inks, and powders beautifully. Start with small amounts-you can always add more, but you can't remove excess color.

Popular additives for crafting:

  • Alcohol inks: Create vibrant, translucent colors with organic flow patterns
  • Resin pigments: Opaque colors that completely hide what's underneath
  • Mica powders: Metallic and pearlescent effects
  • Glitter: Fine glitter distributes more evenly than chunky varieties
  • Dried flowers: Must be completely dry or they'll rot inside the resin

Some additives affect cure time or final hardness. Metallic powders are generally safe. Certain organic materials can interfere with curing if you use too much.

The Bubble Problem (And How to Fix It)

Air bubbles are the most common complaint from new crafters. They happen. But they're fixable.

First line of defense: slow mixing reduces bubble creation. Second: let the mixed epoxy sit for a few minutes before pouring. Third: heat treatment after pouring.

Pass a heat gun or torch quickly over the surface 10-15 minutes after pouring. You'll see bubbles rise and pop immediately. Don't hold the heat source in one spot-keep it moving to avoid scorching.

Check again after 20-30 minutes and do another heat pass if needed. Most bubbles appear in the first hour, so vigilance during this window matters most.

Cure Times for Different Project Types

Cure times vary depending on project thickness, and patience pays off in the final result. Thin jewelry pieces can typically be demolded after 18 to 24 hours, are safe to handle at around 24 hours, and reach full cure at 72 hours. Coasters at 1/4 inch thickness demold at 24 hours, are handleable between 24 and 36 hours, and also reach full cure at the 72-hour mark.

Keychains follow a similar schedule to jewelry, demolding in 18 to 24 hours with safe handling at 24 hours and full cure at 72 hours. Thicker projects around 1/2 inch need significantly longer: 36 to 48 hours to demold, 48 hours before safe handling, and a full 5 to 7 days to completely cure. Temperature affects these times significantly. Warmer rooms between 75 and 80°F cure faster, while cold rooms below 65°F can double cure times or prevent proper curing entirely.

Tips for Professional-Looking Results

Temperature and Environment Control

Room temperature between 70-75°F works best for most craft epoxy. Too cold, and your epoxy stays syrupy forever. Too hot and it cures before you finish working with it.

Humidity matters too. High humidity can cause surface clouding called "blushing" that ruins the crystal-clear finish you're trying to achieve. Work on dry days when possible, or run a dehumidifier in your crafting space.

Keep dust and pet hair away from curing projects. That glossy surface acts like a magnet for airborne particles. Cover projects with a box or dedicated dust cover while they cure.

Avoiding Common Beginner Mistakes

Mistake #1: Rushing the mixing process: Incomplete mixing of epoxy creates soft spots or tacky areas that never fully harden. Set a timer for at least 3 minutes and mix thoroughly.

Mistake #2: Overfilling molds: Epoxy expands slightly as it cures and can overflow molds if filled to the absolute top. Leave about 1/8 inch of space, especially with domed designs.

Mistake #3: Touching too early: Yes, it looks solid. No, it's not ready. Respect the mold times. Removing pieces too early can leave fingerprints or cause warping.

Mistake #4: Working in direct sunlight: Heat from sunlight accelerates curing unevenly and can create hot spots that bubble or crack. Work in indirect lighting.

Mistake #5: Using dirty or damp molds: Any contamination gets sealed into your project. Wash molds with dish soap, dry completely, and wipe with isopropyl alcohol before pouring.

Finishing and Polishing Techniques

Sometimes, cured pieces need minor finishing work. Rough edges can be sanded with 400-600 grit sandpaper, followed by 1000+ grit for smoothness.

Sanded areas lose their shine. Restore gloss by:

1. Applying a thin, clear coat of fresh epoxy

2. Buffing with resin polish and a soft cloth

3. Using a small torch to quickly regloss the surface (advanced technique)

Drill holes carefully if adding findings to jewelry. Use a sharp bit, work slowly, and support the piece from underneath to prevent cracking.

Frequently Asked Questions

What's the ideal working time for craft epoxy projects?

Most craft epoxy formulas provide 30-45 minutes of working time after mixing, which gives you enough flexibility to pour multiple molds, add pigments, arrange inclusions, and pop surface bubbles without rushing. Working time depends on ambient temperature, and the specific formula-warmer environments shorten it while cooler rooms extend it. Clear Resin's craft formulas are designed for comfortable working periods that accommodate detailed projects without premature gelling.

Can I use regular household items as resin molds?

Technically, yes, but results vary dramatically. Epoxy releases well from silicone, some plastics, and wax-coated surfaces, but bonds permanently to most other materials. Glass and metal require mold release spray. Paper, cardboard, and wood absorb resin and won't release cleanly. Food containers might work once, but degrade with repeated use. Purpose-made silicone molds deliver consistent professional results and last through dozens of projects, making them worth the investment for serious crafting.

How do I prevent yellowing in my craft projects over time?

Yellowing occurs when UV light degrades epoxy molecules. Choose formulas with UV stabilizers specifically designed for crafting applications. Even with UV protection, avoid displaying finished pieces in direct sunlight for extended periods. For items that will be outdoors or in sunny windowsills, apply a UV-resistant topcoat or use a specialized outdoor-grade epoxy. Clear Resin formulas include UV inhibitors that maintain crystal clarity for years under normal indoor display conditions.

What's the difference between craft resin and other epoxy types?

Craft epoxy is formulated for smaller projects requiring fine detail, longer working times, and crystal clarity. It has lower viscosity than industrial epoxies, flows better into detailed molds, and releases bubbles more easily. Table-top epoxy is thicker and designed for coating large flat surfaces. Deep pour formulas allow thick sections without overheating. Craft formulas typically have 1:1 mixing ratios for simplicity, while other types may require more complex ratios. Each type is optimized for specific applications.

Can I layer different colors of epoxy in one mold?

Yes, layering creates stunning dimensional effects. Let each layer cure to a gel state (firm but slightly tacky) before adding the next layer, usually 3-6 hours depending on temperature and thickness. This prevents colors from bleeding together while ensuring chemical bonding between layers. If a layer fully hardens, lightly sand the surface before adding the next pour to improve adhesion. Planning layer timing is part of the creative process for complex, multi-colored craft pieces.

How much epoxy do I need for a specific mold size?

Calculate mold volume in cubic inches (length × width × depth), then convert to fluid ounces. Most epoxy has a similar density, so 1 cubic inch equals approximately 0.55 fluid ounces of mixed epoxy. Round up to account for spillage and mixing cup residue. For example, a 4-inch round coaster mold that's 0.25 inches deep holds roughly 3 cubic inches or about 1.6 ounces total. Buying slightly more than calculated prevents frustrating shortages mid-project.

Start Your Crafting Adventure Today

Quality epoxy removes the guesswork from crafting. You've got creative ideas waiting to become real projects-don't let poor materials hold you back or waste your time with tackiness, yellowing, or cloudy finishes.

Clear Resin delivers the clarity, workability, and reliable results your craft projects deserve. Shop our beginner-friendly kits or individual components today and create something you'll be proud to display, gift, or sell.