
Embed Objects in Epoxy Resin for Striking Custom Designs
There is something genuinely captivating about seeing an object frozen in clear resin. A dried flower suspended mid-air inside a paperweight, a collection of seashells locked beneath a glossy table top surface, a baby's first shoes preserved in a crystal-clear block. Epoxy resin for embedded designs makes all of this possible, and the process is more accessible than most people realize.
Resin embedding has grown from a niche craft into one of the most popular forms of resin art. Part of the appeal is the permanence; once an object is cast inside cured epoxy, it is protected from dust, moisture, fading, and physical damage. The other part is simply how good it looks. A well-executed embedded piece catches light, draws attention, and turns ordinary objects into something worth displaying.
Whether you are preserving personal keepsakes or creating art for sale, understanding how to properly embed objects in resin is the difference between a professional-looking result and a cloudy, bubble-filled disappointment.

Clear Resin
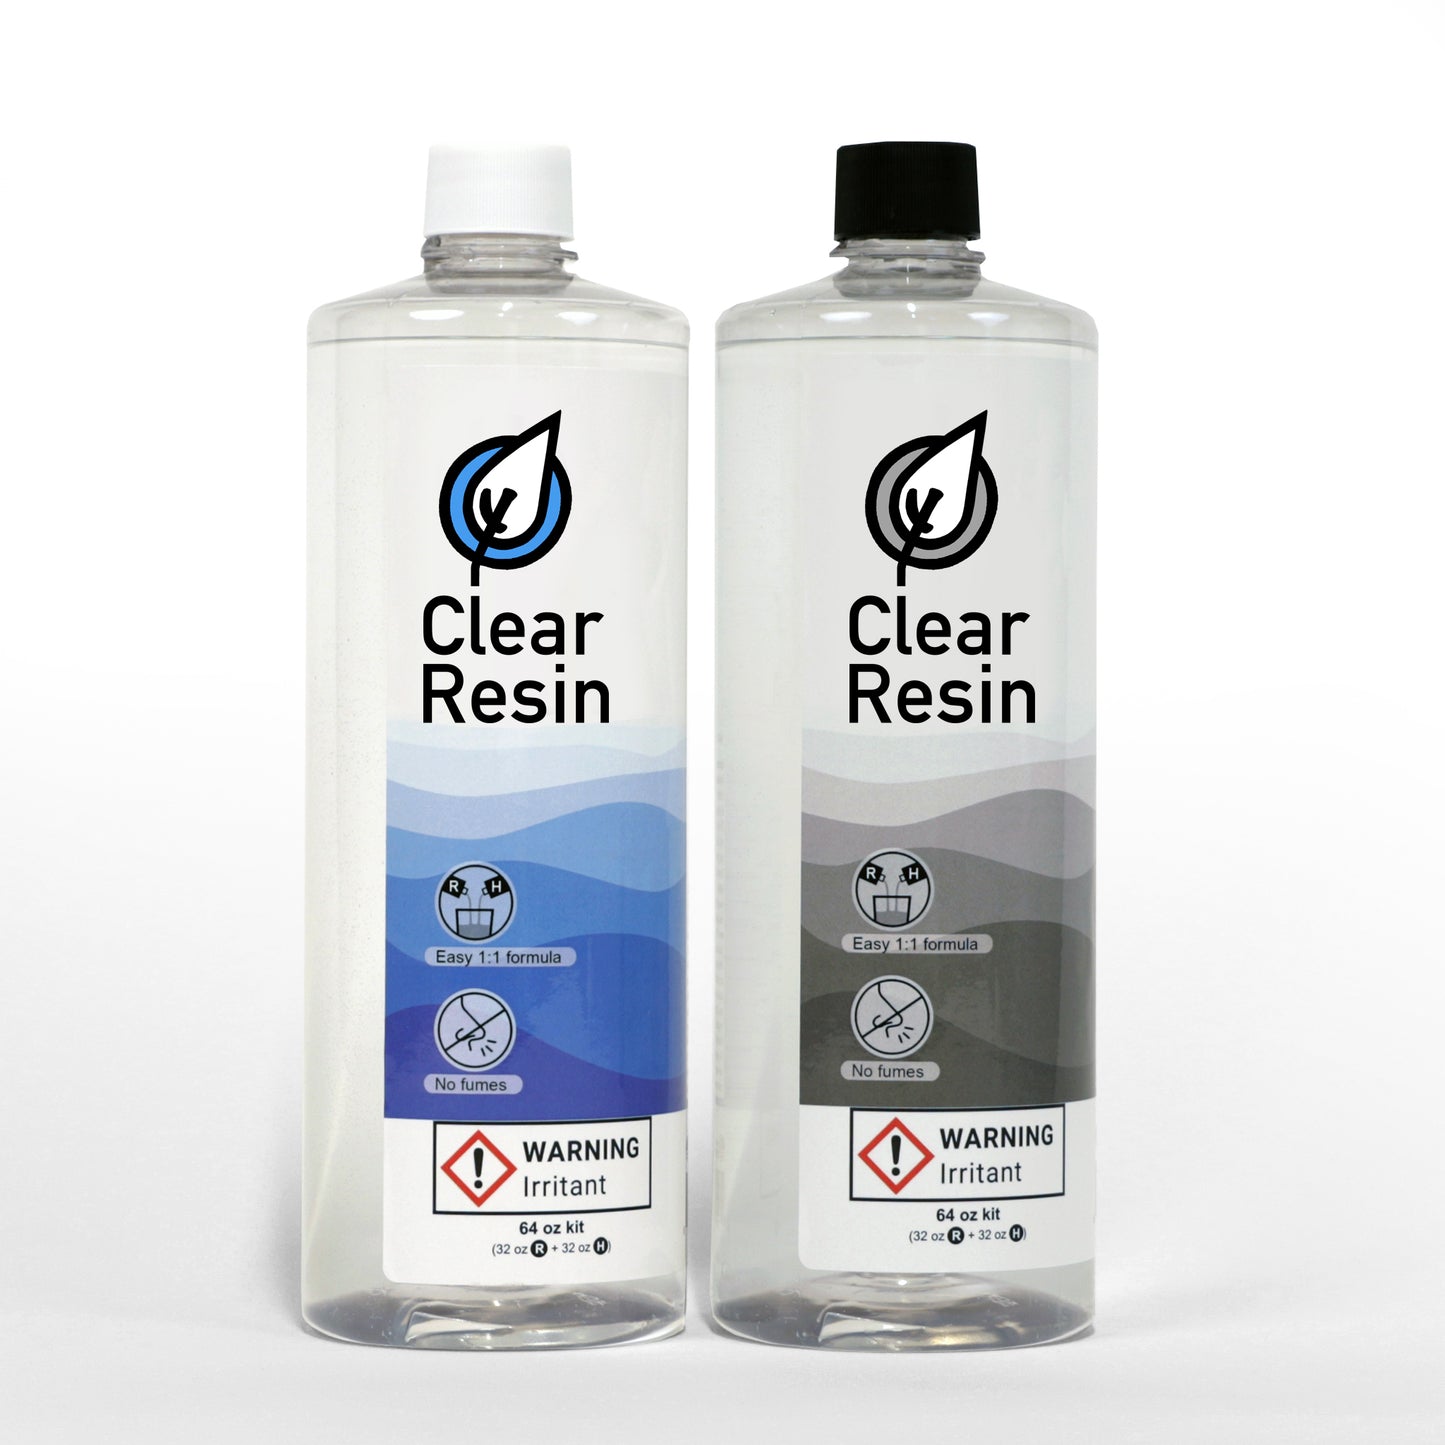
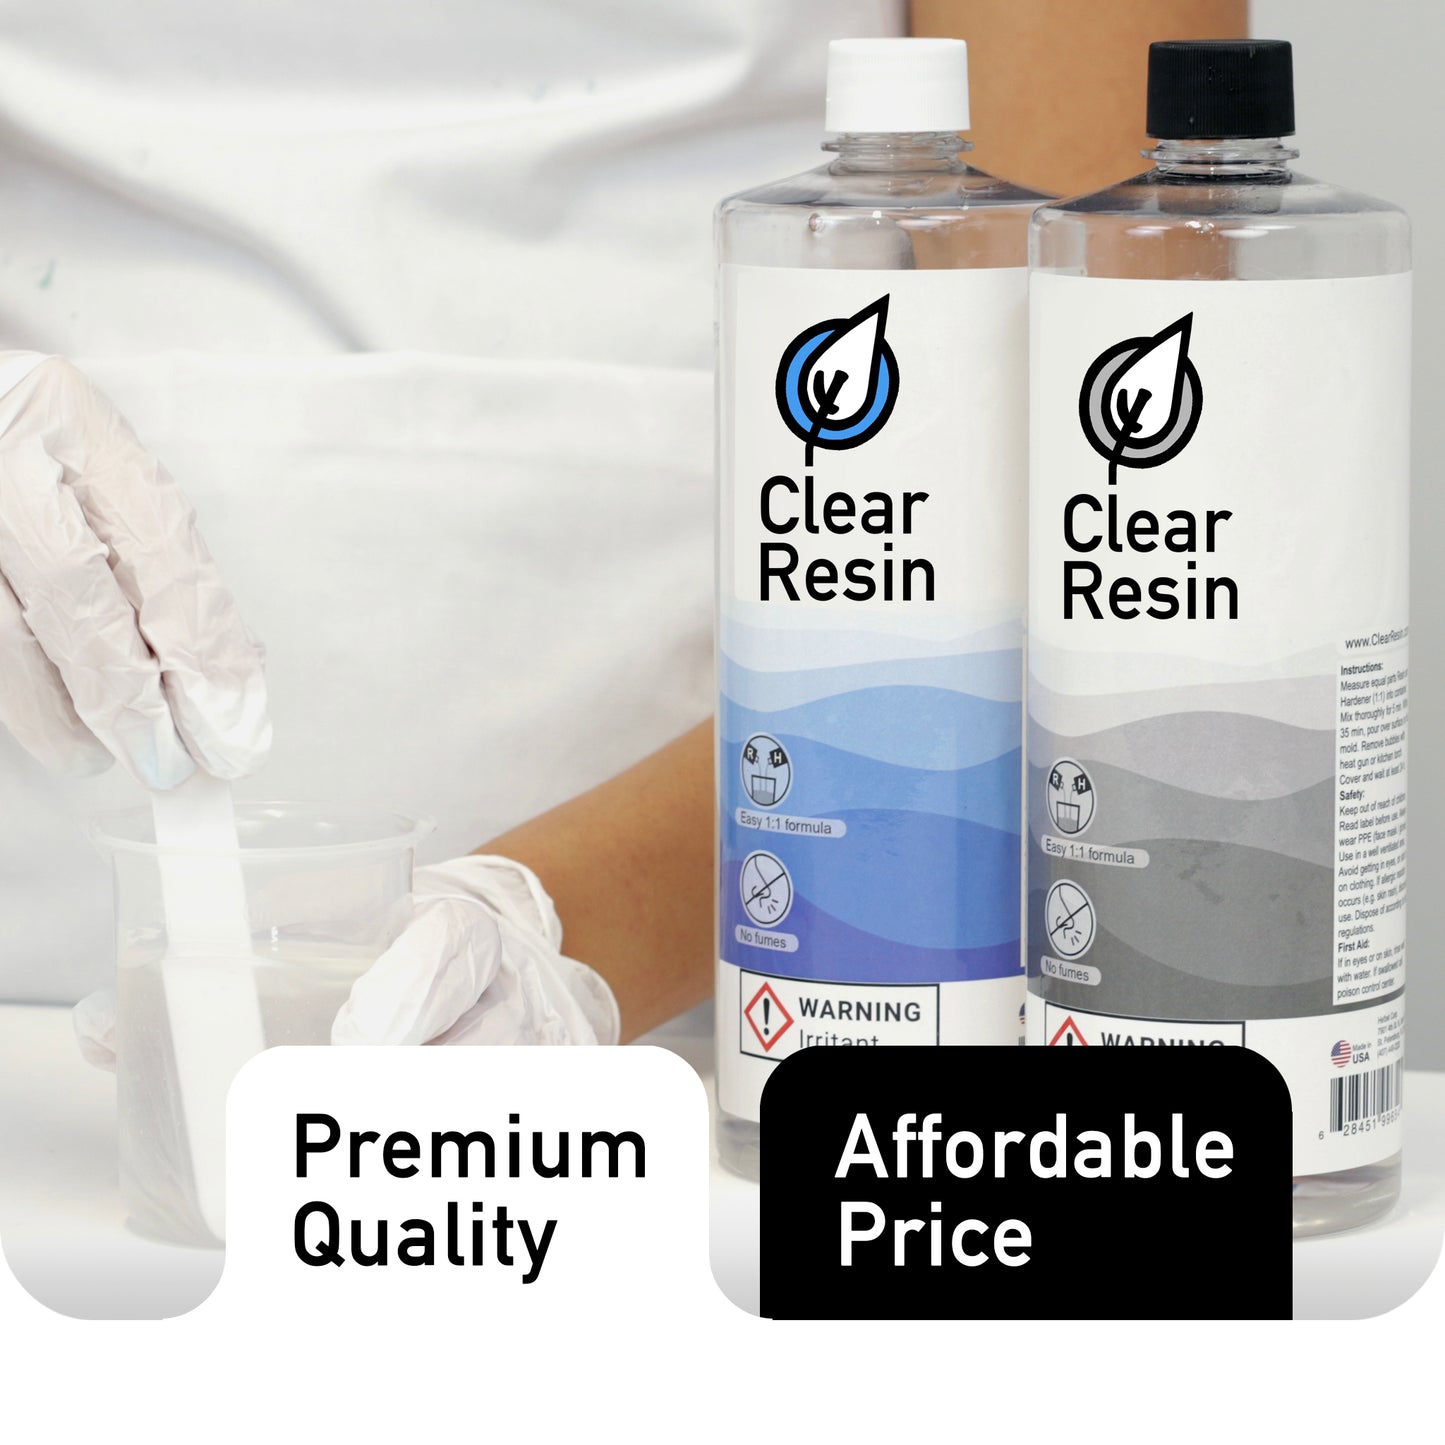
Clear Epoxy Resin Kit - 64 oz
Share
What Is Resin Embedding?
At its simplest, resin embedding means encasing an object partially or completely inside cured epoxy. The resin surrounds the item on all sides, locks it in place, and hardens into a solid, transparent shell. Think of it like a time capsule, except one you can actually see through.
This technique is used across a wide range of projects. Small items like coins, insects, or flowers get cast into jewelry, coasters, and decorative blocks. Larger objects like wood slabs, photographs, or memorabilia can be embedded in table top pieces, trays, and wall art. The scale varies enormously, but the underlying approach stays consistent: pour epoxy around an object, position it where you want it, and let the resin cure.
What separates a good embedded piece from a mediocre one usually comes down to three things: the clarity of the resin, the preparation of the objects, and the technique used during the pour. Get those right, and the results can be genuinely impressive.
What Can Be Embedded in Epoxy Resin?
The short answer is: almost anything dry and non-perishable. But some materials work better than others, and a few require special preparation before they can be embedded safely.
Objects that tend to work well include:
1. Dried flowers and plants: These are probably the most popular inclusion. They need to be completely dry before casting; any moisture will cause clouding or decay inside the resin over time.
2. Shells, stones, and minerals: Hard, non-porous items that embed easily with minimal prep.
3. Metal objects: Coins, watch parts, gears, and small hardware pieces all cast beautifully in clear epoxy.
4. Photographs and printed images: These need to be sealed first (more on that below), but the results are striking.
5. Insects and specimens: A common choice for scientific displays and curiosity pieces. Again, they must be fully dried and preserved beforehand.
6. Wood pieces and bark: Particularly popular for table top and furniture projects where the wood grain shows through the resin layer.
7. Fabric, lace, and paper: These absorb resin, so sealing them is essential to prevent discoloration.
Items that should generally be avoided include anything containing moisture (fresh flowers, wet sand, living plants), food items that will decompose, and anything with trapped air pockets that could release bubbles during the pour. Some plastics react poorly with epoxy as well, becoming soft or warping when they come into contact with uncured resin.
Three Different Methods for Embedding Objects
-
Single Pour Method
This is the most straightforward technique. Mix your epoxy, place the objects in the mould, and pour resin over everything in one go. It works well for items that are heavy enough to stay where you put them, like stones, metal pieces, or thick wood slices. The limitation is that lightweight objects tend to float or shift before the resin sets, which means you lose control over placement.
-
Layered Pour Method
For more precise positioning, especially with items that float, a layered approach works better. Pour a thin base layer of resin and let it partially cure until it is tacky but firm. Place your objects on this sticky surface, where they will hold in position. Then pour a second (and sometimes third) layer on top to fully encase everything. This method takes longer because of the wait time between layers, but it gives you far more control, which matters when embedding inclusions that need to sit at a specific depth.
-
Seal and Coat Method
Porous or delicate objects, think dried flowers, paper, or fabric, benefit from being sealed before embedding. Brush a thin coat of resin or sealant over the item and let it cure. This seal coat traps air inside the material so it does not release as bubbles into the surrounding pour. Once sealed, the object can be embedded using either the single or layered method with much cleaner results.
Properly Embedding Small Objects
Small items present their own set of challenges. Lightweight objects like flower petals, glitter, or thin paper cutouts are especially prone to floating toward the surface or drifting sideways as the liquid resin settles. Properly embedding small objects requires patience and a bit of planning.
The layered pour method is almost always the best choice here. A partially cured base layer acts like an adhesive shelf that holds tiny items exactly where you place them. Some crafters use a dab of clear-drying glue to tack very small pieces to the base layer before pouring the next coat of resin on top.
Timing also matters. If you pour the second layer too soon (while the base is still fully liquid), you risk disturbing the objects you just positioned. Wait until the first layer is firm to the touch but still slightly tacky. That sweet spot gives the next pour something to bond with while keeping everything anchored in place.
How to Seal Items Before Casting
Brush a thin coat of mixed epoxy directly onto the object.
Cover all surfaces, paying attention to edges and any rough or textured areas where air tends to hide.
Let the seal coat cure for 12 to 24 hours.
It should be fully hard before you embed the piece.
Inspect for missed spots.
Hold the sealed object up to light and check for areas that look matte or dull, which suggests the resin did not fully cover that section.
Apply a second seal if needed.
Some very porous items, like certain types of bark or thick paper, may need two coats to fully block air release.
Sealing is, perhaps, the most overlooked step in resin embedding, and skipping it is usually where problems start. Porous materials absorb liquid epoxy, which causes them to darken, change color, or release trapped air as tiny bubbles that cloud the surrounding resin.
Photographs and printed images are a special case. Inkjet prints will bleed if they come into direct contact with liquid resin, so they need to be laminated or sealed with a clear spray sealant (at least two coats) before embedding. Laser prints tend to hold up better, but sealing them is still a good precaution.
Choosing the Right Epoxy for Embedded Designs
Not all resins behave the same way, and picking the wrong type for your project leads to frustrating results. For embedding work, you generally want a casting resin rather than a coating formula.
Casting resins cure more slowly, which gives you more working time to position objects and remove bubbles. They are also designed to be poured in thicker layers without overheating; this is especially important for deep pour epoxy projects like paperweights, specimen blocks, and river-style table tops. A deep pour epoxy formula can typically handle layers of one to two inches per pour, while standard resins may crack or yellow if poured that thick.
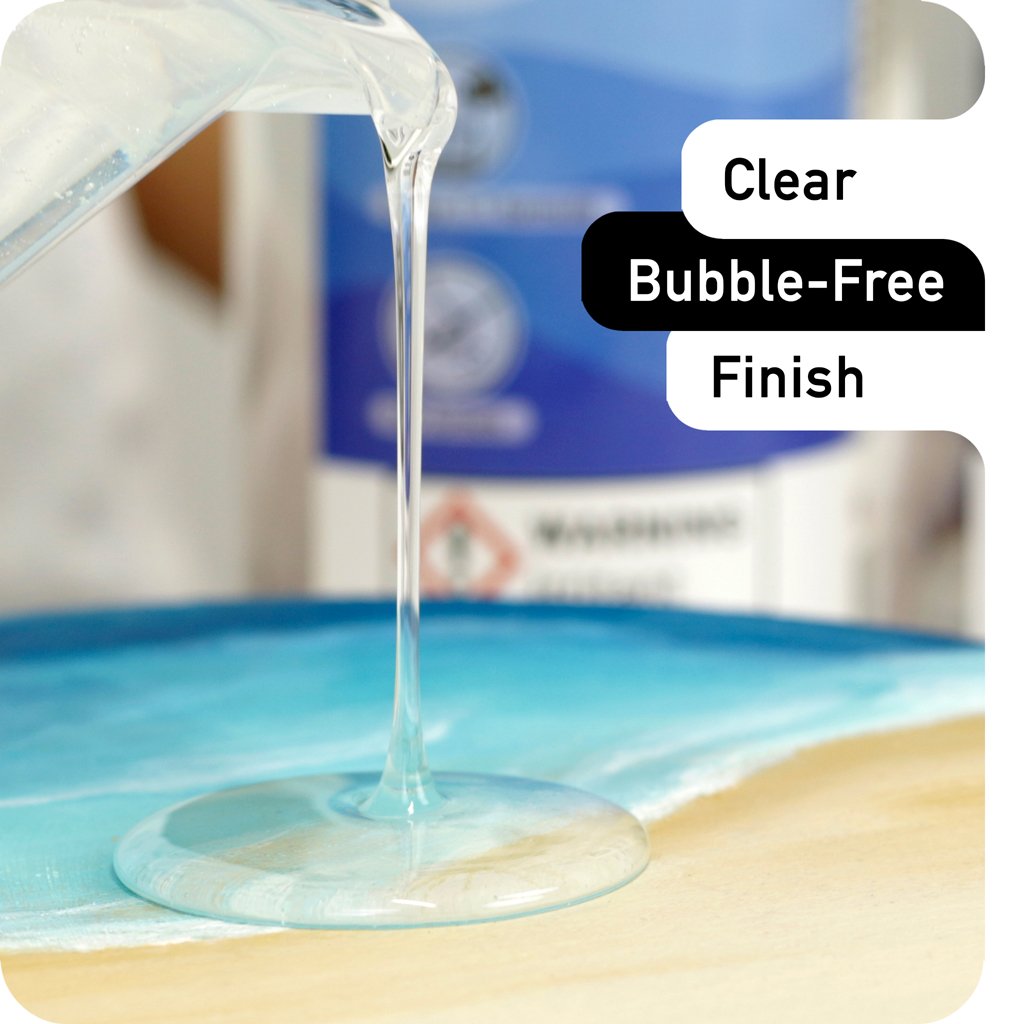
Clarity matters too. Look for products marketed as clear epoxy or ultraclear epoxy. These are formulated to cure with minimal yellowing and maximum transparency, which is the whole point when you want embedded objects to remain visible. Some resins also include UV stabilizers that slow down any yellowing caused by sunlight exposure over months or years.
For smaller projects like jewelry or coasters, a standard casting resin with a moderate cure time works perfectly. For larger pieces, particularly anything deeper than an inch, a dedicated deep pour epoxy is worth the investment. The extra cost pays for itself in reduced risk of cracking, bubbling, or uneven curing.
Step-by-Step Embedding Process
Once your objects are prepped and your resin is chosen, the actual pour follows a predictable sequence:
1. Set up your mould on a level surface: Even a slight tilt causes resin to pool unevenly. Use a spirit level to check.
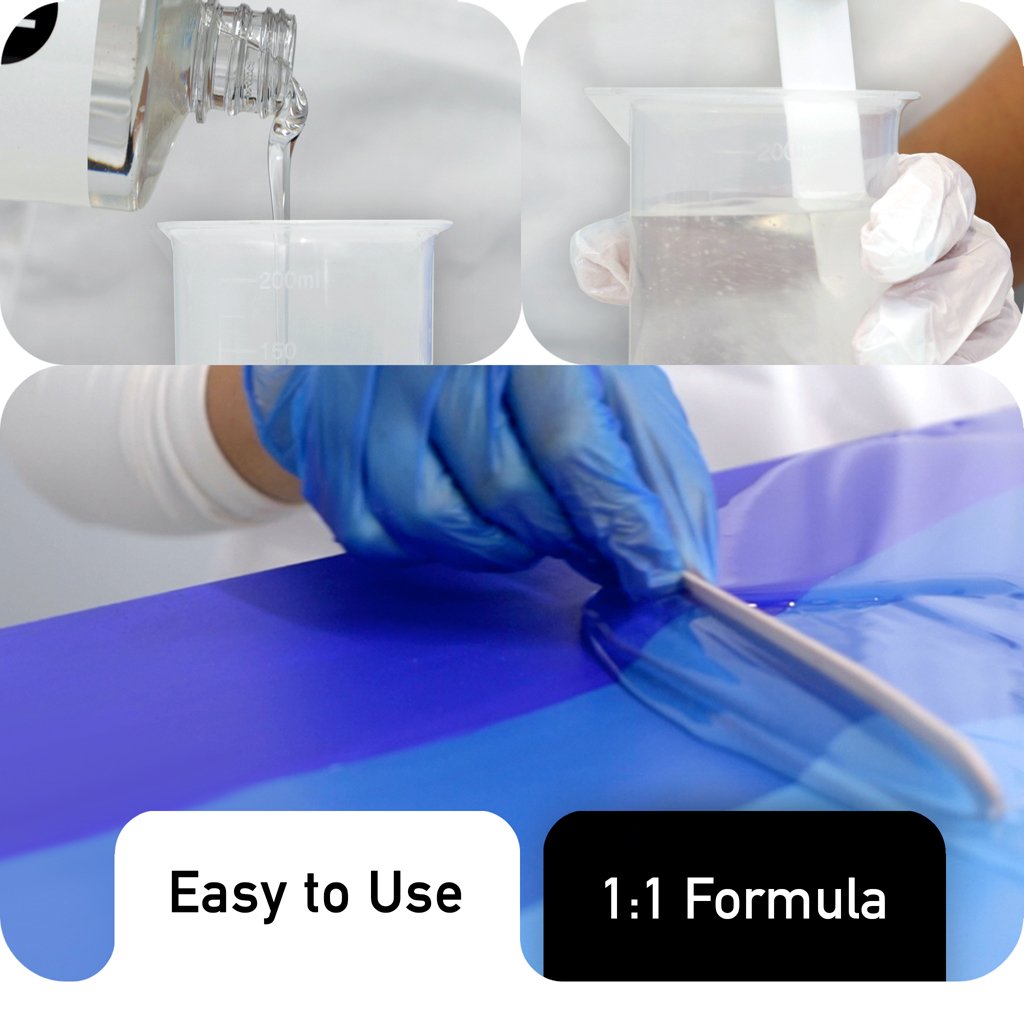
2. Mix your epoxy according to the product instructions: Measure resin and hardener carefully, stir slowly for three to five minutes, and scrape the sides of the mixing cup as you go.
3. Pour a base layer: Fill the mould to roughly one-third depth and use a heat gun or torch to pop surface bubbles.
4. Wait for partial cure: Depending on the formula, this could take anywhere from four to twelve hours. The base should feel firm but slightly tacky.
5. Position your objects: Press them gently into the tacky resin layer. Arrange everything exactly where you want it before moving on.
6. Pour the remaining resin: Fill slowly to avoid displacing the objects. Pour from a low height to minimize new air introduction.
7. Remove bubbles again: A second pass with the heat gun catches any air that entered during the final pour.
8. Cover and let cure: Protect the mould from dust with a box or container and allow the full curing period, typically 48 to 72 hours.
One thing that catches beginners off guard: epoxy generates heat as it cures (this is called an exothermic reaction). Thicker pours generate more heat, which can warp moulds, cause cracking, or yellow the resin. If your project requires a thick casting, pour in multiple thinner layers rather than one massive batch. Patience makes all the difference here.
Common Problems and How to Fix Them
Floating, Sinking, and Shifting Objects
Lightweight items float. Dense objects sink. And anything in between may drift to an unexpected position before the resin firms up. The layered pour method solves most of these issues, but even with careful planning, things occasionally move.
If an object shifts during the pour, you have a narrow window (usually 30 to 60 minutes, depending on the formula) to nudge it back into place using a toothpick or thin stick. After that, the resin begins to gel and any manipulation creates visible drag marks.
Bubbles clinging to objects are the other common issue. Sealed items produce fewer bubbles, but textured surfaces (rough stones, bark, or uneven metal) can still trap small pockets of air. A thorough seal coat and a slow, careful pour minimize this, though it is almost impossible to eliminate completely on heavily textured items.
Cloudy or milky areas in the finished piece usually indicate moisture contamination, either from the objects themselves or from humidity in the workspace. Work in a dry room, and make sure every item going into the resin is bone dry.
Design Inspiration for Resin Art With Embedded Objects
-
Memorial and keepsake pieces
Baby items, wedding flowers, pet tags, or personal mementos preserved in clear blocks or coasters. These make meaningful gifts that last indefinitely.
-
Nature displays
Pressed botanicals, butterfly specimens, or mineral collections embedded in decorative trays, bookends, or wall-mounted panels.
-
Functional furniture
River-style table tops with embedded stones, fossils, or colored glass between live-edge wood slabs. These larger projects require deep pour epoxy and careful multi-layer work.
-
Jewelry and accessories
Small moulds for pendants, earrings, and ring blanks with embedded flowers, gold flake, or tiny charms.
-
Educational and scientific displays
Insect collections, geological samples, or anatomical models cast in clear resin for classrooms and personal collections.
The creative freedom with this medium is part of what keeps people coming back. Once you get comfortable with the basics of using epoxy for embedding, the projects tend to grow in ambition naturally.
Frequently Asked Questions
Can you embed fresh flowers in epoxy resin?
Fresh flowers contain moisture that will cause them to brown, rot, or develop mold inside cured resin. They must be fully dried before embedding. The most reliable methods are pressing flowers between heavy books for two to three weeks, using silica gel desiccant for faster drying, or air-drying them upside down in a well-ventilated space. Once completely dry, seal each flower with a thin coat of resin or clear sealant before casting to prevent air bubbles from escaping during the pour.
How do you prevent bubbles around embedded objects?
Bubbles form when trapped air releases from porous surfaces or rough textures during the pour. Sealing objects with a thin brush coat of epoxy before embedding is the most effective prevention method. Warming your resin slightly before mixing (placing sealed bottles in warm water for ten minutes) also reduces viscosity, which helps bubbles rise and escape faster. A quick pass with a heat gun after each pour catches surface bubbles that remain. Working in a warm, dry environment further reduces bubble formation.
What is the maximum depth you can pour epoxy in one layer?
Maximum pour depth depends on the specific epoxy formula. Standard casting resins typically allow pours of about half an inch to one inch per layer. Dedicated deep pour epoxy products can handle one to two inches in a single pour, and some specialized formulas go up to four inches. Exceeding the recommended depth causes excessive heat buildup during curing, which can crack or yellow the resin. For projects requiring greater total depth, pour in multiple layers and allow partial curing between each one.
Does embedded resin yellow over time?
All epoxy resins can yellow to some degree with prolonged UV exposure, though the rate varies significantly between products. Formulas marketed as ultraclear epoxy or UV-resistant typically include stabilizers that slow this process. Keeping finished pieces out of direct sunlight is the most effective preventive measure. For objects displayed near windows or outdoors, applying a UV-protective clear coat over the cured surface adds an extra layer of defense. Indoor pieces kept away from intense light generally maintain their clarity for years.
Ready to Start Your First Embedded Resin Project?
Clear Resin kits are designed specifically for casting and embedding work, giving you a crystal-clear finish with minimal bubbles and reliable curing. Each kit includes the resin, hardener, and detailed instructions to walk you through the process from first mix to final cure. Whether you are preserving personal keepsakes, building resin art for display, or experimenting with a new creative medium, Clear Resin provides the consistency and clarity your project needs. Visit clearresin.com and choose the right kit to get started.