
Create Beautiful Geode Art With Epoxy Resin
Geode art has taken over the resin craft world in the last few years, and it is easy to see why. The combination of rich colors, metallic veins, and crystal-like textures creates pieces that genuinely look like slices of natural stone. The key material behind this look? Epoxy resin. It provides the depth, the gloss, and the structural foundation that makes geode artwork feel like something pulled from the earth rather than poured onto a board.
Epoxy resin for geode art is a project that sits right in that satisfying middle ground: creative enough to be genuinely expressive, but structured enough that even first-timers can produce something worth hanging on a wall. You do not need formal art training. What you need is the right resin, some pigments, a surface to work on, and a willingness to experiment.

Clear Resin
Clear Epoxy Resin Kit - 64 oz
Share
What Is Resin Geode Art?
Resin geode art mimics the look of a natural geode, those hollow rocks that reveal sparkling crystal formations when cracked open. The craft version recreates this aesthetic on flat surfaces like wood panels, canvases, or silicone molds using layers of tinted epoxy, metallic pigments, crushed glass, and decorative stones.
The finished piece typically features a "crystal center" surrounded by concentric rings of color that fade outward, often separated by thin metallic or glitter lines. Some artists keep things abstract and organic, while others aim for near-photographic realism. Either approach can produce striking results, and most pieces end up somewhere in between.
Why Epoxy Resin Gives Geode Art Its Signature Look
Other mediums can approximate the geode style, acrylics and watercolors among them, but epoxy resin gives geode art a quality those cannot match. The glossy, glass-like surface catches light the way a real mineral would. Colors look deeper and more saturated beneath the resin layer than they do on a painted surface, and the material holds embedded elements (crystals, foil, glass) permanently in place.
There is also a tactile element. Running your hand across a cured resin geode, you can feel the variation between smooth poured areas and raised crystal clusters. That physical dimension is what makes resin geodes feel more like sculptural objects than flat artwork.
The Three-Dimensional Appearance That Sets Resin Geodes Apart
What really draws people to this medium is the depth. A well-made resin geode has a three-dimensional appearance that flat paint simply cannot replicate. The resin pools at different thicknesses across the surface, creating natural variations in depth. Embedded crystals sit at different levels within those pools. Light passes through the translucent layers and bounces off metallic pigments underneath.
This layered, dimensional quality is created partly through technique and partly through the nature of the material itself. Epoxy self-levels, which means thicker pools form where you pour more, and thinner edges develop naturally where the resin spreads outward. That organic variation is what gives the piece its convincing geological look.
Materials You Need for Epoxy Geode Projects
Small items present their own set of challenges. Lightweight objects like flower petals, glitter, or thin paper cutouts are especially prone to floating toward the surface or drifting sideways as the liquid resin settles. Properly embedding small objects requires patience and a bit of planning.
The layered pour method is almost always the best choice here. A partially cured base layer acts like an adhesive shelf that holds tiny items exactly where you place them. Some crafters use a dab of clear-drying glue to tack very small pieces to the base layer before pouring the next coat of resin on top.
Timing also matters. If you pour the second layer too soon (while the base is still fully liquid), you risk disturbing the objects you just positioned. Wait until the first layer is firm to the touch but still slightly tacky. That sweet spot gives the next pour something to bond with while keeping everything anchored in place.
Pigments, Crystals, and Embellishments
Geode pigments are where most of the creative decision-making happens. Mica powders come in hundreds of colors and produce a shimmery, mineral-like effect that is perfect for this style. Alcohol inks offer a more translucent, watercolor feel. Many artists use both within the same piece for contrast.
For the crystal center, your options include real quartz chips, dyed crystal fragments, crushed glass, or even coarse glitter. Some people add gold leaf flakes along the vein lines for a more luxurious feel. The embellishments are really where you make each piece unique.
Choosing the Right Resin for Geode Art
For most geode projects, an art resin or general-purpose casting resin works well. You want something that cures crystal clear, has a moderate working time (at least 30 to 45 minutes before it starts to gel), and self-levels smoothly.
If your piece involves thicker buildup areas, particularly around the crystal center, a deep pour formula can be helpful. Deep pour epoxy cures in thicker layers without overheating, which matters when you are building up dimension. However, standard art resin is perfectly adequate for pieces where the resin layer stays under half an inch.
Crystal clear epoxy resin is important here because any yellowing or haziness will dull the colors underneath. Look for products that include UV stabilizers, especially if the finished piece will hang in a room that receives natural light.
Preparing Your Surface and Workspace
Start by sealing your board or panel. A thin coat of mixed resin spread across the surface and allowed to cure for 12 to 24 hours creates a non-porous base that prevents bubbles from rising through the wood grain during your main pour. Skip this step and you will almost certainly see tiny bubble trails appearing through your color layers later.
Level your surface carefully. Use a spirit level and adjust with shims if needed. Even a slight tilt sends liquid resin pooling to one side, which throws off the symmetry of your geode design. Cover the surrounding area with a drop cloth; resin drips are inevitable, and cured epoxy is extremely difficult to remove from unprotected surfaces.
Mixing and Tinting Your Resin
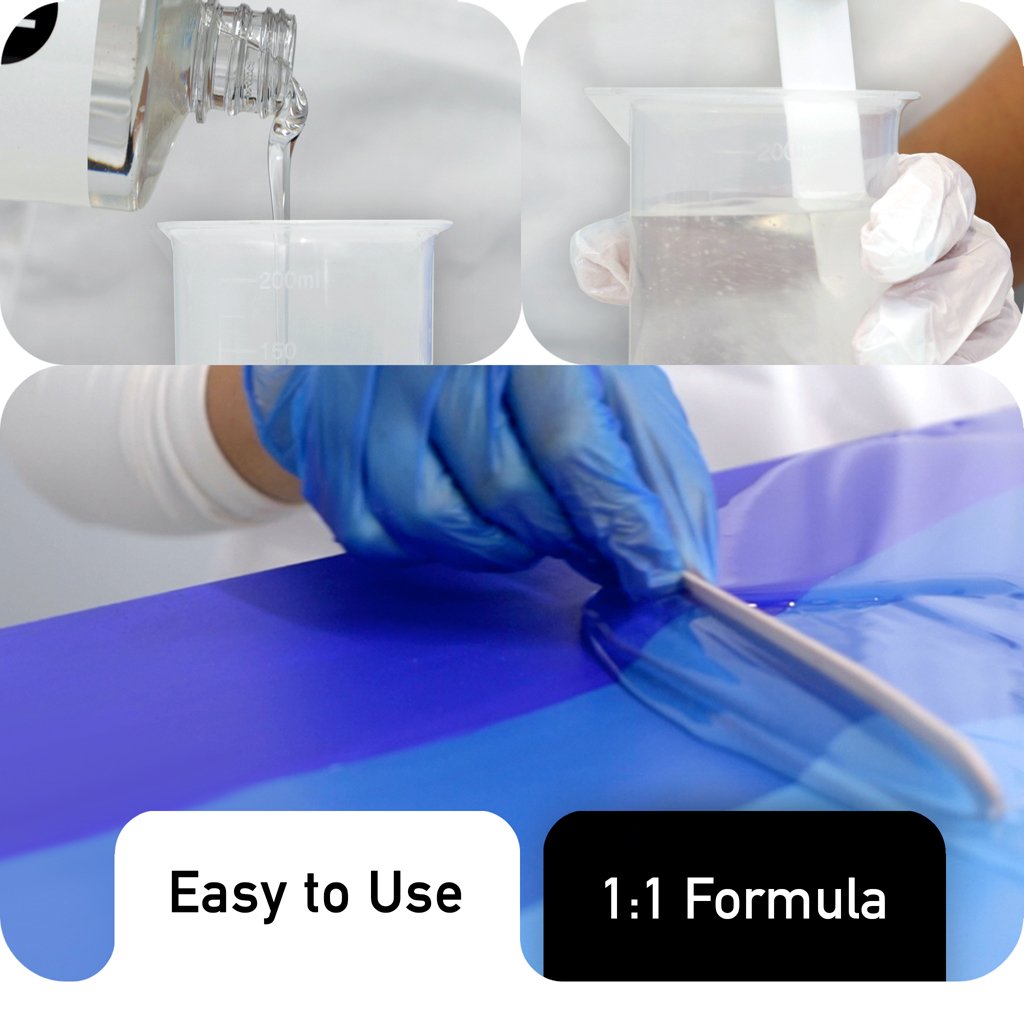
Mix your epoxy according to the product instructions. Stir slowly for three to five minutes, scraping the sides and bottom of the cup thoroughly. Rushing this step leads to soft, uncured patches in the finished piece.
Once blended, divide the mixed resin into several smaller cups, one for each color in your palette. Add pigment gradually; a small amount of mica powder goes a long way, so start conservatively. For translucent layers, use less pigment. For opaque sections, add more. Keep one cup untinted for clear areas or for use as a base layer along the edges.
A typical resin geode palette might include three to five colors, usually variations of one dominant hue plus a complementary accent. For example, deep teal, seafoam, white, and gold. Or amethyst purple, lavender, soft gray, and rose gold. Having a rough color plan before you start pouring saves time and reduces waste.
Creating the Geode Lines and Structure
The lines between color zones are what give a resin geode its recognizable structure. In a natural geode, these boundaries are formed by mineral deposits over thousands of years. In resin art, you recreate them using metallic pigment, glitter, or thinned metallic paint applied between each color section.
Building Realistic Vein Lines
There are a couple of ways to approach this. Some artists pour their colored resin sections first and then pipe metallic lines between them using a squeeze bottle or fine-tipped applicator. Others prefer to lay down the metallic lines first on the sealed base and then pour color up to (but not over) each boundary.
Either method works. The squeeze bottle approach tends to produce thinner, more organic-looking lines. Laying lines first gives you more control over placement but can feel a bit stiffer. Experiment with both to see which suits your style. A heat gun passed lightly over the lines after placement helps them settle into the resin and blend naturally at the edges.
Pouring the Resin Layers
With your colors mixed and your lines planned, it is time to pour. Start from the outer edge of the geode shape and work inward. Pour your lightest or most transparent color first along the perimeter, then add progressively deeper or more saturated colors as you move toward the center.
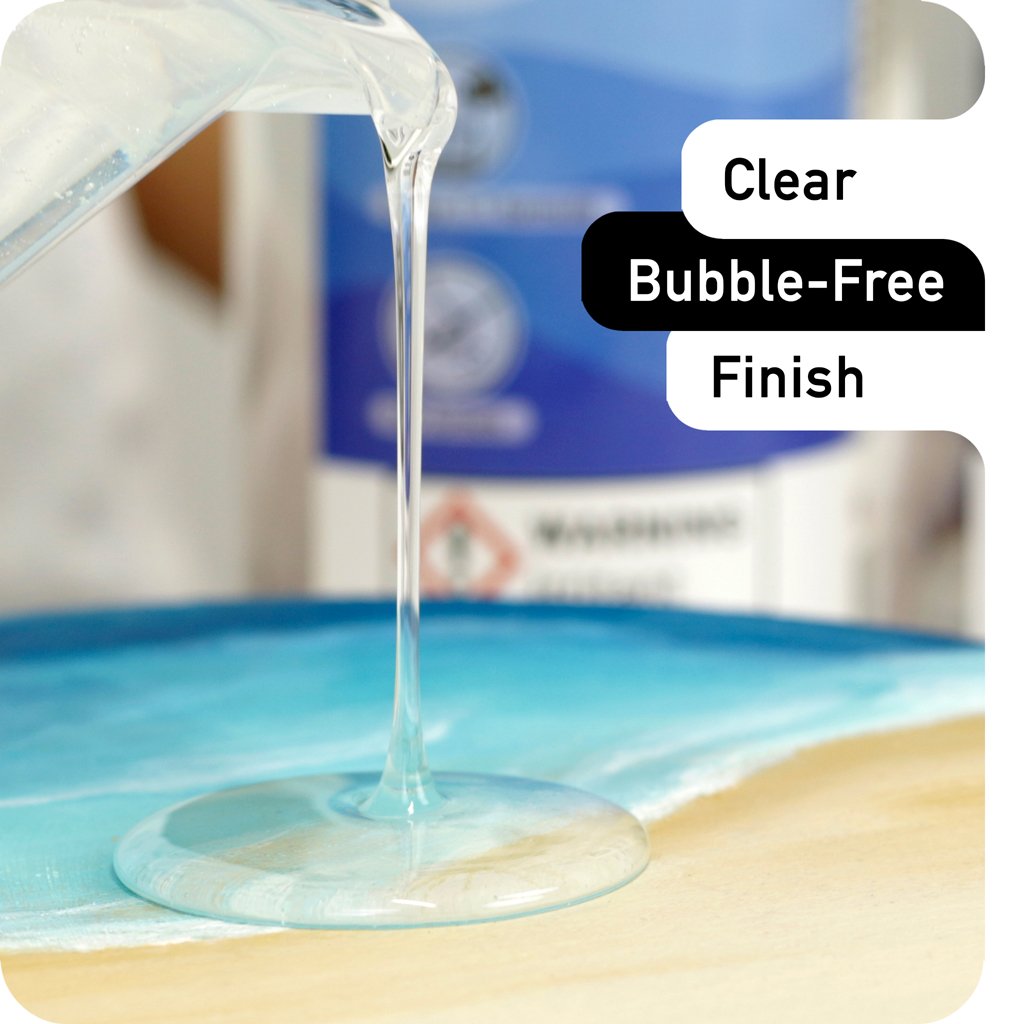
Pour slowly and from a low height to minimize bubbles. Let each color section flow naturally rather than trying to force sharp boundaries. Resin is self-leveling, so the edges between colors will soften on their own, which is actually what you want for a natural appearance.
After the initial pour, use a heat gun to gently push colors into one another at their boundaries. This creates soft gradients that mimic natural mineral transitions. Be careful not to over-blend; keeping some contrast between zones is what gives the piece visual interest.
Adding Crystals, Glass, and Textures
Once the colored resin is poured and still wet, add your crystal elements to the center area. Press crushed glass, quartz chips, or decorative stones gently into the resin. They should sit partially embedded, not fully submerged, so they catch light and create that raised, dimensional effect.
Textures matter here. Mixing different sizes of crystal (fine crushed glass alongside larger chunks) creates a more realistic look than using uniform pieces. Scatter a few smaller fragments along the vein lines too, tapering off as you move outward from the center, which mimics how crystals thin out at the edges of a real geode.
If you want additional sparkle, a light dusting of fine craft glitter over the wet surface adds subtle shimmer without overpowering the design.
Using Pigments for Depth and Contrast
One of the things that separates amateur resin geodes from more polished work is how pigments are layered. Flat, single-tone color zones look artificial. Natural geodes have subtle shifts in tone, areas where one shade bleeds into another, pockets of deeper saturation alongside near-transparent sections.
To recreate this in resin, consider adding small drops of concentrated pigment into already-poured sections and letting them bloom outward naturally. Or swirl two similar shades within the same zone using a toothpick. These small touches add depth that reads as organic rather than manufactured.
Working With Metallic and Geode Pigments
Metallic mica powders deserve their own mention because they behave differently from standard pigments. When mixed into resin, metallics create a reflective, mineral-like quality that catches and redirects light. Gold, copper, and champagne tones are the most popular for vein lines, but silver and bronze work beautifully for cooler color palettes.
A useful technique: dust dry metallic pigment directly onto wet resin rather than mixing it in. This concentrates the shimmer on the surface and produces a more intense sparkle than blending pigment throughout the entire layer.
Curing and Finishing Your Geode Artwork
Cover your piece with a dust shield (a cardboard box works fine) and let it cure undisturbed for 24 to 72 hours, depending on the product and room temperature. Warmer rooms speed curing; cooler environments slow it down.
Once fully hardened, inspect the surface. Minor imperfections like dust particles or small bubble craters can be sanded out with fine-grit sandpaper (600 to 2000 grit) and polished with a buffing compound. If you want an extra-glossy finish, a thin flood coat of clear resin over the entire cured surface brings everything to a uniform, glass-like shine.
For pieces that will hang on a wall, attach a sawtooth hanger or French cleat to the back of the panel. Larger resin geode pieces can be surprisingly heavy, so choose hardware rated for the weight.
Common Mistakes to Avoid
Over-blending colors
Too much heat gun work turns distinct zones into a muddy, uniform wash. Keep passes brief and intentional.
Skipping the seal coat
Unsealed wood or MDF releases air bubbles through the color layers during curing, which ruins the clarity.
Using too much pigment
Over-saturated resin looks opaque and loses the translucent depth that makes geode pieces convincing.
Placing crystals too late
If the resin has already begun to gel, crystals will not embed properly and may sit loose on the surface.
Fixing Color Bleed and Muddy Sections
If colors have bled together more than intended, all is not lost. Once the piece is cured, you can sand down the affected area and pour a corrective layer of fresh tinted resin over it. The new layer bonds to the cured surface and covers the muddied section. It is not a perfect fix for every situation, but for localized areas it works well enough that the repair becomes invisible.
Frequently Asked Questions
What is the best surface for creating resin geode art?
MDF board and birch wood panels are the most popular choices for resin geode projects. Both provide a smooth, rigid base that supports the weight of the resin and embedded materials without warping. Canvas can work for smaller pieces, though it may sag under heavier pours. Silicone molds are another option for freestanding geode shapes. Whichever surface you choose, always apply a seal coat of clear resin first and let it cure before starting your main pour to prevent bubbles.
Can you make resin geode art without a heat gun?
A heat gun is strongly recommended but not absolutely required. Its primary purpose is to pop surface bubbles, blend color boundaries, and push resin into desired patterns. Without one, you can use a small butane torch for bubble removal, though it offers less control over color manipulation. Some artists also tilt the surface manually to move resin, though this technique is less precise. For best results, a heat gun remains the most versatile and commonly used tool for this style of craft.
How do you prevent resin geode art from yellowing?
Yellowing occurs primarily from UV exposure over time. To minimize this risk, choose an epoxy resin that includes UV stabilizers in its formula. Hanging finished pieces away from direct sunlight also helps. For additional protection, apply a UV-resistant clear coat spray over the cured surface. Indoor pieces kept in rooms with ambient lighting rather than strong natural light typically maintain their original color and clarity for years. Avoiding excessive heat during curing also reduces the chance of premature discoloration.
How long does a resin geode project take from start to finish?
Including preparation, pouring, and full curing, a resin geode project typically takes three to five days. Surface sealing and the base coat require 12 to 24 hours of cure time. The main decorative pour is completed in a single session, usually one to three hours of active work. Curing then takes another 24 to 72 hours depending on the product and environmental conditions. Optional finish coats or corrections add additional time. The active working portion is relatively brief; most of the timeline is simply waiting for each layer to harden.
Ready to Create Your First Resin Geode?
Clear Resin kits give you everything needed to start your geode art project, from the resin and hardener to step-by-step instructions covering mixing, pouring, and finishing. Their formulas are designed for craft and art applications, producing a crystal-clear base that lets your pigments, crystals, and metallic accents shine. Whether you are making a small decorative panel or a large statement piece, Clear Resin provides the consistency and clarity your geode artwork needs. Visit clearresin.com and pick the right kit to get started.