
Make Custom Keychains With Epoxy Resin
Resin keychains are one of those projects that seem almost too simple to be worth trying, until you see how good the finished product actually looks. A small silicone mold, a bit of mixed resin, some glitter or dried flowers, and about 24 hours of cure time; that is all it takes to produce keychains that look polished enough to sell or give as gifts.
Epoxy resin for keychains has become one of the most popular entry points into resin crafting, and for good reason. The projects are small, the material cost is low, and you can experiment with dozens of different designs without committing a large amount of time or supplies. Whether you are making them for yourself, as party favors, or to list for sale online, the process is straightforward once you understand the basics.

Clear Resin
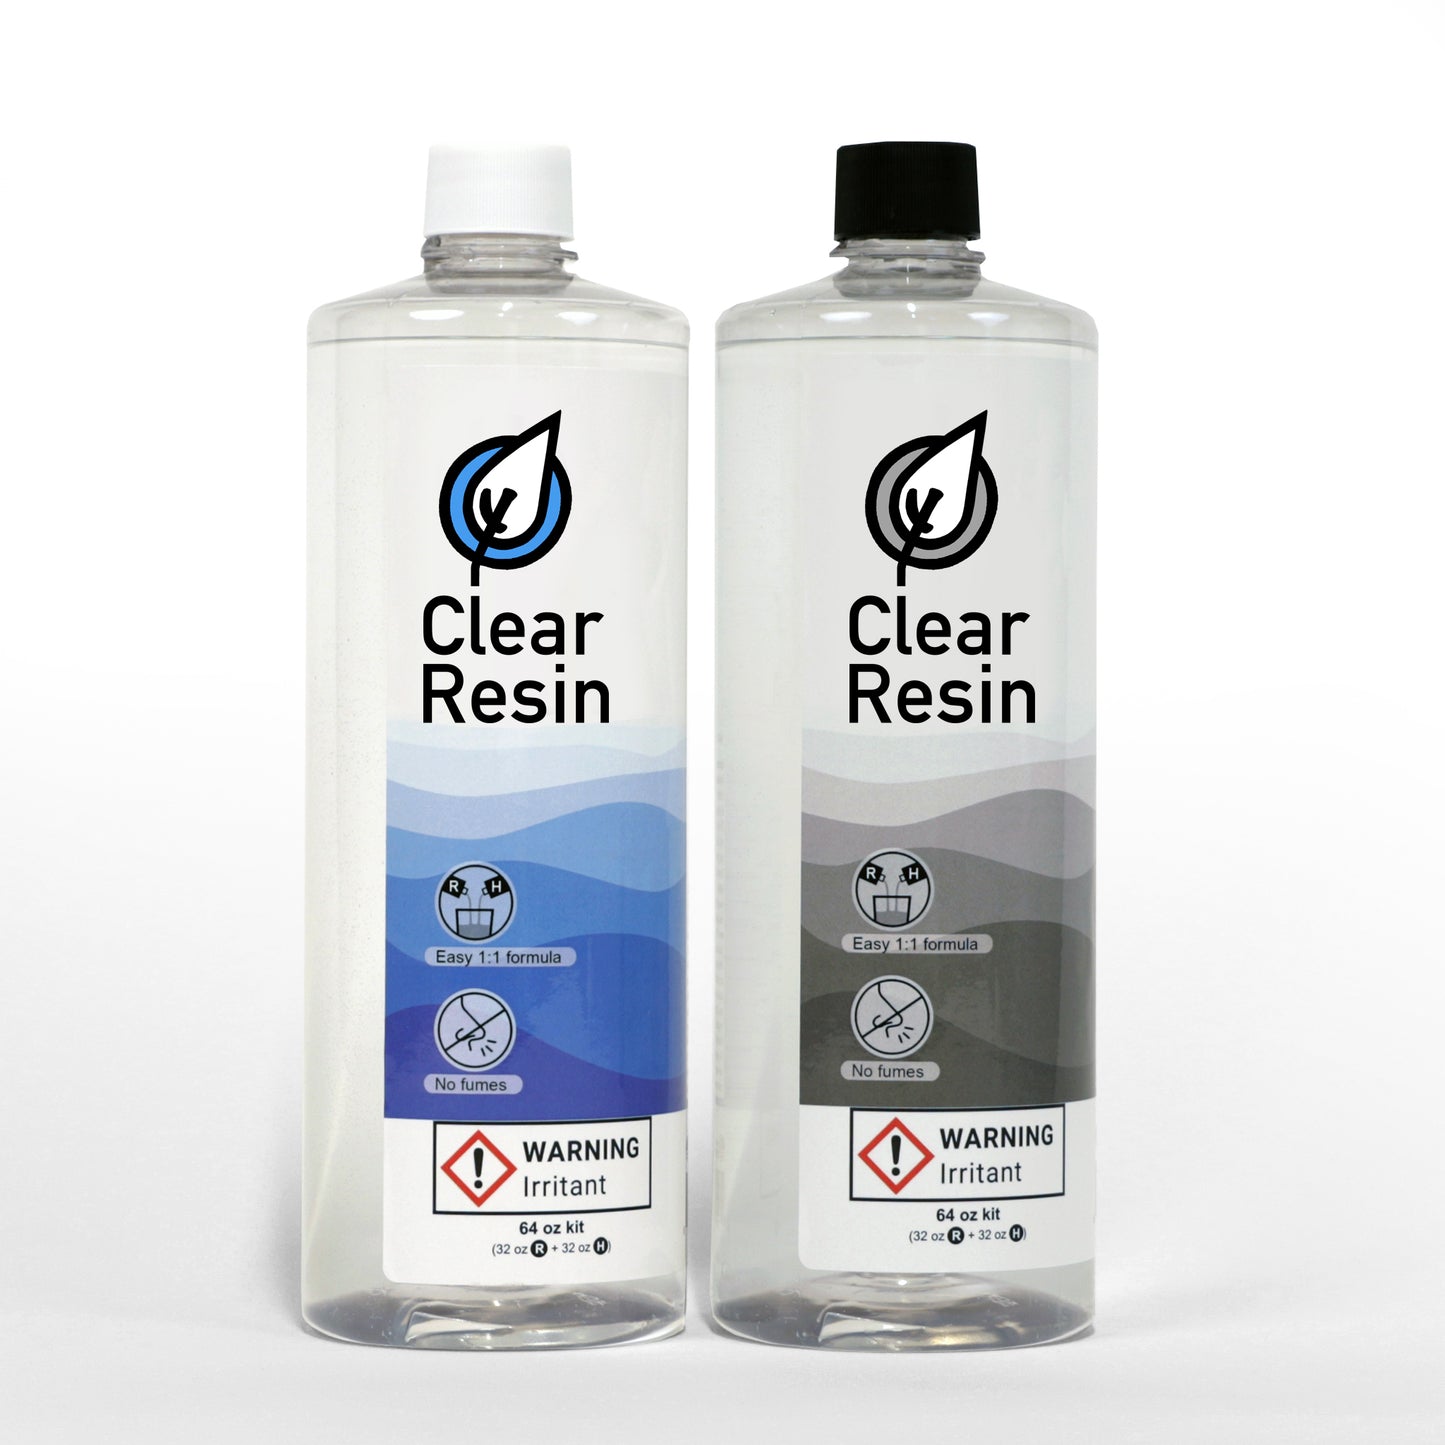
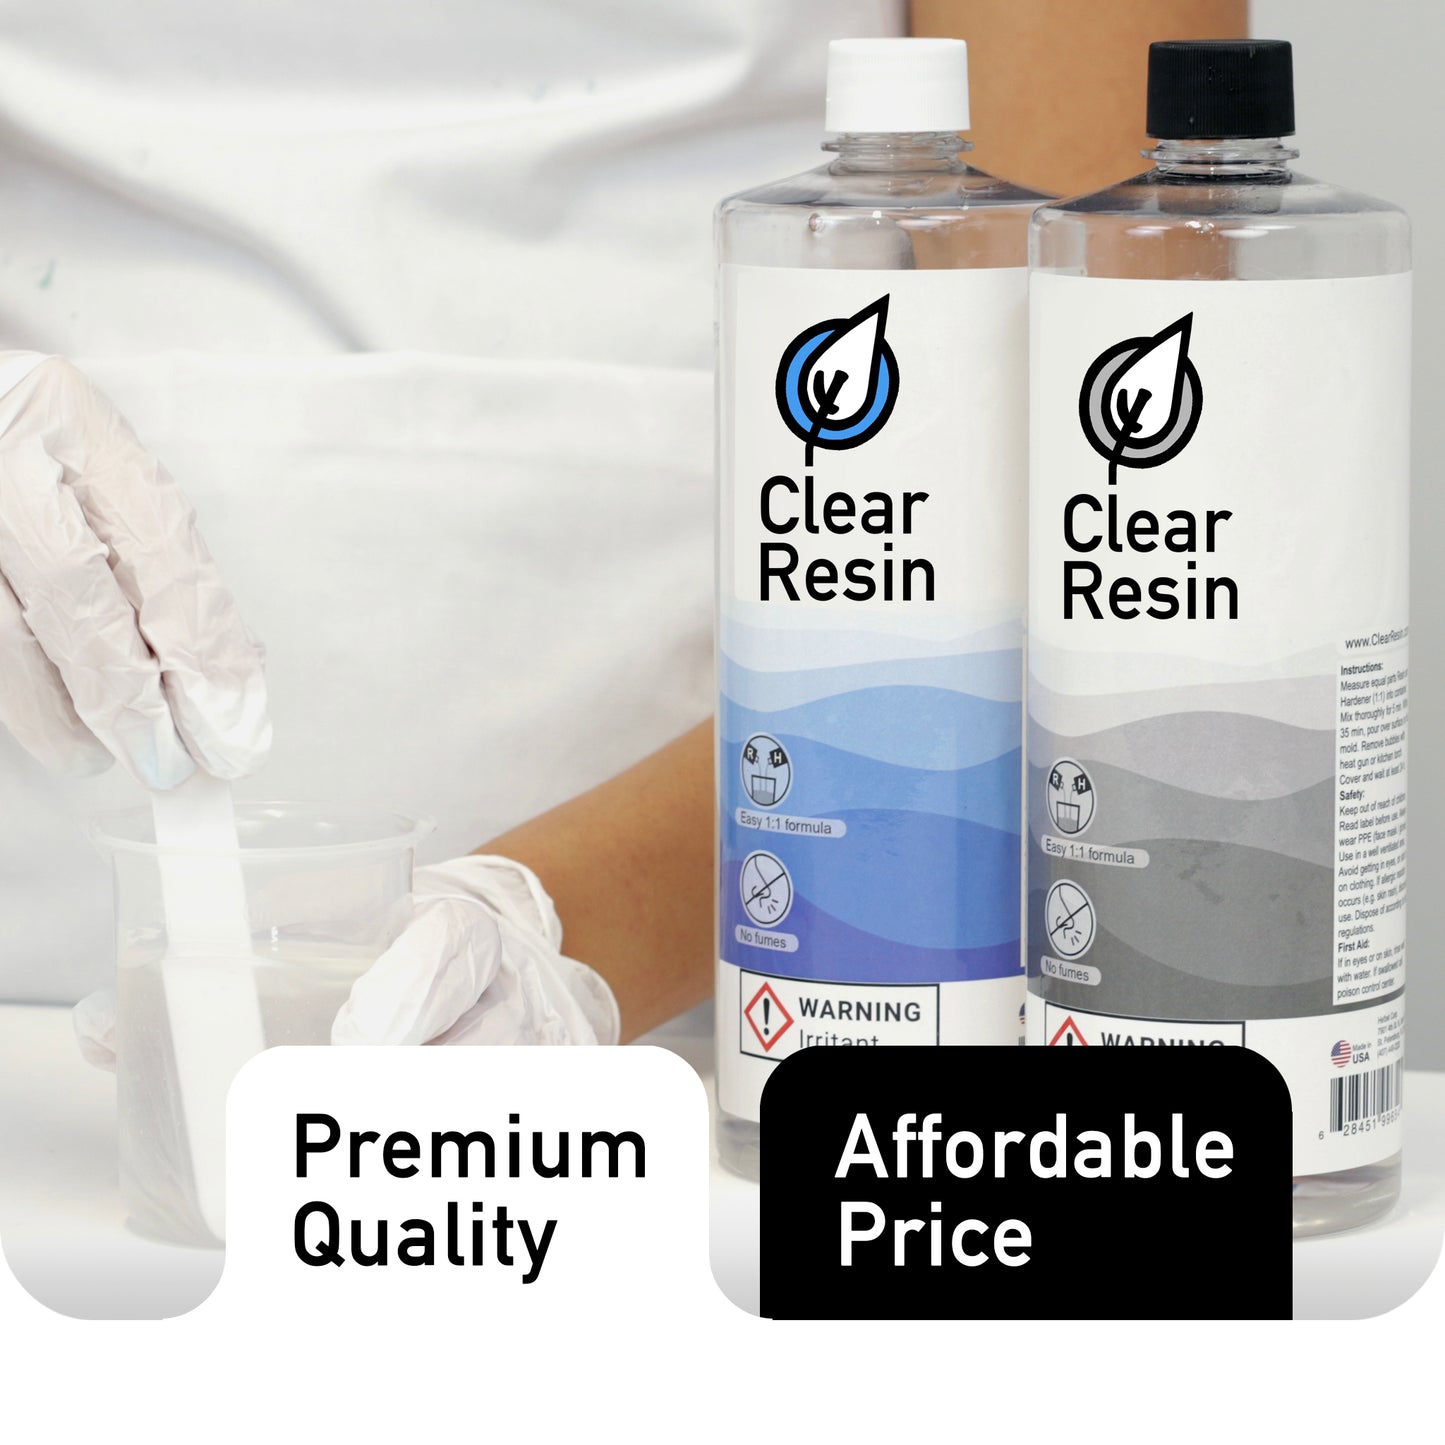
Clear Epoxy Resin Kit - 64 oz
Share
Why Epoxy Resin Works for Keychains
Not every material works well for trays that will actually be used. You need something that resists water, handles light impacts, and stays looking good after repeated contact with glasses, plates, and bottles. Epoxy checks those boxes without requiring a complicated finishing process.
A few reasons craft epoxy stands out for this particular project:
Durability and Clarity
Keychains take a beating. They get tossed into bags, dropped on pavement, scratched by keys, and handled constantly. The material you use needs to hold up to all of that without chipping, cracking, or turning cloudy. Epoxy resin handles this well. Once fully cured, it forms a hard, scratch-resistant surface that maintains its clarity even after months of daily use.
Compared to UV resin, which cures quickly but tends to be more brittle, epoxy resin produces a tougher finished piece. It also allows for thicker pours, which matters when you are filling deeper molds for chunky keychain shapes. The trade-off is a longer cure time, but the durability is worth the wait.
Endless Design Options
Part of what makes resin keychains so appealing is the sheer variety. You can make them transparent, opaque, glittery, marbled, or filled with embedded objects. Letter molds let you create personalized initial keychains. Geometric molds produce clean, modern shapes. Novelty molds shaped like animals, hearts, or stars are fun for kids' projects and gifts.
The epoxy itself is a blank canvas. Add glitter for sparkle, mica powder for a pearlescent effect, alcohol ink for translucent swirls, or epoxy pigments for bold, opaque colors. You can embed tiny dried flowers, photos, charms, confetti, even small beads. The ideas are genuinely endless, which is probably why so many people who start making resin keychains end up with an entire collection of molds and pigments within a few weeks.
Tools and Materials You Need
Choosing the Right Keychain Molds
Silicone molds designed specifically for keychains are widely available on Amazon and craft supply sites. They come in sets that include multiple shapes, which is convenient if you want variety without buying individual molds one at a time.
A few things to look for when picking keychain molds:
1. Pre-made holes: Some molds include a small pin at the top that creates a hole in the cured resin for attaching hardware. This saves you the step of needing to drill later, which is a nice time saver, especially when making large batches.
2. Smooth interior surfaces: Any texture or imperfection inside the mold transfers directly onto the finished keychain. High-quality silicone molds produce a glossy, flawless surface right out of the mold.
3. Appropriate depth: Most keychain molds are about 5 to 8mm deep. Anything shallower feels flimsy, and anything deeper adds unnecessary weight to a piece that hangs from a key ring.
Resin molds for keychains generally fall into a few categories: alphabet letter molds, shape molds (circles, rectangles, hexagons), novelty molds (animals, food items, pop culture shapes), and blank tag-style molds that work well for custom designs.
Essential Supplies Checklist
A two-part epoxy resin kit (resin plus hardener)
Small graduated mixing cups
Stir sticks or craft popsicle sticks
Nitrile gloves
Epoxy colors or pigments (mica powder, alcohol ink, or liquid colorant)
Fine and chunky glitter (optional, but popular)
A heat gun or small torch for removing bubbles
Keychain hardware (split rings, lobster clasps, tassels, jump rings)
A hand drill or pin vise with a small bit (1.5 to 2mm) if your molds do not include pre-made holes
Sandpaper (320 to 600 grit) for cleaning up edges
Most of these items come in affordable starter sets. A keychain kit that includes resin, molds, pigments, and hardware is a great option for beginners who want everything in one box without hunting down individual supplies.
How to Make Resin Keychains Step by Step
1. Mixing the Resin
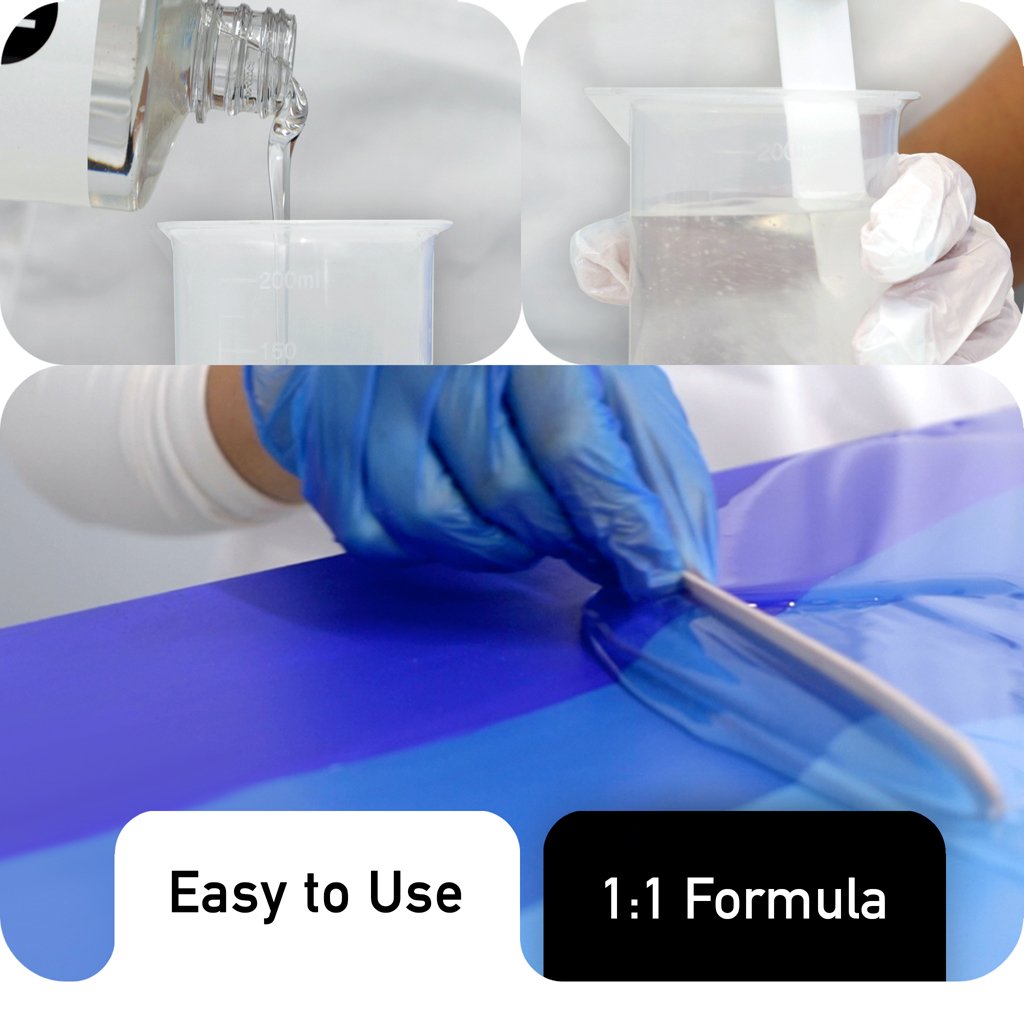
Start by measuring your resin and hardener according to the product instructions. For keychains, you typically need only a small amount; perhaps two to three ounces of mixed resin will fill a full set of four to six molds, depending on their size.
Pour both components into a clean graduated cup and stir slowly for three to five minutes. Scrape the sides and bottom as you go. The mixture should turn from cloudy to clear as the two parts blend together. Rushing this step is tempting when you are working with small quantities, but undermixing leads to sticky, uncured spots that ruin the finished piece.
2. Adding Color, Glitter, and Embeds
Once your resin is thoroughly mixed, it is time to add your design elements. For solid colors, stir epoxy pigments directly into the mixture until the shade is even throughout. A tiny amount of mica powder goes further than you might expect, so start with less than you think you need.
For glitter keychains, fold the glitter in gently after adding any base color. Mix just enough to distribute it, but do not over-stir; you want the sparkle suspended throughout the resin rather than all settled at the bottom.
If you plan to embed small objects (dried flowers, photos, charms, confetti), you have two options. Either place them into the empty mold before pouring, or pour a thin base layer of resin first, let it partially set, then position your items on the tacky surface before adding the final layer on top. The second method gives you more control over placement, which matters for letter molds or pieces where positioning is important.
3. Pouring Into the Mold
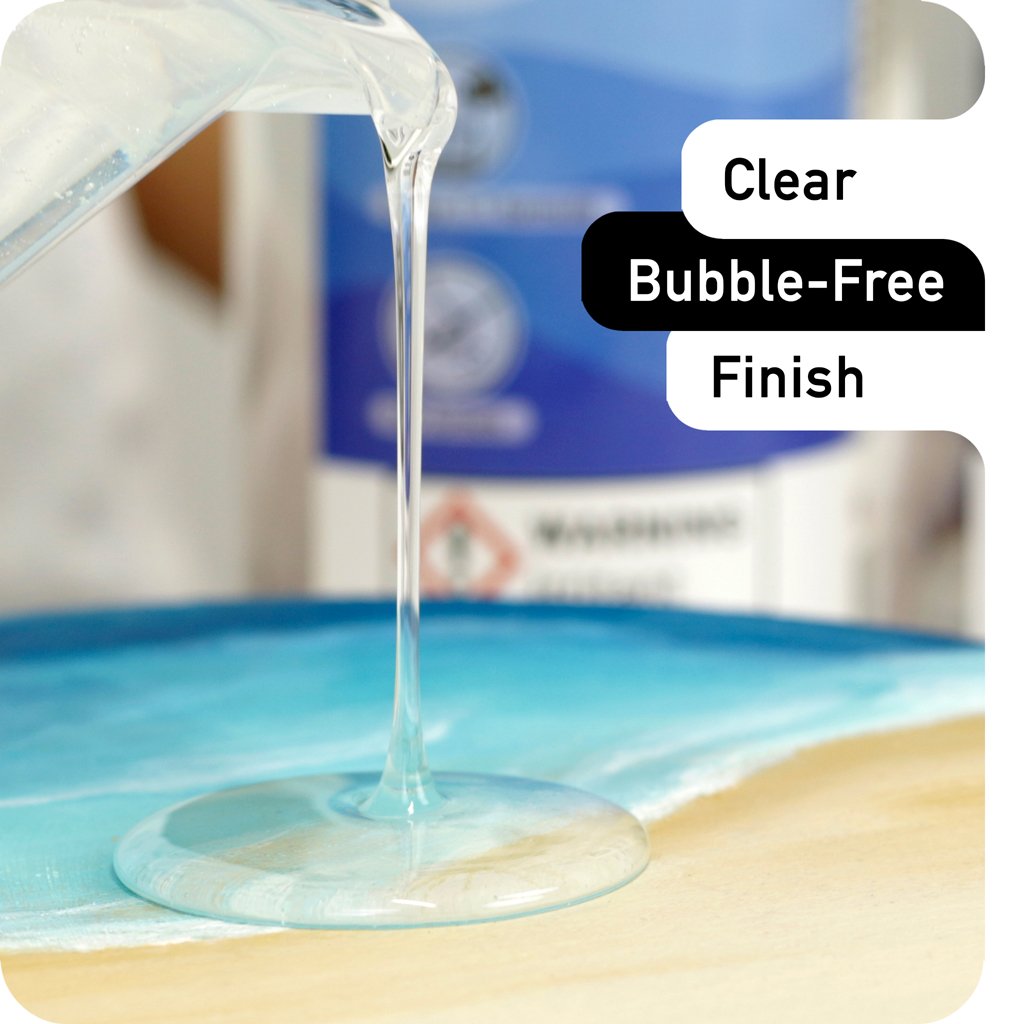
Pour the tinted resin slowly into each mold cavity. Fill to just below the rim; overfilling causes spillover and creates messy edges that require extra sanding. A steady, thin stream from a low height reduces the number of air bubbles introduced during the pour.
After filling all cavities, pass a heat gun lightly over the surface of each mold to pop any visible bubbles. Keep the heat moving and hold it a few inches above the resin. Two or three quick passes is usually sufficient. Let the filled molds sit undisturbed on a level surface, covered with a box or container to keep dust out during curing.
4. Demolding and Drilling
Most epoxy resin products reach a demoldable state within 12 to 24 hours, though full hardness may take up to 72 hours. Once the resin feels completely solid, flex the silicone mold gently and push each keychain out from the back. They should release easily without force.
Inspect the edges. You may notice a thin lip or slight roughness along the top edge where the resin met the mold rim. A few passes with fine-grit sandpaper cleans this up quickly.
If your mold did not include a pre-made hole, you will need to drill one for the keychain hardware. Use a small hand drill or pin vise with a 1.5 to 2mm bit. Mark the spot with a small dot, apply gentle and steady pressure, and drill slowly to avoid cracking the cured resin. Once the hole is clean, thread a jump ring through it and attach your split ring, lobster clasp, or tassel.
A quick tutorial tip that saves frustration: place a small piece of painter's tape over the spot before you drill. It prevents the bit from slipping on the glossy resin surface and gives you a cleaner entry point.
Design Ideas for DIY Resin Keychains
Letter and Name Keychains
Alphabet molds are probably the single most popular keychain mold style, and for good reason. Personalized initial keychains make fantastic gifts and sell extremely well at craft fairs and online shops. You can fill letter molds with a single bold color, layer multiple tones, or pack them with glitter for a sparkly finish.
For full name keychains, some crafters pour individual letters and string them together on a single ring or chain. Others use rectangular tag molds and embed printed name labels or vinyl lettering beneath a clear resin layer. Both approaches look professional when done neatly.
Glitter and Ombre Styles
Glitter resin keychains are a staple of the DIY resin world. The technique is simple: mix fine or chunky glitter into tinted or clear resin and pour into your mold. For a denser glitter look, add more. For a subtle shimmer, use less. Layering different glitter sizes (fine on the bottom, chunky on top) creates a textured, dimensional effect that catches light from multiple angles.
Ombre keychains involve pouring two or more colors into the same mold and letting them partially blend where they meet. Tilt the mold gently back and forth to encourage the gradient, then let it settle on a flat surface. The colors merge naturally along the boundary, creating a smooth transition. Pairing complementary epoxy colors, like deep purple fading into lavender, or navy into sky blue, tends to produce the most appealing results.
Selling Resin Keychains
One of the reasons resin keychains have exploded in popularity is how well they sell. Platforms like Etsy, craft markets, and even local pop-up shops see consistent demand for handmade keychains, particularly personalized ones.
The material cost per keychain is low. A single resin kit can produce dozens, sometimes over a hundred keychains depending on mold size. Glitter, pigments, and hardware add minimal cost per unit. Pricing typically ranges from $8 to $20 per keychain depending on complexity, personalization, and brand positioning.
If you are considering making resin keychains for sale, a few practical considerations:
-
Batch production
Working in larger batches is more efficient. Mix a bigger quantity of resin, fill all your molds at once, and you save time on repeated setup and cleanup.
-
Consistent quality
Buyers expect each keychain to match the listing photos. Accurate measuring, consistent pigment ratios, and reliable molds help you maintain uniformity.
-
Packaging
A clear cellophane bag with a small branded card or tag makes an inexpensive but professional-looking presentation.
-
Photography
Good photos sell keychains. Natural light, a clean background, and close-up shots that show detail and sparkle make a significant difference in conversion rates.
Common Mistakes to Avoid
Overfilling molds
Pouring too much resin creates overflow and rounded edges that look sloppy. Fill to about 90% capacity and let the self-leveling do its work.
Not mixing long enough
Three minutes of slow stirring is the minimum. Shortcuts here lead to soft, sticky keychains that never fully cure.
Drilling too fast
Resin can crack or chip if you apply too much pressure with the drill bit. Go slowly and let the bit do the cutting rather than forcing it through.
Ignoring bubbles
Small bubbles may seem insignificant in liquid resin but become very obvious once the piece cures. A quick pass with a heat gun after pouring catches most of them.
Removing from molds too early
Patience matters. Pulling keychains out before the resin has fully hardened can leave fingerprints or cause warping. Give them the full recommended cure time.
Frequently Asked Questions
What is the best resin for making keychains?
A two-part epoxy resin designed for resin casting and mold work is the best choice for keychains. It cures hard, produces a clear and glossy finish, and bonds well with embedded materials like glitter and dried flowers. UV resin can work for very thin pieces but tends to be more brittle and is limited to shallow molds. For most keychain projects, epoxy resin provides the best balance of durability, clarity, and working time, making it the preferred option among DIY crafters and small-business sellers.
How do you attach hardware to a resin keychain?
If your mold creates a pre-made hole, simply thread a jump ring through the opening once the keychain is cured and attach a split ring or lobster clasp. If there is no hole, use a small hand drill or pin vise with a 1.5 to 2mm bit to create one near the top edge. Place painter's tape over the drill point to prevent slipping. Open the jump ring with pliers, slide it through the hole, and close it securely before adding your preferred hardware and any decorative tassels or charms.
Can you use UV resin instead of epoxy for keychains?
UV resin cures in minutes under a UV lamp, which makes it appealing for quick projects. However, it is only practical for very thin layers, typically under 3mm, because the UV light cannot penetrate deeper than that. For standard keychain molds that are 5 to 8mm deep, UV resin will not cure properly throughout the full thickness. It also tends to be more brittle than epoxy and may yellow faster with sun exposure. Epoxy resin remains the more reliable option for producing durable keychains with consistent results.
How long do resin keychains take to cure?
Most epoxy resin products reach a demoldable state within 12 to 24 hours, meaning the keychains are solid enough to remove from silicone molds without distorting. Full hardness typically develops over 48 to 72 hours depending on the formula and room temperature. Warmer environments speed up the curing process, while cooler rooms slow it down. Avoid handling or attaching hardware until the resin is completely hard to prevent fingerprints, scratches, or deformation. Checking the product label for specific cure times is always recommended.
Ready to Start Making Resin Keychains?
Clear Resin kits give you everything you need to begin your first keychain project, from the resin and hardener to clear instructions that walk you through mixing, pouring, and finishing. Their formulas are designed for craft and casting work, producing a crystal-clear, bubble-resistant finish that works perfectly with molds of all shapes and sizes. Whether you are making keychains as gifts, for personal use, or for sale, Clear Resin provides consistent results every time. Visit clearresin.com and choose the right kit to get started.