
Make Beautiful Serving Trays With Epoxy Resin
Serving trays are one of those pieces that sit right at the intersection of functional and decorative. They hold drinks, organize countertops, and tie a room together visually. When you make one yourself using epoxy resin, you get to control every detail: the color, the pattern, the shape, even the weight and feel of the finished piece. And the results, when done right, genuinely look like something from a high-end home store.
Epoxy resin for serving trays has become increasingly popular among crafters and DIY makers, partly because the process is more forgiving than people expect. You do not need woodworking experience or a dedicated workshop. A basic resin serving tray kit, the right mold, and a few hours of working time can produce a tray that impresses anyone who picks it up.

Clear Resin
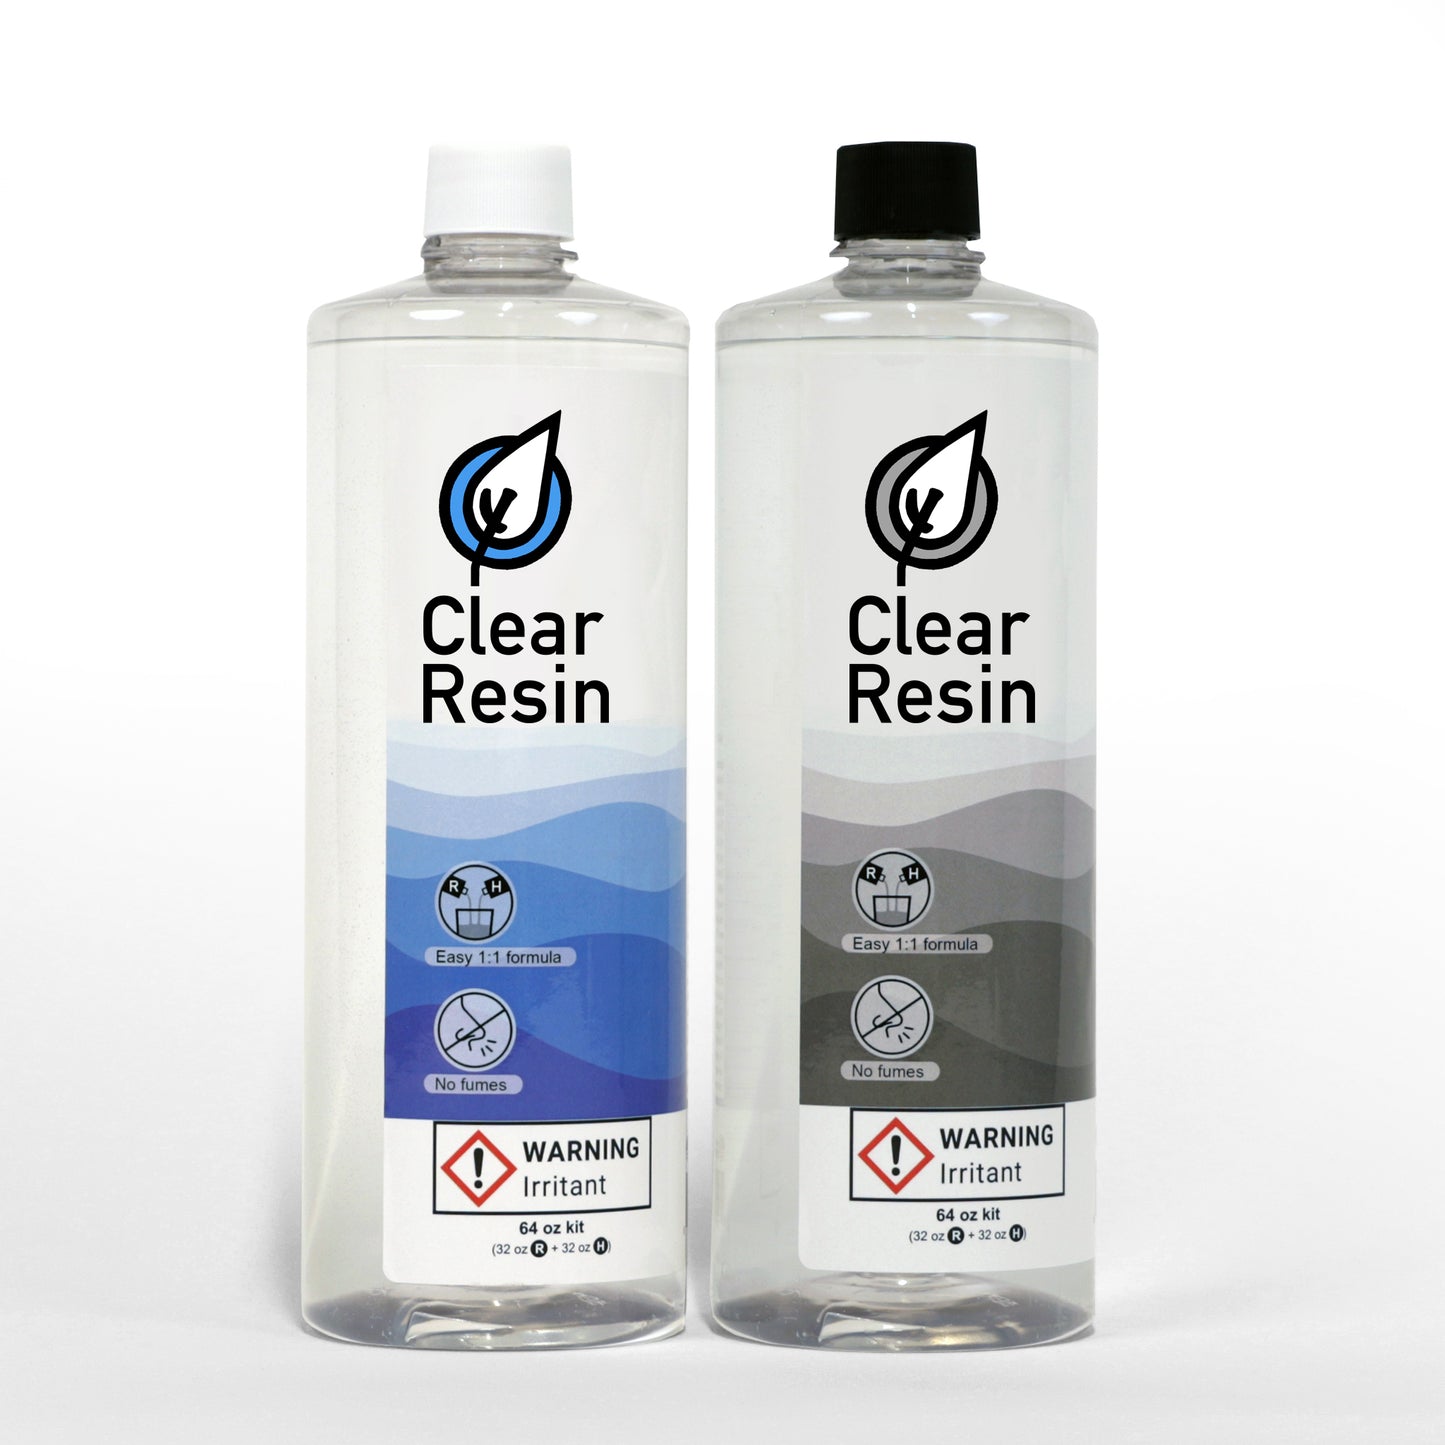
Clear Epoxy Resin Kit - 64 oz
Share


Why Epoxy Resin Is a Great Fit for Serving Trays
Not every material works well for trays that will actually be used. You need something that resists water, handles light impacts, and stays looking good after repeated contact with glasses, plates, and bottles. Epoxy checks those boxes without requiring a complicated finishing process.
A few reasons craft epoxy stands out for this particular project:
1. Water resistance: Once cured, the surface is completely non-porous. Condensation from cold drinks or small spills wipe away without leaving a mark.
2. Scratch resistance: Cured epoxy is surprisingly hard. Placing ceramic mugs or glass tumblers on it will not scratch or scuff the way a lacquered wood finish might.
3. Design freedom: You can pour epoxy over wood, embed objects inside it, tint it with pigments, or leave it crystal clear. The material adapts to virtually any aesthetic you want.
4. Glossy finish: Epoxy self-levels into a smooth, reflective coat that catches light beautifully. That high-shine look is tough to replicate with other coatings.
Perhaps the biggest advantage is durability over time. A well-made epoxy tray does not chip, peel, or degrade the way painted or stained trays can. The resin bonds to the base material and becomes part of the piece rather than just sitting on top of it. This means your tray will hold up through years of regular use, which is exactly what you want from something that lives on a kitchen counter or coffee table.
What You Need to Get Started
The supply list for a resin tray project is relatively short, which is part of the appeal. You will need a two-part epoxy resin kit (resin plus hardener), mixing cups with measurement markings, stir sticks, nitrile gloves, and a drop cloth to protect your workspace. If you plan to add color, pick up mica powder, alcohol ink, or opaque pigment paste depending on the look you are going for.
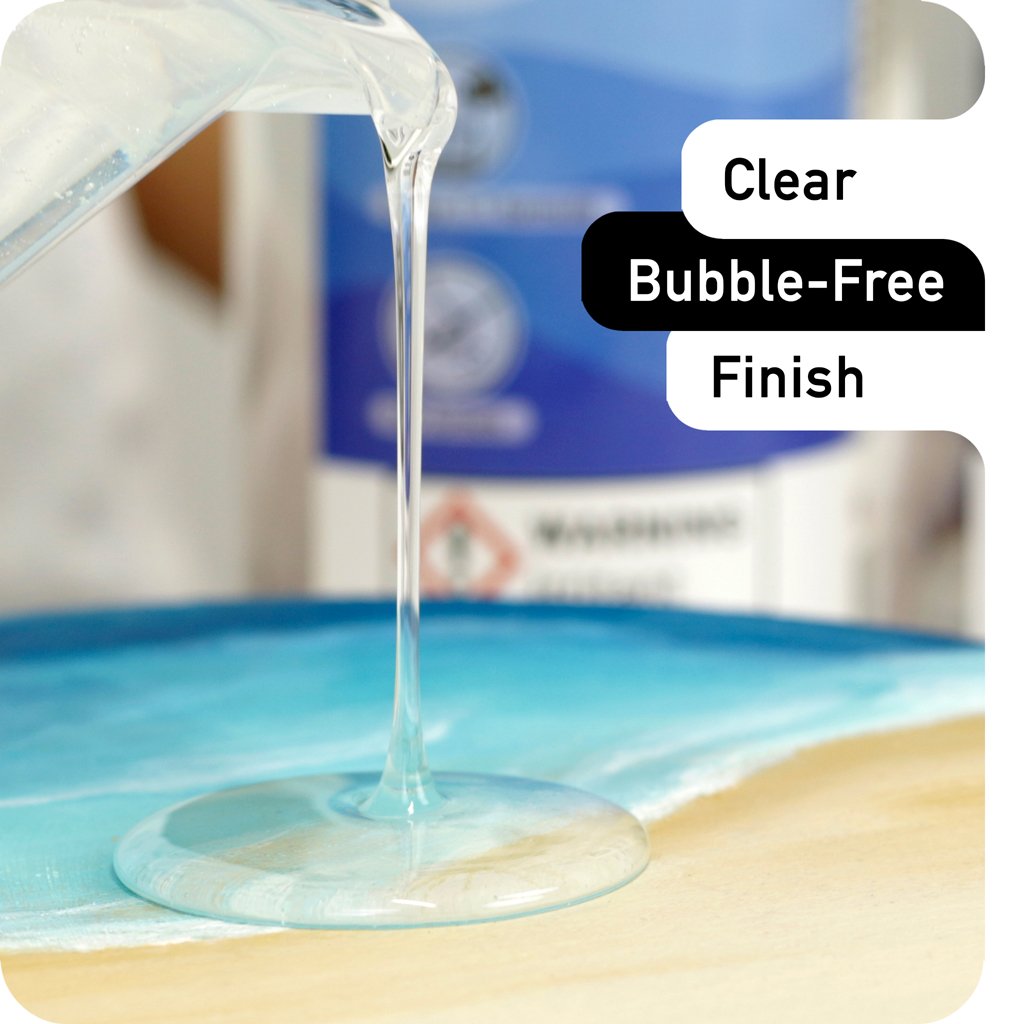
A heat gun or small butane torch is useful for removing bubbles from the surface after pouring. Bubbles are the most common cosmetic issue with epoxy projects, and a quick pass with heat causes them to rise and pop before the material begins to set. Skipping this step is tempting when you are in a hurry, but it makes a noticeable difference in the final appearance.
Choosing the Right Tray Molds
You have two main approaches when it comes to shaping a serving tray: using a dedicated silicone tray mold, or pouring resin into (or onto) an existing wooden tray frame.
Silicone tray molds are the easier option for beginners. They come in rectangular, round, oval, and decorative shapes, and demolding is straightforward because cured epoxy releases from silicone without sticking. The downside is that the tray walls tend to be thinner, and the piece may feel less substantial than a wood-framed version.
Wood frame trays, on the other hand, give you a more traditional look. You can buy unfinished wooden tray blanks online or build a simple frame from hardwood strips. The epoxy fills the interior and becomes the tray surface, while the wood forms the border and handles. These feel heavier and more premium, though they do require slightly more prep work to seal the wood before pouring.
Whichever route you choose, make sure your mold or frame sits perfectly level. Even a slight tilt causes the liquid resin to pool on one side, creating an uneven surface that is difficult to correct once cured.
Preparing Your Surface and Workspace
Good preparation is probably the least exciting part of this process, but it is the step that determines whether your finished tray looks professional or amateur. Rushing through setup almost always leads to problems you will notice later.
Start by making sure your work area is clean, dust-free, and warm. Epoxy is sensitive to temperature; most formulas cure best between 70 and 80°F. Cold rooms slow the curing process significantly, and in some cases prevent the resin from hardening properly at all. Cover your work surface with a plastic sheet or silicone mat to catch drips.
If you are pouring into a wood frame:
1. Sand the interior surface lightly: Use 220-grit sandpaper to create a slightly rough texture that gives the epoxy something to grip.
2. Seal the wood: Apply a thin coat of epoxy or wood sealer to all exposed surfaces inside the frame. This prevents air trapped in the wood grain from releasing into your pour as tiny bubbles. Let this seal coat cure for at least 12 hours.
3. Check for gaps: Run a bead of hot glue or silicone caulk along any joints or seams where the frame meets the base. Liquid epoxy finds every gap and will leak through even small openings.
4. Level the frame: Place it on your work surface and use a small spirit level to confirm it is flat in both directions. Adjust with shims if necessary.
For silicone mold projects, the prep is simpler. Clean the interior of the mold with rubbing alcohol, make sure it sits level, and you are ready to mix. If you are embedding objects like dried flowers, stones, or metallic foil, position them in the mold before pouring.
How to Mix and Pour Epoxy for a Serving Tray
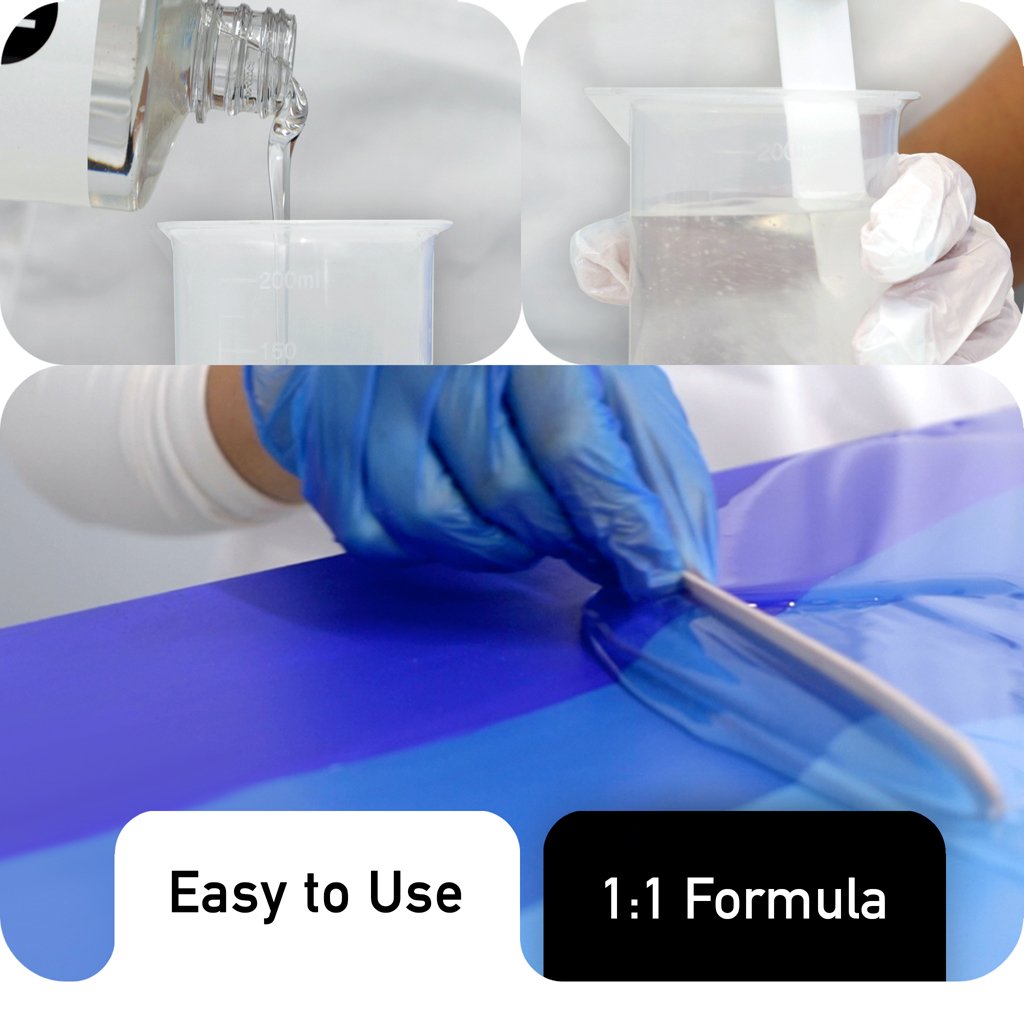
Measure your resin and hardener according to the kit's specified ratio. Most two-part epoxies use a 1:1 mix by volume, though some products differ, so always check the instructions before you start. Pour both components into a clean graduated cup and stir slowly for three to five minutes. Scrape the sides and bottom of the cup as you go; unmixed material along the edges is one of the most common causes of soft, tacky spots in a finished piece.
For a standard serving tray, you will likely need more resin than you would for a smaller project like coasters. Calculate the volume of your mold or frame interior and mix accordingly. It is better to have a little extra than to run short partway through the pour.
If you want a single color, add your pigment to the mixed resin and stir it in gently. A little goes a long way with most colorants, so start small. For layered or marbled designs, divide the mixed epoxy into separate cups, tint each one a different color, and pour them in sequence or side by side. Dragging a toothpick through the wet surface creates swirled patterns, while tilting the mold slightly can produce natural-looking color flows.
For deeper tray molds, you may need a deep pour epoxy formula rather than a standard coating resin. Deep pour products are designed to cure in thicker layers without overheating, which is important because epoxy generates heat as it cures; too thick a pour with a standard formula can cause cracking, yellowing, or warping. Check the maximum pour depth listed on your kit and plan your layers accordingly.
After pouring, use a heat gun or torch to pop surface bubbles. Hold it a few inches above the resin and move steadily across the surface. Avoid lingering in one spot, as concentrated heat can scorch the material or warp a silicone mold. One or two passes within the first 20 minutes is usually enough.
Design Ideas for Epoxy Trays
The creative possibilities with epoxy trays are broad, and part of the fun is trying something different each time. Here are some popular approaches that consistently produce strong results:
1. Ocean and geode themes: Layers of blue, white, and teal resin manipulated with a heat gun to mimic waves or crystal formations. Gold or copper metallic pigment along the edges completes the look.
2. Wood and resin combinations: A live-edge wood slab with epoxy filling the natural voids and cracks. This "river table" aesthetic scales down beautifully to tray size.
3. Botanical embeds: Dried flowers, pressed leaves, or herbs arranged beneath clear resin. These work particularly well in oval or round molds where the organic shapes feel natural.
4. Minimalist solid colors: A single bold or neutral tone with a high-gloss finish. Sometimes simplicity is the most striking option, especially for modern or Scandinavian-style interiors.
5. Terrazzo effect: Chips of colored resin, stone fragments, or broken pieces of recycled material embedded in a white or neutral base. This gives a contemporary, textured look without being overly busy.
One thing to keep in mind when planning your design: transparency matters. If you want objects embedded in the tray to be visible, you need either clear or lightly tinted resin. Opaque pigments will completely hide anything beneath the surface, which is fine for a solid-color tray but defeats the purpose if you have spent time arranging flowers or decorative elements.
Caring for Your Resin Serving Tray
Epoxy serving trays are low-maintenance by nature, but a few simple habits keep them looking their best. Wipe the surface with a soft, damp cloth after each use. Avoid abrasive sponges or harsh chemical cleaners, as these can dull the glossy finish over time.
Cured epoxy handles room-temperature beverages and food without issue. However, placing extremely hot items directly on the resin surface, like a pot fresh off the stove, can leave marks or soften the coating in that spot. Using trivets or heat pads for anything above warm is a sensible precaution.
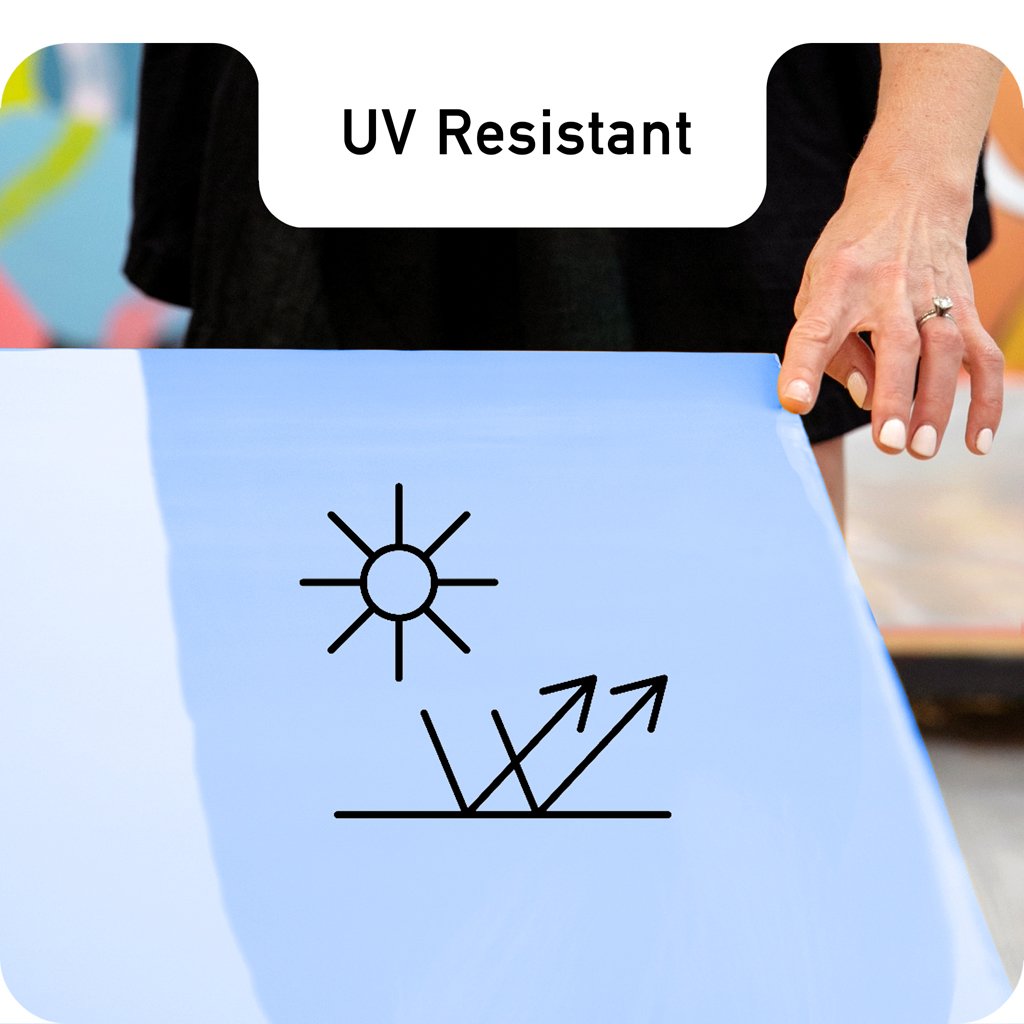
If the tray begins to look slightly hazy after extended use, a thin application of food-safe mineral oil or a light buff with automotive polish restores the shine. Keeping the piece away from prolonged direct sunlight also helps prevent yellowing, though most modern epoxy formulas include UV stabilizers that slow this process considerably.
Frequently Asked Questions
Is epoxy resin food-safe for serving trays?
Many epoxy resin products are certified food-safe once fully cured, meaning they are non-toxic and suitable for incidental food contact. However, this applies to the cured surface only; uncured resin should never come into contact with food or drink. Always check the specific product labeling before using an epoxy tray for direct food service. For trays used primarily to carry plates, glasses, or decorative items, food-safe certification is less critical since the resin surface is not touching consumables directly.
How long does it take for an epoxy serving tray to cure?
Most epoxy resin formulas reach a firm, demoldable state within 24 hours, but a full cure typically requires 48 to 72 hours depending on the product and environmental conditions. Warmer temperatures and lower humidity accelerate the process, while cooler rooms slow it down. For deep pour applications where the resin layer is thicker than half an inch, curing may take even longer. It is best to leave the piece undisturbed during this period to avoid introducing dust, fingerprints, or surface imperfections.
Can you repair scratches or damage on an epoxy resin tray?
Minor scratches on a cured epoxy surface can often be buffed out with fine-grit sandpaper (1500 to 2000 grit) followed by a polishing compound to restore clarity. For deeper scratches or chips, applying a thin new layer of mixed epoxy over the damaged area is an effective fix. The fresh coat self-levels and bonds to the existing cured resin, essentially resurfacing that section. Sand lightly between the old and new layers to promote adhesion, and allow the repair coat to cure fully before using the tray again.
Ready to Build Your First Epoxy Tray?
Clear Resin kits include everything you need to start your serving tray project, from the resin and hardener to step-by-step instructions that walk you through mixing, pouring, and finishing. Their formulas are made for craft and casting work, producing a crystal-clear, bubble-resistant finish that holds up to everyday use. Whether you are working with a silicone mold or a custom wood frame, Clear Resin gives you consistent results without the guesswork. Head to clearresin.com and pick the right kit for your next project.