
Create Stunning Tumblers With Clear Resin
Custom tumblers have become one of the most popular DIY projects out there, and for good reason. A plain stainless steel cup can be completely transformed with a layer of epoxy resin, turning it into something that looks professionally made. Whether you are adding glitter, vinyl decals, hand-painted designs, or alcohol ink effects, a coat of epoxy resin for tumblers seals everything in place and delivers a smooth, high gloss finish that feels great to hold.
The process is more approachable than it looks. You do not need specialized equipment or years of crafting experience to get good results. With the right resin kit, a few basic tools, and perhaps a tumbler turner to keep things spinning, your first project can turn out genuinely impressive. That said, there are some things worth knowing before you start pouring, and a few common pitfalls to avoid along the way.

Clear Resin
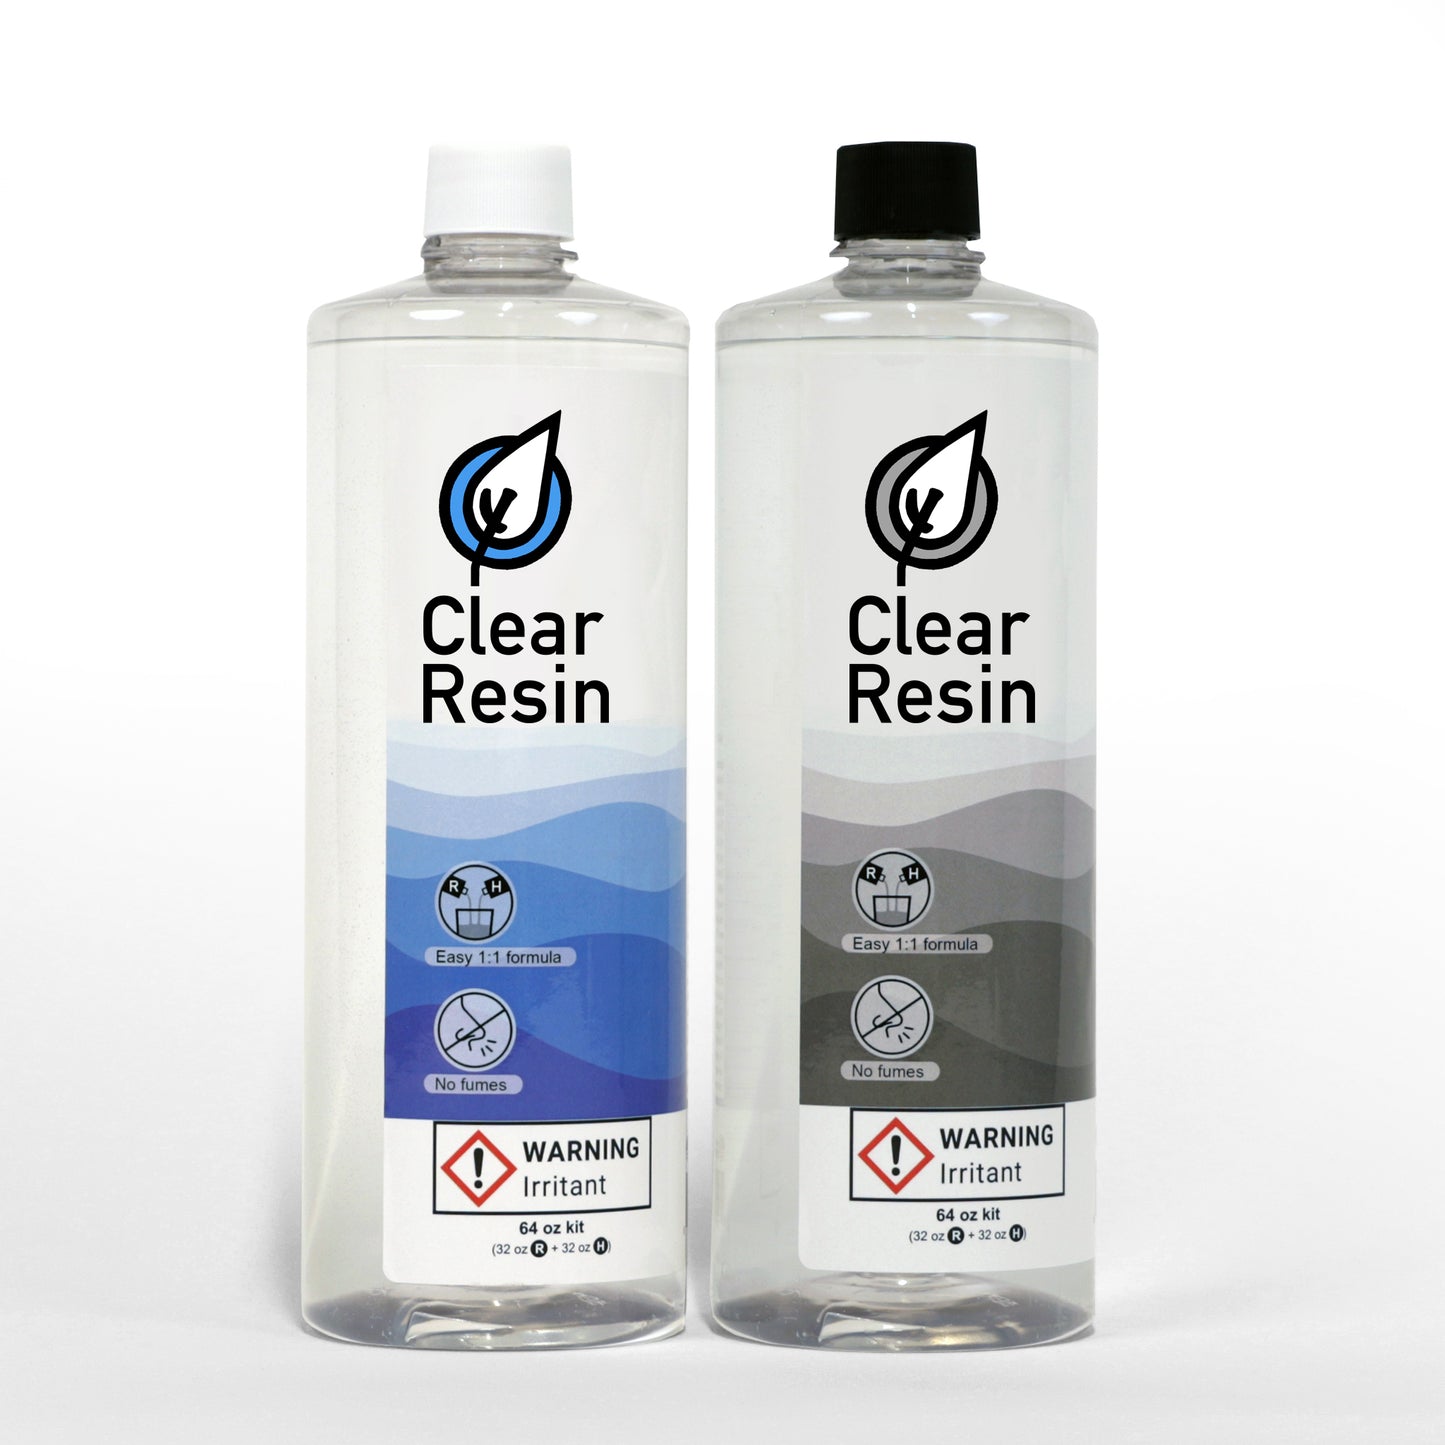
Clear Epoxy Resin Kit - 64 oz
Share
Why Epoxy Resin Works So Well for Tumblers
A tumbler takes a lot of daily abuse. It gets tossed into bags, washed repeatedly, gripped with wet hands, and exposed to both hot and cold temperatures. Whatever coating you put on it needs to withstand all of that without peeling, yellowing, or cracking.
Epoxy resin handles these demands well. Once fully cured, it forms a hard, crystal-clear shell that bonds tightly to the tumbler surface. It resists moisture, most household chemicals, and light impact. A high quality epoxy resin also stays optically clear over time, which matters if you have spent an hour layering glitter or carefully positioning decals underneath.
There are a few things that set coating epoxy apart from other options:
1. Durability: Epoxy creates a rigid, scratch-resistant layer that holds up through everyday use, including regular hand washing.
2. Clarity: Clear epoxy shows off whatever design is underneath without clouding or distorting the colors.
3. Self-leveling: When applied to a rotating tumbler, the resin naturally smooths itself into an even coat, which reduces the amount of sanding and finishing work needed later.
4. Adhesion: Properly prepared surfaces bond extremely well with epoxy, making it less likely to peel or chip over time compared to spray sealants or polyurethane coatings.
Other products exist, of course. Envirotex Lite is one brand that has been around for years and works reasonably well for certain applications. But for tumblers specifically, a two-part epoxy designed for coating tends to produce a more durable and professional-looking result, especially when paired with a tumbler turner that keeps the cup spinning during the curing process.
What You Need Before You Start
Tumbler projects do not require a massive supply list, but there are a few essentials you should have ready before mixing anything. Skipping even one of these can lead to frustration midway through the process.
You will need a two-part epoxy resin kit (resin plus hardener), graduated mixing cups for accurate measuring, stir sticks, nitrile gloves, and a work surface you do not mind getting messy. Painter's tape is helpful for masking the lip and interior of the tumbler so resin does not drip inside. A heat gun or small torch is useful for popping bubbles, though with tumblers it is less critical than with flat mold projects since the rotation helps air escape naturally.
A tumbler turner is technically optional, but it makes a significant difference. Without one, the resin will sag and drip as gravity pulls it downward, leaving you with an uneven coat. With the turner running, the tumbler rotates slowly and the epoxy distributes itself evenly around the entire surface. If you plan on making more than one or two tumblers, investing in a turner is well worth it.
Other nice-to-haves include fine-grit sandpaper (400 to 2000 grit) for finishing, rubbing alcohol for surface prep, and silicone finger protectors if you tend to get resin on your hands despite wearing gloves. It happens more often than you would think.
Preparing Your Tumbler for Resin
Surface preparation is, honestly, the step most beginners rush through. And it is also the step that causes the most problems later on. If the tumbler surface is not properly prepped, the epoxy will not bond correctly and you risk peeling or lifting down the road.
Here is a basic prep sequence that works for all types of tumblers:
1. Clean the surface thoroughly: Wipe the entire outside with rubbing alcohol or acetone to remove oils, fingerprints, and dust. Let it dry completely.
2. Apply your design: Whether you are using glitter, vinyl, paint, or fabric, get your decorative elements in place first. Make sure everything is fully adhered and sealed before the resin goes on.
3. Lightly sand if needed: For very smooth or powder-coated surfaces, a light scuff with 220-grit sandpaper gives the epoxy something to grip. Wipe away sanding dust with a tack cloth afterward.
4. Tape off the top and bottom: Use painter's tape around the lip and the base of the tumbler to keep resin from flowing where you do not want it. Some people also tape over the opening entirely.
One thing to keep in mind: if your design involves loose glitter, make sure it is sealed with a thin layer of Mod Podge or spray adhesive before applying resin. Unsealed glitter can shift and migrate once the wet epoxy hits it, which creates bare patches and uneven coverage. A quick seal coat dries in about 30 minutes and prevents this entirely.
How to Mix and Apply Epoxy Resin to a Tumbler
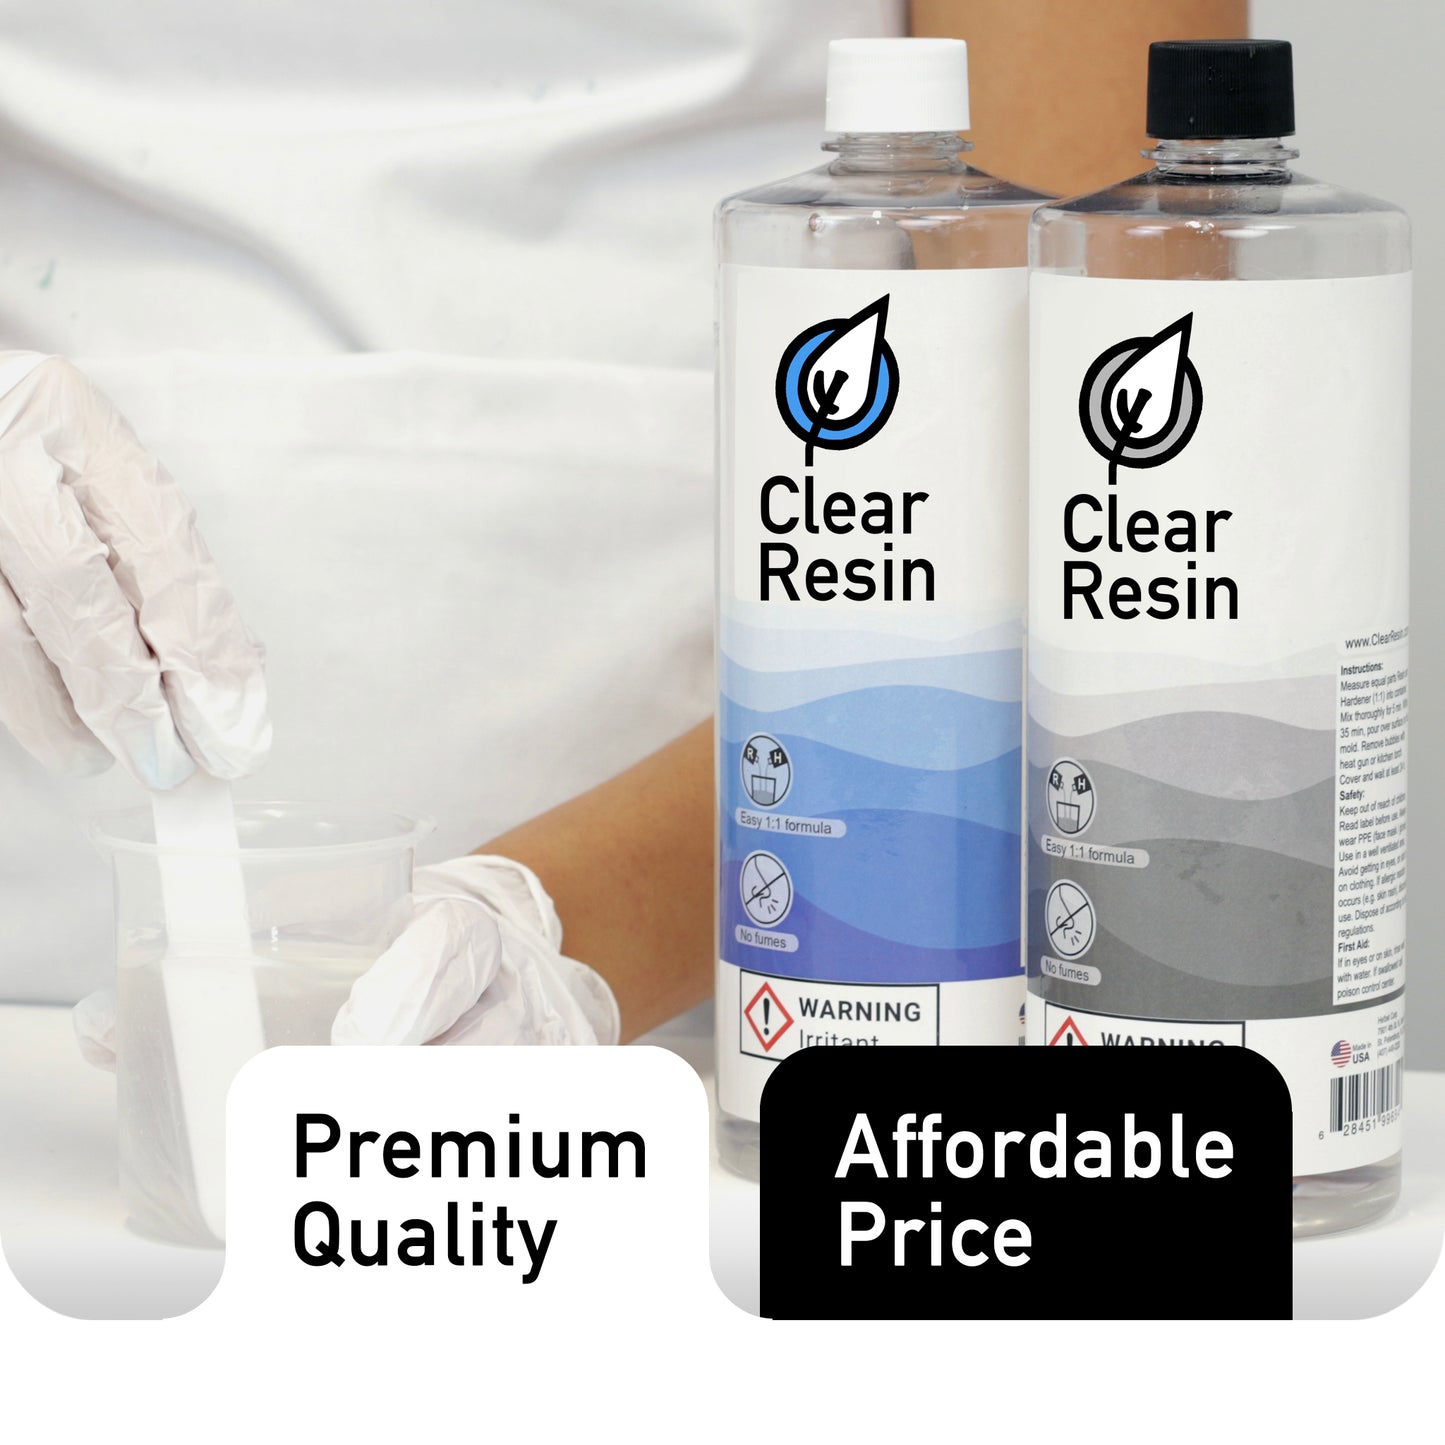
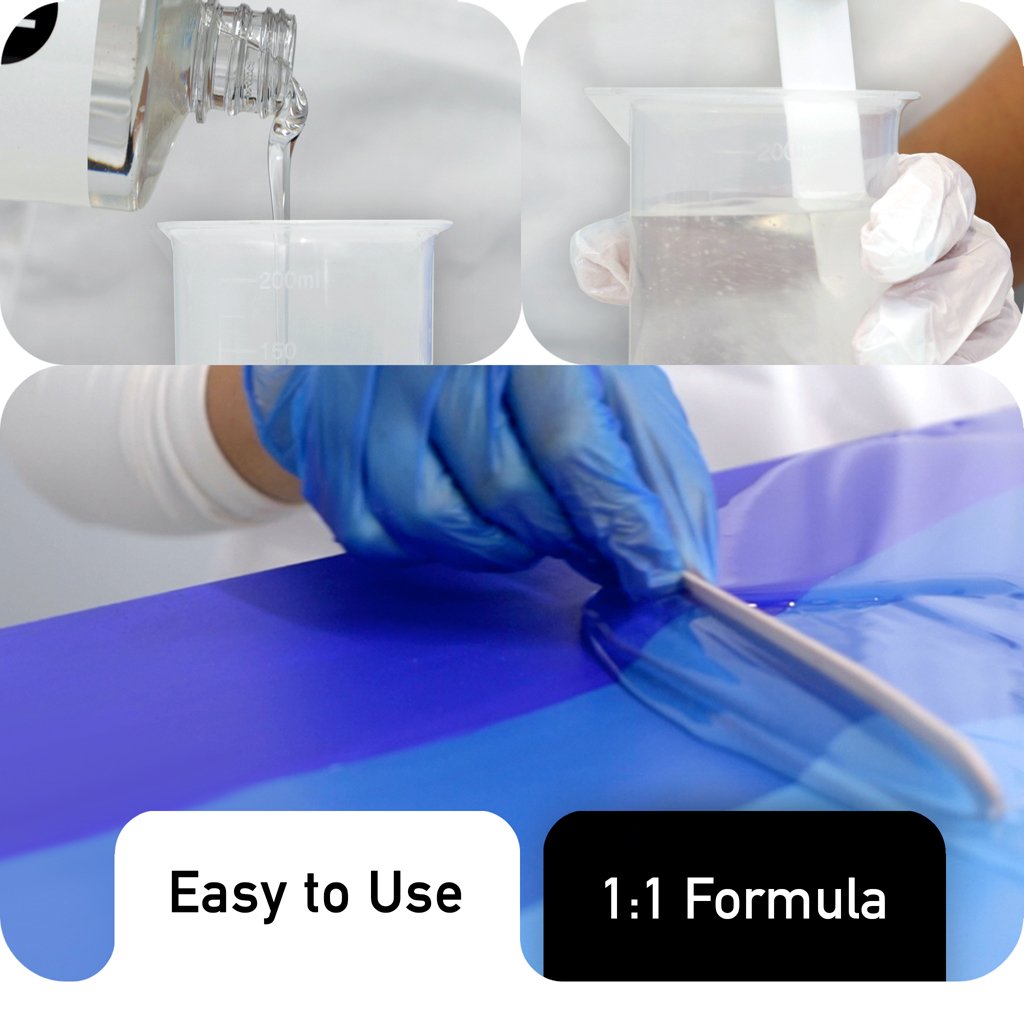
Mixing epoxy for a tumbler project follows the same general principles as any resin application. Measure your resin and hardener according to the manufacturer's specified ratio, pour them into a clean cup, and stir slowly for three to five minutes. Scrape the sides and bottom of the cup as you go.
The amount you need depends on the size of the tumbler. For a standard 20-ounce cup, roughly two to three ounces of mixed resin is enough for a single coat. A 30-ounce tumbler may need three to four ounces. It is better to mix slightly more than you think you will need; running short midway through means your coat will be uneven, and you cannot easily pause to mix a second batch while the first is already setting.
Once mixed, pour a thin line of resin along the length of the tumbler while it spins slowly on the turner. Use gloved hands or a silicone brush to spread the epoxy evenly, working it around the entire surface. Do not glob it on thick; multiple thin coats produce a better finish than one heavy application. A heavy pour tends to drip, pool at the bottom, and create runs that are difficult to sand out later.
After the resin is spread, let the turner run continuously. Check back after about 15 to 20 minutes and use a heat gun to pop any visible bubbles. At this stage, the epoxy will be starting to set but should still be fluid enough for bubbles to release.
Using a Tumbler Turner for an Even Coat
A tumbler turner is, at its core, a simple motorized stand that rotates the cup at a slow, consistent speed. Most run at around 4 to 6 RPM, which is fast enough to prevent sagging but slow enough that the resin does not fling off.
If you are new to the process, here are some practical pointers:
1. Secure the tumbler properly: Make sure it is tightly fitted in the turner's grip. A tumbler that wobbles or shifts mid-spin will end up with an uneven coat.
2. Keep the turner level: Even a slight tilt affects how the resin distributes. Place it on a flat, stable surface and check with a small level if you are unsure.
3. Let it spin for at least four to six hours: The resin needs to reach a point where it will not move or drip before you stop the rotation. Stopping too early means gravity takes over and the wet coating will slide.
Some crafters prefer to apply a fast set epoxy for tumblers because it reaches that no-drip stage sooner, cutting down the total spin time. Others like a standard cure formula because it gives more working time to fix imperfections. Both approaches work; it really comes down to personal preference and how comfortable you are working quickly.
Resin Curing and Finishing
After the tumbler has spun long enough for the initial set, you can stop the turner and let the piece continue curing in a dust-free area. Full resin curing typically takes 24 to 72 hours depending on the product and ambient temperature. Warmer environments speed things up, while cold rooms slow the process down.
Once the epoxy is fully hardened, you might notice minor imperfections: small dust particles trapped in the surface, a slight orange-peel texture, or tiny drip lines near the taped edges. All of this is normal and fixable.
Sand the surface progressively, starting with 400-grit and working through 800, 1200, and up to 2000-grit. This removes imperfections without cutting too deep into the resin layer. After sanding, the surface will look hazy, which can be alarming the first time. A quick buff with a polishing compound brings back the high gloss shine. Some makers apply a second thin coat of resin instead of extensive sanding, which creates a glass-like surface with less effort.
Remove the painter's tape carefully after curing. If any resin has seeped under the tape line, a sharp craft knife cleans up the edge neatly.
Design Variations and Glitter Ideas
Glitter tumblers are probably the most popular style, and for good reason. The look is eye-catching, the process is relatively straightforward, and the variations are practically endless.
For a classic all-over glitter tumbler, apply a base coat of adhesive spray to the cup, roll or press fine glitter into the surface until it is completely covered, seal with a thin spray coat, and then apply your epoxy layer on top. Chunky glitter mixed with fine glitter creates a textured, dimensional look. Ombre effects, where one color fades into another, are another option that tends to get a strong reaction.
Beyond glitter, the resin tumbler world has expanded into some creative territory:
1. Alcohol ink designs: Swirled directly onto a prepped surface, these create vibrant, organic patterns underneath the clear epoxy.
2. Milky Way or galaxy themes: Layers of dark paint, metallic powder, and tiny star-shaped glitter sealed under resin.
3. Photo or decal wraps: Printed images or vinyl decals applied flat to the surface and coated in epoxy for a permanent, waterproof seal.
4. 3D elements: Some advanced makers embed rhinestones, dried flowers, or small charms between resin layers for a raised, dimensional effect.
The key with any design is making sure everything is secure and sealed before the epoxy goes on. Loose elements shift under wet resin, and once it starts to set, there is no fixing the placement without starting over. A little extra prep time on this step saves a lot of frustration later.
Frequently Asked Questions
Can you put epoxy resin tumblers in the dishwasher?
Most epoxy manufacturers recommend hand washing only for resin-coated tumblers. While cured epoxy is water-resistant and durable, repeated exposure to the intense heat and harsh detergents inside a dishwasher can gradually degrade the finish over time. High temperatures during the drying cycle are especially problematic, as they can cause the resin to soften slightly or develop a cloudy appearance. Hand washing with warm soapy water and a soft cloth is the safest approach to keep the perfect finish intact and maintain that glossy look for as long as possible.
How many coats of epoxy should you apply to a tumbler?
One coat is usually sufficient for most DIY tumbler projects, provided you apply it evenly and use enough material to cover the surface without gaps. However, a second thin layer can help correct minor imperfections from the first application, such as small bubbles or uneven spots. If your design includes raised elements like chunky glitter or rhinestones, an additional coat helps smooth out the texture. Allow the first coat to cure fully before applying the next one, and lightly sand between layers to promote proper adhesion.
Is epoxy resin safe to drink from on a tumbler?
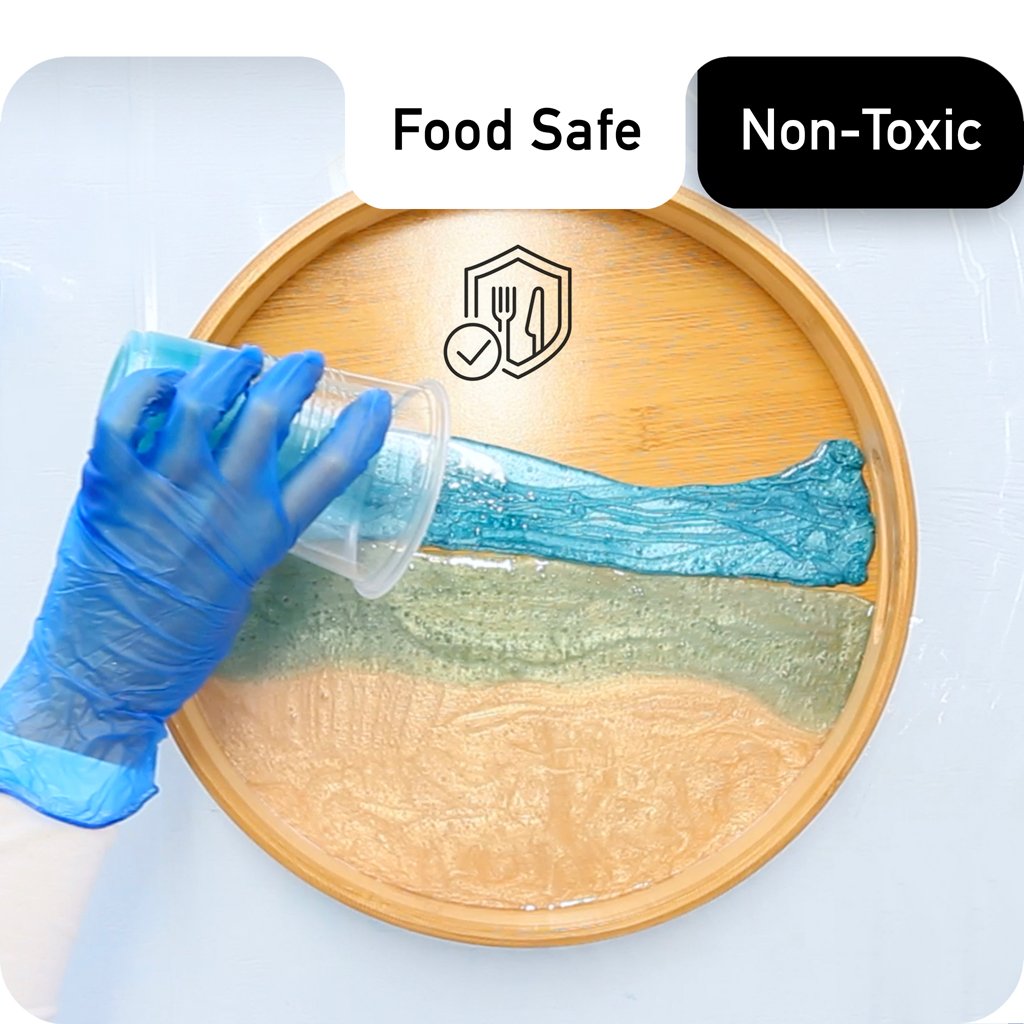
When fully cured, most food-safe rated epoxy resins are considered non-toxic and safe for external contact on drinkware. The important distinction is that the resin should only coat the outside of the tumbler, not the interior where beverages make direct contact. As long as the epoxy is mixed correctly, applied only to external surfaces, and given adequate curing time according to the product instructions, it poses no safety concern. Always check the specific resin kit's labeling to confirm its food-safety certification before starting your project.
Ready to Make Your First Resin Tumbler?
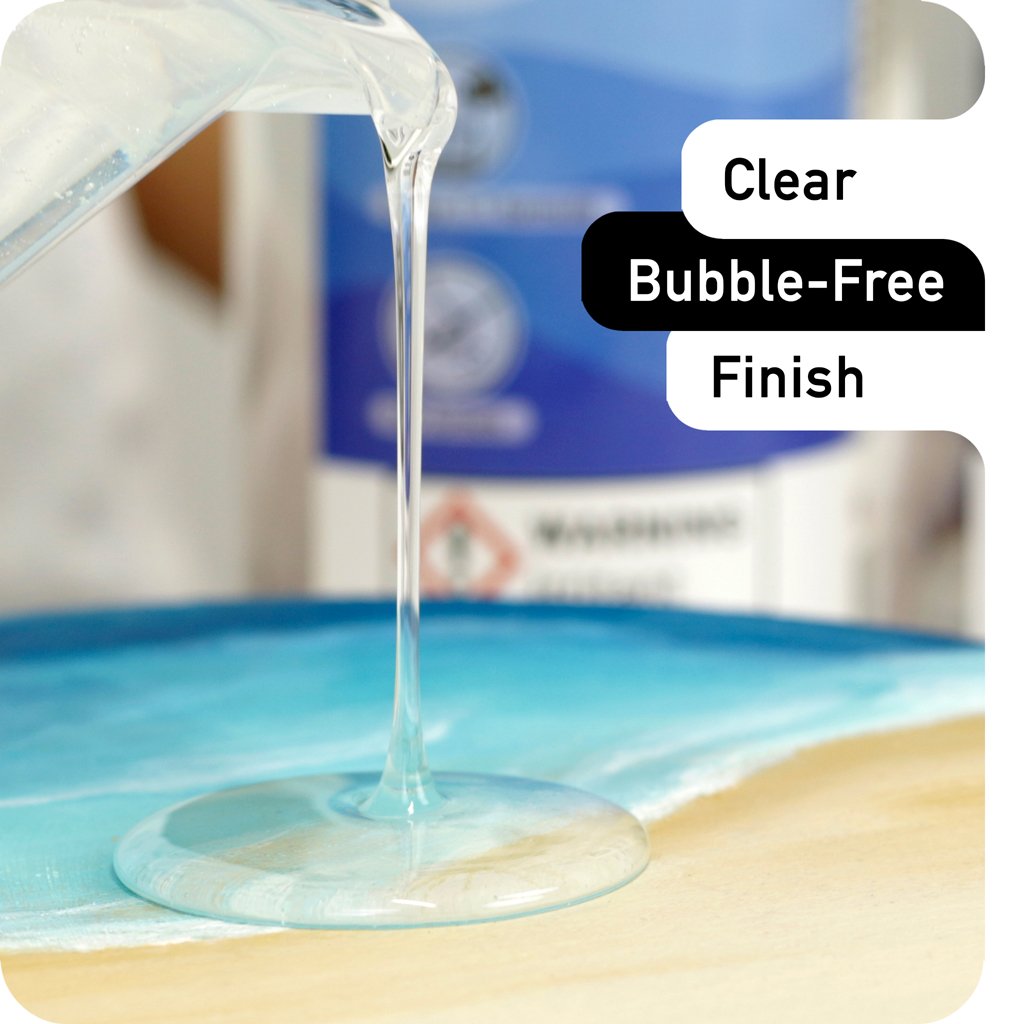
If you have been thinking about trying this craft, Clear Resin kits give you everything needed to get started, including the resin, hardener, and clear instructions that walk you through each step. Their formulas are designed for coating applications, producing a durable, bubble-free finish that works beautifully on tumblers of all sizes. Whether this is your first attempt or you are looking to upgrade from a different brand, a Clear Resin kit is a reliable place to begin. Visit clearresin.com and pick the right set for your next project.